

Drawing an island can be fun and relaxing. It’s a great way to practice your artistic skills.
In this guide, you’ll learn the steps to create your own island masterpiece. Islands are fascinating and often spark our imagination. They can be simple or detailed, depending on your style. Whether you are a beginner or have some drawing experience, drawing an island can be a fulfilling exercise.
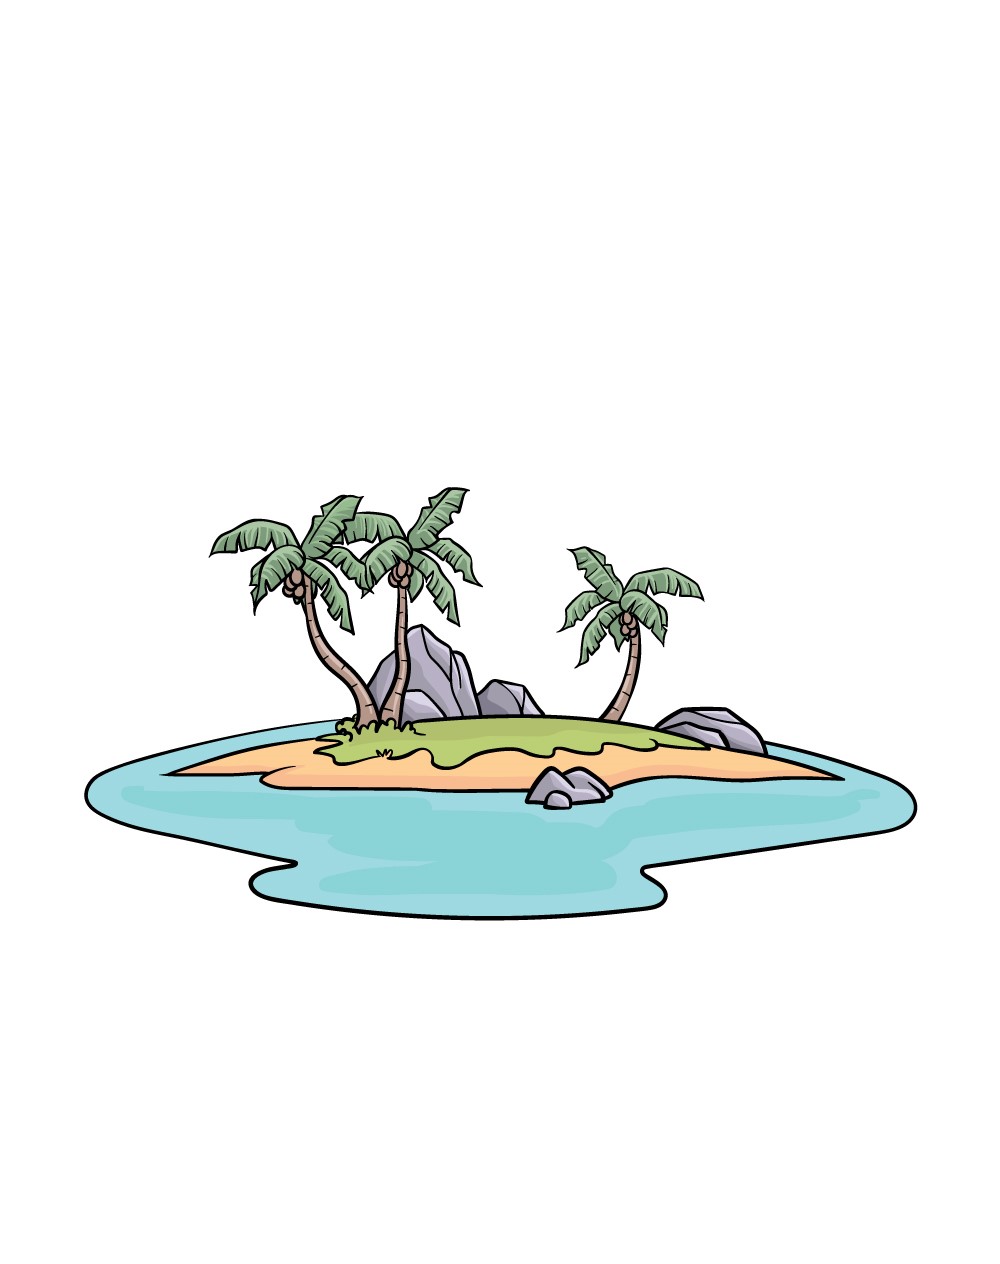
You can create a tropical paradise, a mysterious deserted land, or a serene escape. This guide will help you start, providing easy steps and tips. Grab your pencils and paper, and let’s explore the art of drawing an island together!

Materials Needed
Creating a beautiful island drawing starts with the right materials. Having the necessary tools ensures your artwork turns out well. Let’s explore what you’ll need.
Essential Tools
The first thing you’ll need is paper. Choose a sturdy sketchbook or drawing pad. Pencils are another must-have. Use a range of pencils from HB to 6B for different shading. An eraser is crucial for correcting mistakes. Opt for a soft, kneaded eraser to avoid damaging the paper. A pencil sharpener keeps your pencils ready for fine details. Finally, a ruler helps in drawing straight lines and measuring proportions.
Optional Supplies
Optional supplies can enhance your drawing experience. Colored pencils add life to your island drawing. Watercolors provide a soft, dreamy effect. Ink pens can outline and add details. A blending stump helps in creating smooth transitions between shades. Using a lightbox can assist in tracing and refining your sketch.
Having these optional supplies is not necessary. They can make your drawing process more enjoyable.
Planning Your Island
Drawing essentials
These are the everyday tools we recommend for any drawing tutorial on this site, picked for reliability and beginner-friendly pricing.


As an Amazon Associate, drawingseasy.com earns from qualifying purchases. Prices and availability are subject to change.
Creating a perfect island starts with a solid plan. Planning your island layout is essential for a beautiful and functional design. The planning stage involves choosing the shape and adding key features. These steps will guide you in crafting an island that stands out.
Choosing A Shape
The shape of your island sets the foundation for everything else. First, decide if your island will be circular, oval, or irregular. Each shape has its unique charm.
- Circular: Ideal for a balanced and symmetrical look.
- Oval: Great for a natural and flowing design.
- Irregular: Perfect for a more realistic and dynamic feel.
Once you choose a shape, sketch it lightly on paper. This gives you a visual guide to follow.
Adding Key Features
Key features bring your island to life. Think about what you want to include. Common features for an island might be:
- Beaches: Sandy shores for relaxation.
- Mountains: Adding height and depth.
- Rivers: Flowing water bodies to enhance the scenery.
- Forests: Dense trees for a lush look.
Use symbols to mark these features on your sketch. For example, wavy lines for rivers or triangles for mountains. This makes it easier to visualize the final design.
Planning your island with these tips ensures a beautiful and functional layout. Happy drawing!
Sketching The Outline
Sketching the outline of an island is the first step in bringing your tropical paradise to life. A well-defined outline sets the stage for detailing the island’s features. In this section, we will explore how to sketch the outline, focusing on the coastline and boundaries.
Drawing The Coastline
Start with a light pencil sketch. Keep it simple and fluid. Imagine the natural curves and bends of a real island. Make the coastline irregular. Avoid straight lines. The coastline should have gentle waves and sharp points. This adds a realistic touch. Vary the width and shape. Some parts can be narrow, others wide.
Defining Boundaries
Now, define the boundaries of your island. These are the edges where the land meets the water. Use bold lines to highlight these areas. Pay attention to the island’s shape. Make sure it looks balanced. Consider adding small bays and inlets. These details enhance the island’s natural feel.
Check your work. Ensure the outline is clear and distinct. If needed, make adjustments. The outline is your island’s foundation. A strong outline leads to a detailed and believable island.
Creating Landmarks
Creating landmarks is essential to make your island drawing realistic and engaging. Landmarks add depth and character to your island. They guide the viewer’s eyes and tell a story. This section will cover two key landmarks: mountains and hills, rivers and lakes.
Mountains And Hills
Mountains and hills are prominent features in any landscape. They give your island a natural look. Start by sketching the outline of your island. Identify where you want to place the mountains and hills.
- Draw the peaks of the mountains first.
- Use curved lines to create the slopes.
- Add smaller hills around the mountains for variation.
To add depth, shade one side of the mountains. Use darker shades for the slopes. This will create a 3D effect. Don’t forget to add some trees and vegetation. This makes the mountains and hills look more realistic.
Rivers And Lakes
Rivers and lakes add life to your island. They are essential for creating a balanced landscape. Start by drawing the main river. Decide its path across the island.
- Draw the river with wavy lines.
- Make it wider at some points.
- Add smaller streams branching off.
Next, draw the lakes. Place them strategically around the island. Use curved lines to outline the lakes. Make sure they vary in size.
Adding details can make a big difference. Draw small rocks and plants along the riverbanks. This adds texture and makes the rivers and lakes look lively.
| Element | Details |
|---|---|
| Mountains | Draw peaks, slopes, and shade one side for depth. |
| Hills | Add smaller hills around mountains for variation. |
| Rivers | Use wavy lines, vary width, add streams. |
| Lakes | Outline with curved lines, vary size, add rocks/plants. |
By following these steps, your island drawing will come to life. Landmarks make your island unique and interesting. Start drawing today and watch your island transform!
Adding Vegetation
Adding vegetation to your island drawing can bring it to life. Vegetation adds depth, making the island look vibrant and realistic. Here are some tips to help you draw different types of vegetation.
Forests And Trees
Forests and trees can create a dense, lush look. Start by sketching the tree trunks with simple lines. Vary the height and thickness of the trunks to add diversity. Draw branches spreading out from the trunks. Make the branches thinner as they extend.
Next, add the foliage. Use small, curved lines to represent leaves. Group leaves together to form clusters. For a more detailed look, draw individual leaves on some trees. This method adds texture and realism.
Consider adding different types of trees. You can draw palm trees for a tropical feel. Use curved lines for the trunk and long, thin lines for the leaves. Pine trees can be drawn with triangular shapes to represent the foliage. Mix these tree types for a varied forest.
Grass And Plants
Grass and plants add detail to the ground. Begin by drawing short, vertical lines to represent grass. Vary the length and direction of the lines to make the grass look natural. Group the grass in patches to create a more realistic appearance.
For plants, draw small shapes and lines. Use simple shapes like ovals and circles for leaves. Add stems with thin lines. Create clusters of plants to add variety. You can draw flowers by adding small circles for petals and a dot in the center.
Consider using different shades of green for the grass and plants. This adds depth and makes the vegetation look more realistic. Using a mix of light and dark greens can create a more dynamic scene.
Adding these elements will make your island drawing rich and detailed. Your island will look like a lively, thriving place.
Detailing The Island
Creating a simple island drawing can be fun. But adding details can make it look realistic and engaging. Focus on enhancing the island with shadows, highlights, textures, and depth. These elements will bring your drawing to life.
Shadows And Highlights
Shadows and highlights are essential for a realistic look. Use a light source to determine where the shadows and highlights fall. Imagine the sun shining from one direction. The parts of the island facing the sun will be brighter. The opposite sides will be darker.
To create shadows, use a darker shade of your base color. Apply it lightly to areas that are away from the light source. For highlights, use a lighter color or white. Add these to the areas facing the light. This contrast will add dimension to your island.
Texture And Depth
Adding texture can make your island drawing more interesting. Think about the surfaces on your island. Sand, rocks, trees, and water all have different textures.
- Sand: Use small dots and light lines to create a sandy texture.
- Rocks: Draw irregular shapes and use shading to give them a rough look.
- Trees: Use curved lines for leaves and rough lines for tree bark.
- Water: Draw wavy lines to represent the movement of water.
Depth is also important. Create depth by drawing objects in different sizes. Larger objects appear closer, while smaller ones seem farther away. Overlapping objects can also add depth.
For instance, if you draw a tree in front of a rock, the tree should partly cover the rock. This simple trick makes your island look more three-dimensional.
Final Touches
You’ve come a long way in learning how to draw an island. Now it’s time to refine your work. The final touches can make your island drawing stand out. These last steps involve reviewing, adjusting, and adding colors. Let’s dive into each aspect to complete your artwork.
Review And Adjust
Start by taking a close look at your island drawing. Is everything in place? Check the proportions and shapes. Do the trees look natural? Are the shorelines smooth? Use an eraser to refine any rough edges. Make sure the details are clear and well-defined.
Consider the following points:
- Shoreline: Ensure it flows naturally.
- Trees: Check for realistic shapes.
- Buildings: Refine edges and angles.
Small adjustments can make a big difference. Spend a few extra minutes here. Your drawing will look more polished.
Coloring Options
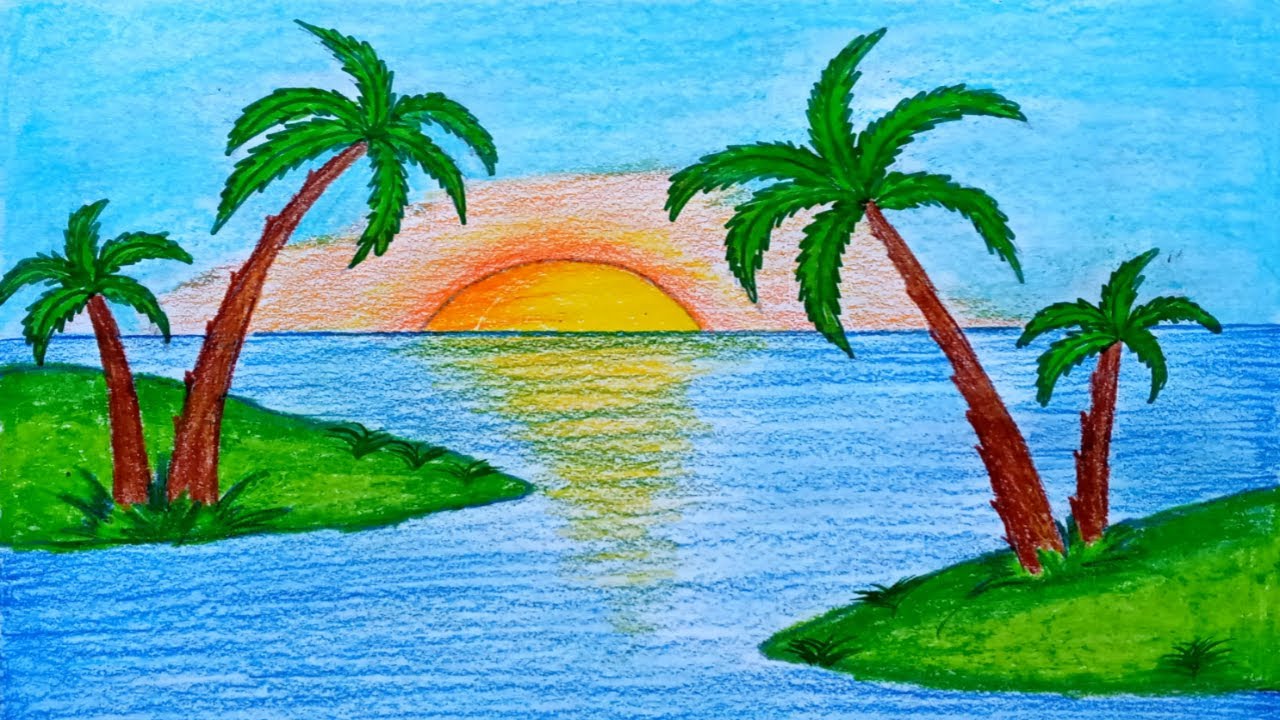
Adding color brings your island to life. Decide on the color scheme first. You can go for realistic or imaginative colors. Here are some ideas:
| Element | Realistic Colors | Imaginative Colors |
|---|---|---|
| Water | Blue, Turquoise | Purple, Pink |
| Sand | Yellow, Beige | Green, Orange |
| Trees | Green, Brown | Red, Blue |
Use colored pencils, markers, or digital tools. Apply light shades first. Then, add darker shades for depth. Blend colors to avoid harsh lines. This creates a smooth transition between different areas.
Follow these steps:
- Choose a color scheme.
- Apply light base colors.
- Add darker shades for depth.
- Blend colors smoothly.
Enjoy the process. Coloring should be fun and relaxing. Take your time to make your island vibrant and lively.
Frequently Asked Questions
What Materials Do I Need To Draw An Island?
You will need paper, pencils, erasers, and colored pencils or markers.
How Do I Start Drawing An Island?
Begin by sketching the island’s outline. Draw a rough shape with uneven edges.
How Can I Add Details To My Island Drawing?
Add palm trees, rocks, and waves. Use shading to create depth and texture.
What Are Some Tips For Coloring My Island Drawing?
Use light colors for sandy areas. Darker shades for trees and rocks. Blend well for a natural look.
Drawing an island is both fun and relaxing. Follow these steps to create your own island masterpiece. Practice regularly to improve your skills. Don’t stress about perfection; enjoy the process. Use your imagination and add personal touches. Share your drawings with friends and family.
They’ll appreciate your creativity. Remember, every artist starts somewhere. Keep drawing, learning, and experimenting. Soon, you’ll see great progress. Happy drawing!


