

Landscape art offers a window into nature’s beauty. Linoleum drawing is a unique way to capture this.
Linoleum drawing is a versatile and interesting technique. It allows artists to create stunning landscape pieces with texture and depth. This method involves carving designs into linoleum blocks and then printing them onto paper. It’s an accessible medium for both beginners and experienced artists.
By exploring different linoleum drawing ideas, you can bring varied landscapes to life. From serene seascapes to lush forests, the possibilities are endless. Dive into this creative world and discover how linoleum drawing can transform your artistic journey. Let’s explore some inspiring landscape ideas for your next linoleum project.
Introduction To Linoleum Drawing
Linoleum drawing offers a unique way to create art. This technique involves carving designs into linoleum blocks. These blocks are then used to create prints. Artists use this method to create beautiful landscapes. It combines drawing and carving skills to produce detailed artwork.
Basics Of Linoleum Art
Linoleum art starts with a design. Artists sketch their ideas on paper first. Then, they transfer these sketches onto the linoleum. The next step is carving. The artist carefully carves out the design. The carved areas will not appear in the final print. The remaining raised areas form the image.
After carving, the artist applies ink to the linoleum block. A roller, called a brayer, spreads the ink evenly. The block is then pressed onto paper. This transfers the inked design. The result is a beautiful print. The process can be repeated to create multiple prints.
Tools And Materials Needed
Creating linoleum art requires specific tools and materials. A linoleum block is essential. This is the surface you will carve. You also need carving tools. These come in different shapes and sizes. They help in creating various textures and details.
Ink is another key material. Special printmaking ink works best. A brayer helps in spreading the ink. You will also need paper for printing. Choose a type that absorbs ink well. Newsprint or rice paper works great. Lastly, a baren or a press helps in transferring the design onto the paper.
With these tools and materials, you can start your linoleum drawing journey. Each step, from carving to printing, offers a chance to explore your creativity. Happy creating!
Choosing Landscape Themes
Recommended supplies for landscape sketches
Landscapes lean on graphite for atmosphere and colored pencils for accents, all on a sketchbook that holds up to layered work.


As an Amazon Associate, drawingseasy.com earns from qualifying purchases. Prices and availability are subject to change.
Choosing the right landscape theme for your linoleum drawing can be an exciting process. Your theme will set the tone for your artwork and influence its overall feel. Let’s explore some popular landscape subjects and ways to find inspiration.
Popular Landscape Subjects
There are many subjects to consider for your linoleum drawing. Here are a few ideas:
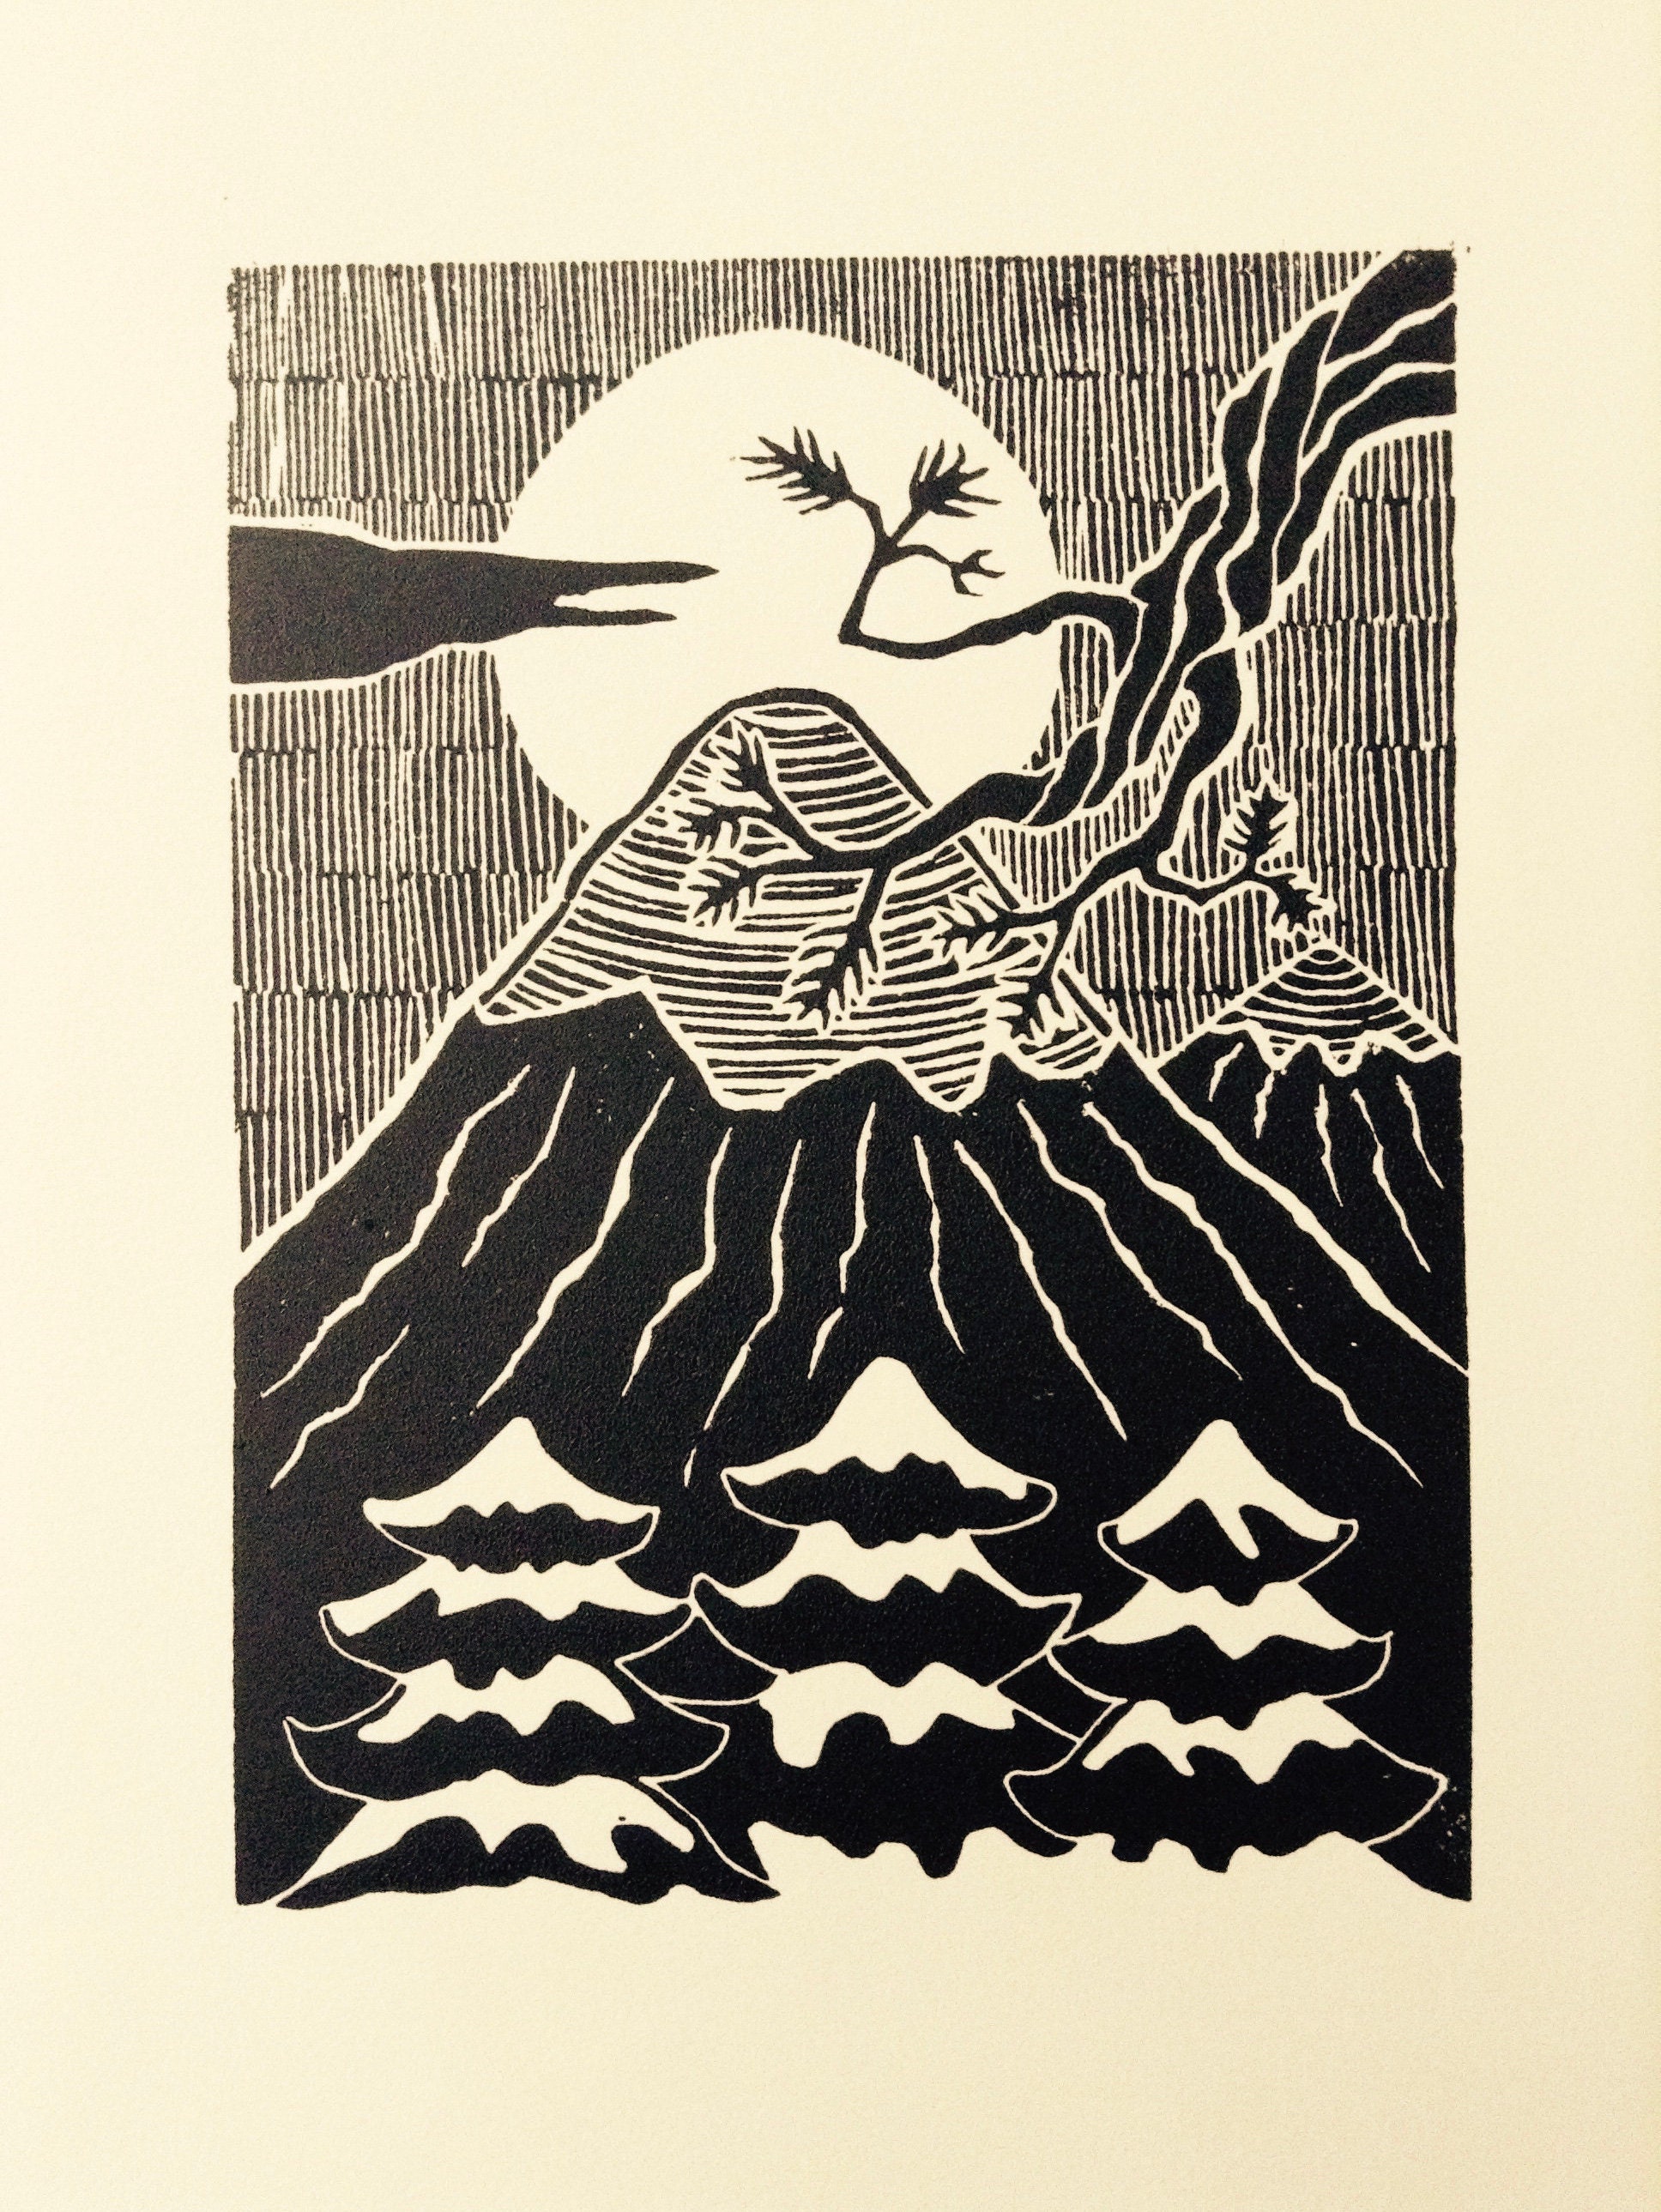
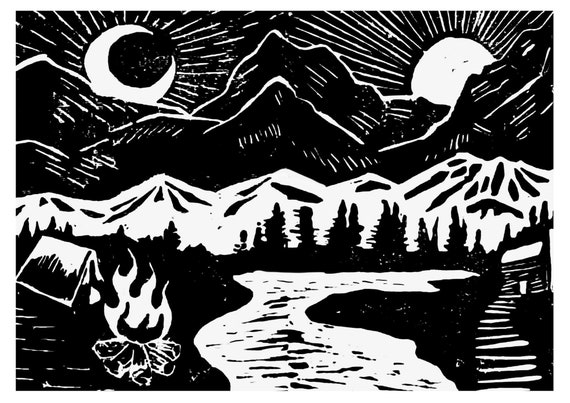
- Mountains: Capture the grandeur and majesty of towering peaks.
- Forests: Depict the dense, mysterious woods.
- Coastlines: Illustrate the serene beauty of the sea and shore.
- Deserts: Show the vast, arid landscapes with unique vegetation.
- Rivers and Lakes: Focus on the calm and flowing waters.
Finding Inspiration
Finding the right inspiration can fuel your creativity. Here are some ways to get inspired:
- Nature Walks: Spend time outside and observe the natural world.
- Photography: Use photos of landscapes for reference.
- Art Books: Explore books featuring landscape art.
- Travel: Visit new places to see diverse landscapes.
- Online Galleries: Browse online for landscape artwork.
Remember, the key to a great landscape drawing is to choose a theme that resonates with you. Whether it’s the peacefulness of a lake or the rugged beauty of mountains, let your passion guide you.
Sketching Your Landscape
Creating a linoleum landscape drawing can be a rewarding experience. First, sketch your landscape on paper. This step helps visualize your final artwork. Let’s explore how to sketch effectively and transfer your drawing to linoleum.
Preliminary Drawings
Start with preliminary drawings. These are simple outlines of your landscape.
- Use a pencil for easy adjustments.
- Focus on basic shapes and forms.
- Keep your lines light and loose.
Refine your sketch by adding details gradually. Trees, hills, and water features add depth. Sketch lightly to correct mistakes easily. Draw multiple thumbnails to explore different compositions.
Transferring Sketch To Linoleum
After finalizing your sketch, transfer it to linoleum. This step ensures accuracy in your print.
- Place tracing paper over your final sketch.
- Trace the outline with a pencil.
- Flip the tracing paper onto the linoleum block.
- Rub the back of the tracing paper to transfer the graphite.
Double-check the transferred image for any missing details. Use a permanent marker to darken the lines on linoleum. This makes carving easier.
| Materials Needed | Purpose |
|---|---|
| Pencil | Sketching and tracing |
| Tracing paper | Transferring sketch |
| Permanent marker | Outlining on linoleum |
Now, your landscape sketch is ready on the linoleum block. Next, focus on carving to bring your landscape to life.
Carving Techniques
Creating beautiful landscapes with linoleum drawing requires skill and patience. The carving techniques you use play a crucial role. These techniques help bring your artistic vision to life. Both beginners and advanced artists can benefit from understanding different carving methods.
Basic Carving Methods
Start with simple lines and shapes. Use a small V-shaped gouge for fine details. A U-shaped gouge works well for broader strokes. Be patient and practice on scrap linoleum first. This helps you get a feel for the tools. Always carve away from your hand to avoid injuries.
Maintain a steady hand and consistent pressure. This ensures even lines and smooth curves. Clean your tools regularly to keep them sharp. Dull tools can ruin your work and make carving harder.
Advanced Carving Tips
Try using multiple layers of linoleum for depth. Carve away the top layers to reveal the colors beneath. This adds complexity and texture to your landscape. Experiment with different gouge sizes for varied effects. Small gouges create fine details. Larger ones help with bold, sweeping lines.
Master the art of negative space. Carve out areas that you want to remain white or blank. This technique can add contrast and highlight key features. Use a light touch for delicate areas. Press harder for darker, more pronounced lines.
Consider using a bench hook. This tool stabilizes your linoleum block. It allows you to carve more precisely. Always keep safety in mind. Wear gloves and work in a well-lit area. Proper lighting helps you see fine details better.
Inking And Printing
Creating a linoleum drawing involves several crucial steps. Two of the most important are inking and printing. These steps bring your landscape artwork to life. The right ink and printing techniques make a big difference.
Choosing Inks
Start by selecting the right ink. The ink should be vibrant and thick. Oil-based inks work well for linoleum prints. They provide rich colors and are long-lasting. Water-based inks are easier to clean up. They dry faster but may not be as vibrant.
| Ink Type | Benefits |
|---|---|
| Oil-based | Rich colors, long-lasting |
| Water-based | Easy cleanup, fast drying |
Printing Techniques
There are different printing techniques for linoleum drawings. Each one has unique characteristics.
- Hand Burnishing: Use a spoon or baren to press paper onto inked linoleum. This method is simple and requires no press.
- Printing Press: A press applies even pressure. This results in a more consistent and professional print.
Try different techniques to find what works best for your landscape artwork. Experimenting can lead to unique results. Happy printing!
Enhancing Your Prints
Linoleum drawing ideas for landscapes can create stunning prints. Enhancing these prints can take your art to the next level. Focusing on coloring, shading, and adding textures can make a significant difference.
Coloring And Shading
Adding colors to your linoleum prints can bring them to life. Use bold colors for a dramatic effect. Soft colors can create a calming and serene landscape.
- Bold colors: Use for dramatic scenes like sunsets or stormy skies.
- Soft colors: Perfect for tranquil scenes like meadows or gentle hills.
- Gradients: Blend colors smoothly for a natural look.
Shading can add depth to your prints. This makes them appear three-dimensional. Use light and shadow to highlight key areas.
- Light: Highlight areas where the sun hits.
- Shadow: Darken areas to add depth and contrast.
Adding Textures
Textures can make your landscape prints more interesting. They add a tactile quality that draws viewers in.
| Texture Type | Effect |
|---|---|
| Stippling | Creates a dotted effect, great for foliage. |
| Cross-hatching | Adds depth and detail to rocky areas. |
| Scratching | Perfect for creating rough, bark-like textures. |
Experiment with different tools to create unique textures. Try using different objects for scratching. This can create varied and interesting effects.
Remember, textures can transform a simple print into a captivating piece of art.
Displaying And Preserving
Creating linoleum drawing ideas for landscapes is an enjoyable and rewarding activity. Ensuring your artwork is displayed and preserved correctly is essential. It helps maintain the beauty and longevity of your creations. This section will guide you through framing your artwork and proper care and maintenance.
Framing Your Artwork
Framing your linoleum drawings not only enhances their appearance but also protects them. Choose a frame that complements the artwork. Ensure the frame’s size fits your drawing perfectly.
Use acid-free mats to prevent yellowing. This helps keep your artwork in pristine condition. Opt for UV-protective glass to shield your drawings from harmful sunlight. This reduces fading over time.
Consider using a shadow box frame for a unique display. This type of frame adds depth and visual interest to your artwork. Proper framing can make a significant difference in the presentation and preservation of your linoleum drawings.
Care And Maintenance
Proper care and maintenance are vital for preserving your linoleum drawings. Keep your artwork away from direct sunlight. Prolonged exposure can cause colors to fade.
Maintain a stable environment for your artwork. Avoid high humidity or extreme temperature changes. These conditions can damage your linoleum drawings.
Dust your framed artwork regularly. Use a soft cloth to gently remove any dust or debris. Avoid using harsh chemicals or abrasive materials. These can damage the surface of your artwork.
Store unframed linoleum drawings in a dry, cool place. Use acid-free storage materials to prevent deterioration. Proper care and maintenance will help your linoleum drawings last for years to come.

Frequently Asked Questions
What Tools Are Needed For Linoleum Drawing?
You need linoleum blocks, carving tools, ink, and paper. Simple and essential.
How To Start A Landscape Linoleum Drawing?
Choose a landscape photo, sketch it on linoleum, and carve out the design. Easy steps.
What Type Of Ink Is Best For Linoleum Prints?
Water-based or oil-based inks work well. Choose based on preference and project needs.
Can Beginners Create Detailed Linoleum Landscape Drawings?
Yes, with practice and patience. Start simple, then try more detailed designs.
Creating linoleum landscape drawings can be very rewarding. These ideas help you explore your creativity. Start with simple designs and gradually try more complex ones. Practice makes perfect, so keep drawing. Remember to enjoy the process. Each stroke adds to your skill.
Soon, you will see improvement in your work. Happy drawing!


