

Drawing a table can seem simple. But it requires some basic skills.
If you want to learn how to draw a table, you’re in the right place. Tables are essential for organizing data, making it easy to read and understand. Whether for a school project, work, or personal use, knowing how to draw a table is a valuable skill.
This guide will walk you through each step. You’ll learn how to create neat, clear tables. No advanced drawing skills needed. Just follow along, and you’ll be drawing tables in no time. Let’s get started!

Introduction To Table Drawing
Learn how to draw a table with clear, easy steps. Perfect for beginners, this guide simplifies the process. Create accurate and well-drawn tables with ease.
Drawing tables can be a fun and useful skill. Whether for school projects, office work, or personal use, knowing how to draw a table helps in many situations. Tables are not just about lines and boxes. They help present information clearly and neatly. Let’s dive into the basics of table drawing.
Why Learn To Draw Tables?
Drawing tables improves your organization skills. They help display data in a structured way. Tables are great for comparing information side by side. They are useful in various fields like science, business, and art. Learning to draw tables also enhances your attention to detail. It’s a simple yet valuable skill to have.
Materials Needed
You don’t need many tools to draw a table. Here is a list of basic materials: – A pencil for sketching lines. – An eraser to correct mistakes. – A ruler for straight lines. – Paper to draw on. – A pen or marker to outline the table. With these materials, you can start drawing neat and precise tables.

Basic Structure Of A Table
Drawing essentials
These are the everyday tools we recommend for any drawing tutorial on this site, picked for reliability and beginner-friendly pricing.


As an Amazon Associate, drawingseasy.com earns from qualifying purchases. Prices and availability are subject to change.
Drawing a table might seem challenging, but it’s easier with a basic understanding of its structure. A table consists of simple shapes and clear parts that you can learn to draw. Let’s explore the basic structure of a table and break it down into manageable steps.
Understanding Table Parts
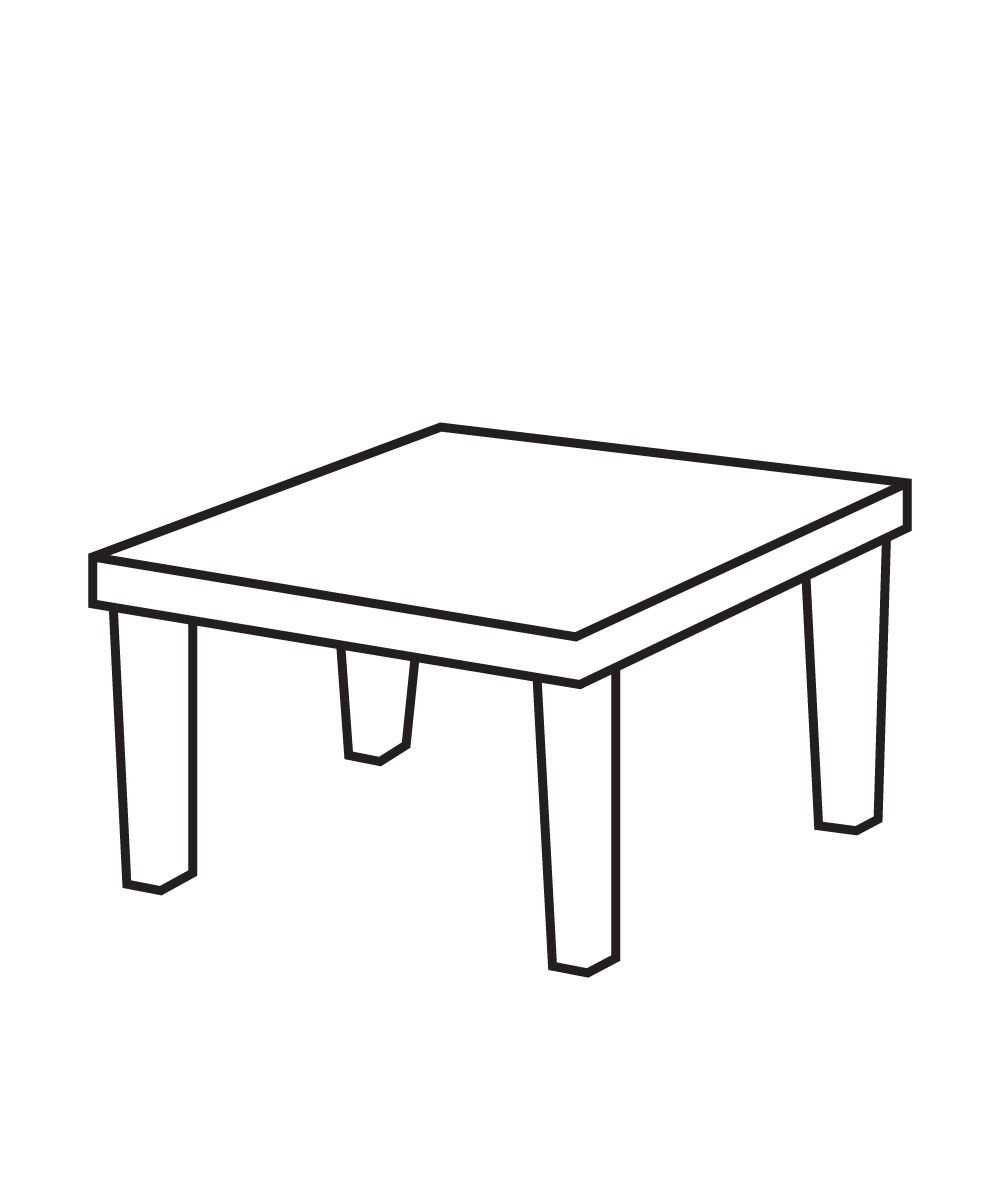
A table has several key parts. The top surface, or tabletop, is usually rectangular. Four legs support the tabletop. Each leg connects to the corners of the tabletop. Some tables have extra support beams between the legs.
Simplifying Shapes
Begin by drawing a rectangle for the tabletop. This is the main surface. Next, draw four straight lines for the legs. Each leg should connect to a corner of the rectangle. Make sure the legs are the same length.
For added detail, draw support beams between the legs. These can be simple lines. This will make your table more realistic. Practice these steps to improve your drawing skills. Each time, the table will look better.
Drawing The Tabletop
Drawing the tabletop is a crucial step in creating a realistic table. It’s essential to capture the right perspective and proportions. This guide will help you through each step.
Creating The Outline
Begin by drawing a horizontal rectangle. This will be the top view of the table. Ensure the lines are straight. Use a ruler if necessary.
Next, add a second rectangle below the first one. Make this slightly smaller to show depth. Connect the corners of the rectangles with diagonal lines.
Adding Details
After outlining, focus on the tabletop’s surface. Add grain lines if your table is wooden. Draw these lines lightly and parallel.
To make it look more realistic, add shadow lines. These should be darker and closer together. This will give the table depth.
If the table has any patterns, draw them now. Keep the patterns simple. Complex patterns can be overwhelming.
Finally, erase any unnecessary lines. This will clean up your drawing. Your tabletop should now look realistic and well-defined.
Drawing The Table Legs
Drawing the table legs is a crucial step in creating a realistic table sketch. It involves understanding and capturing the right proportions and details. This section will guide you through measuring the proportions and detailing the legs to make your table drawing look professional and lifelike.
Measuring Proportions
Start by deciding the height of your table. Tables generally range from 28 to 30 inches high. Use this measurement to ensure your table legs are proportionate.
Divide the height of the table evenly among the legs. This helps maintain balance. Draw vertical lines for each leg, starting from the table’s underside to the floor. Use a ruler for accuracy.
Ensure all legs are the same length. Uneven legs can make the table look unstable. Check your measurements twice to avoid mistakes.
Detailing The Legs
Now, focus on the shape and design of the legs. Table legs can be straight, tapered, or curved. Choose a style that matches the overall design of your table.
For straight legs, draw parallel lines on each side of the initial vertical line. For tapered legs, draw lines that narrow towards the bottom. Curved legs require more attention. Draw gentle curves that connect smoothly from top to bottom.
Add details like grooves or carvings if your table has them. These small features can enhance the realism of your drawing. Use a sharp pencil for fine details.
Finally, shade the legs to give them depth. Lightly shade one side to create a shadow effect. This makes the legs appear three-dimensional.
Adding Shadows And Depth
Adding shadows and depth to your table drawing can bring it to life. It makes the table look more realistic and three-dimensional. With the right techniques, your table can pop off the page. Let’s explore how to add shadows and depth to your drawing.
Light Source Considerations
First, decide where the light is coming from. This is your light source. It affects where shadows will fall on your table. Imagine the sun or a lamp. The side facing the light will be brighter. The opposite side will be darker. Draw lighter lines where the light hits. Draw darker lines where the light doesn’t reach.
Shading Techniques
Shading gives the table depth. Use different pencil pressures for shading. Press lightly for light areas. Press harder for dark areas. Blend the shading smoothly. This creates a gradient effect. Use your finger or a blending tool. Add shadows under the table. This makes it look like it’s resting on a surface. Shade the legs and the bottom of the table top. The areas closest to the ground will be the darkest.
Final Touches
Adding final touches to your table drawing can make it stand out. These details bring your drawing to life. They also add depth and dimension. Let’s look at some key steps to refine your table drawing.
Refining Edges
Start by refining the edges of your table. Make sure the lines are clean and sharp. Use a ruler to ensure straight lines. This gives a polished look. Clean edges also make the table look more realistic. Erase any extra lines or smudges.
Highlighting Key Features
Next, highlight key features of the table. Add shadows under the table to show depth. Highlight the top surface to show light reflection. These details make the table look three-dimensional. Also, add small details like wood grain or texture. These touches add realism to your drawing.
Common Mistakes To Avoid
Drawing a table may seem simple, but many beginners make common mistakes. These errors can make the table look unrealistic. Below are some of the most frequent mistakes and tips on how to avoid them.
Proportion Errors
One of the most common mistakes is getting the proportions wrong. A table with uneven legs or an off-centered top looks unrealistic.
- Ensure all legs are the same length.
- Check that the tabletop is centered.
- Use a ruler for straight lines.
Here is a quick checklist to help you with proportions:
| Item | Proportion Check |
|---|---|
| Leg Length | All legs are equal |
| Top Center | Centered on the legs |
| Line Straightness | Use a ruler |
Overcomplicating Details
Another mistake is adding too many details. This can make the table look cluttered and unrealistic.
- Keep the design simple.
- Focus on basic shapes first.
- Add details only if necessary.
Remember, less is often more. A simple table with clean lines is more effective than a cluttered one. Avoid unnecessary decorations and keep your drawing straightforward.
Frequently Asked Questions
What Tools Do I Need To Draw A Table?
Basic tools include a ruler, pencil, eraser, and paper. Optional tools: graph paper and a protractor.
How Do I Start Drawing A Table?
Begin by drawing the outer border. Use a ruler for straight lines. Ensure corners are right angles.
How Do I Make The Table Rows And Columns?
Draw horizontal and vertical lines inside the border. Space them evenly for neat rows and columns.
How Can I Add Details To My Table?
Add text or numbers inside the cells. Use clear handwriting. Add borders or shading for emphasis.
Drawing a table is simpler than it seems. Start with basic shapes. Add details step-by-step. Practice regularly to improve your skills. Use light pencil strokes first. Erase mistakes easily. Experiment with different styles and techniques. Drawing a table can be fun and relaxing.
Enjoy the process and be patient. Share your work with friends and family. They might offer helpful feedback. Keep practicing, and you will get better over time. Happy drawing!


