

Want to learn how to draw a hat? You’re in the right place.
Drawing a hat can be simple and fun with the right steps. Art is a great way to relax and express creativity. Learning to draw different objects, like a hat, helps improve your skills. Hats come in many styles and can add character to your drawings.
Whether you’re a beginner or looking to refine your technique, this guide will help you. We will break down the process into easy steps. Soon, you’ll be able to draw hats with confidence. Get your pencils ready, and let’s start this artistic journey together!
Materials Needed
Before you start drawing a hat, gather all the materials you need. Having the right tools makes the process easier and more enjoyable. Let’s explore the essential items for this activity.
Drawing Tools
You will need a few basic drawing tools. A sharp pencil is essential. It allows you to make precise lines. An eraser is also important. Mistakes happen, and you will want to correct them. Have a good quality sketch pad or drawing paper. This provides a smooth surface for your work. Consider using different types of pencils. HB pencils are great for sketching. B pencils are softer and darker. H pencils are harder and lighter.
Reference Images
Reference images help you draw more accurately. Look for pictures of hats that you like. You can find them in magazines or online. Print them out or save them on your device. Study the shapes and details. This will guide your drawing. Reference images are useful for understanding different angles. They show how light and shadows affect the hat. This will make your drawing more realistic.

Basic Shapes
Drawing essentials
These are the everyday tools we recommend for any drawing tutorial on this site, picked for reliability and beginner-friendly pricing.


As an Amazon Associate, drawingseasy.com earns from qualifying purchases. Prices and availability are subject to change.
Drawing a hat begins with understanding the basic shapes. These shapes act as the foundation for more detailed drawing. By mastering these shapes, anyone can draw a hat with ease. Let’s explore the key shapes used in drawing a hat.
Circles And Ovals
Start by drawing circles and ovals. These shapes form the main structure of many hats. For example, a simple baseball cap can begin with an oval. This oval represents the top of the hat.
To draw a brim, use a larger oval. Position this larger oval below the first one. This creates a realistic look. By using circles and ovals, you can also draw hats like bowlers or cloches.
| Hat Type | Top Shape | Brim Shape |
|---|---|---|
| Baseball Cap | Oval | Large Oval |
| Bowler Hat | Circle | Wide Oval |
| Cloche Hat | Oval | Small Oval |
Lines And Curves
Next, use lines and curves to add detail. These lines define the shape and structure of the hat. For a top hat, draw a straight line from the oval. This line shows the height of the hat.
Then, connect the line to the oval with curves. This forms the sides of the hat. Curves add dimension and make the hat look three-dimensional. For a cowboy hat, start with a curved line for the brim. Then, add wavy lines for detail.
- Straight lines show height.
- Curved lines add depth.
- Wavy lines create texture.
Using lines and curves helps in creating a detailed and realistic hat drawing. Practice these shapes to improve your drawing skills.
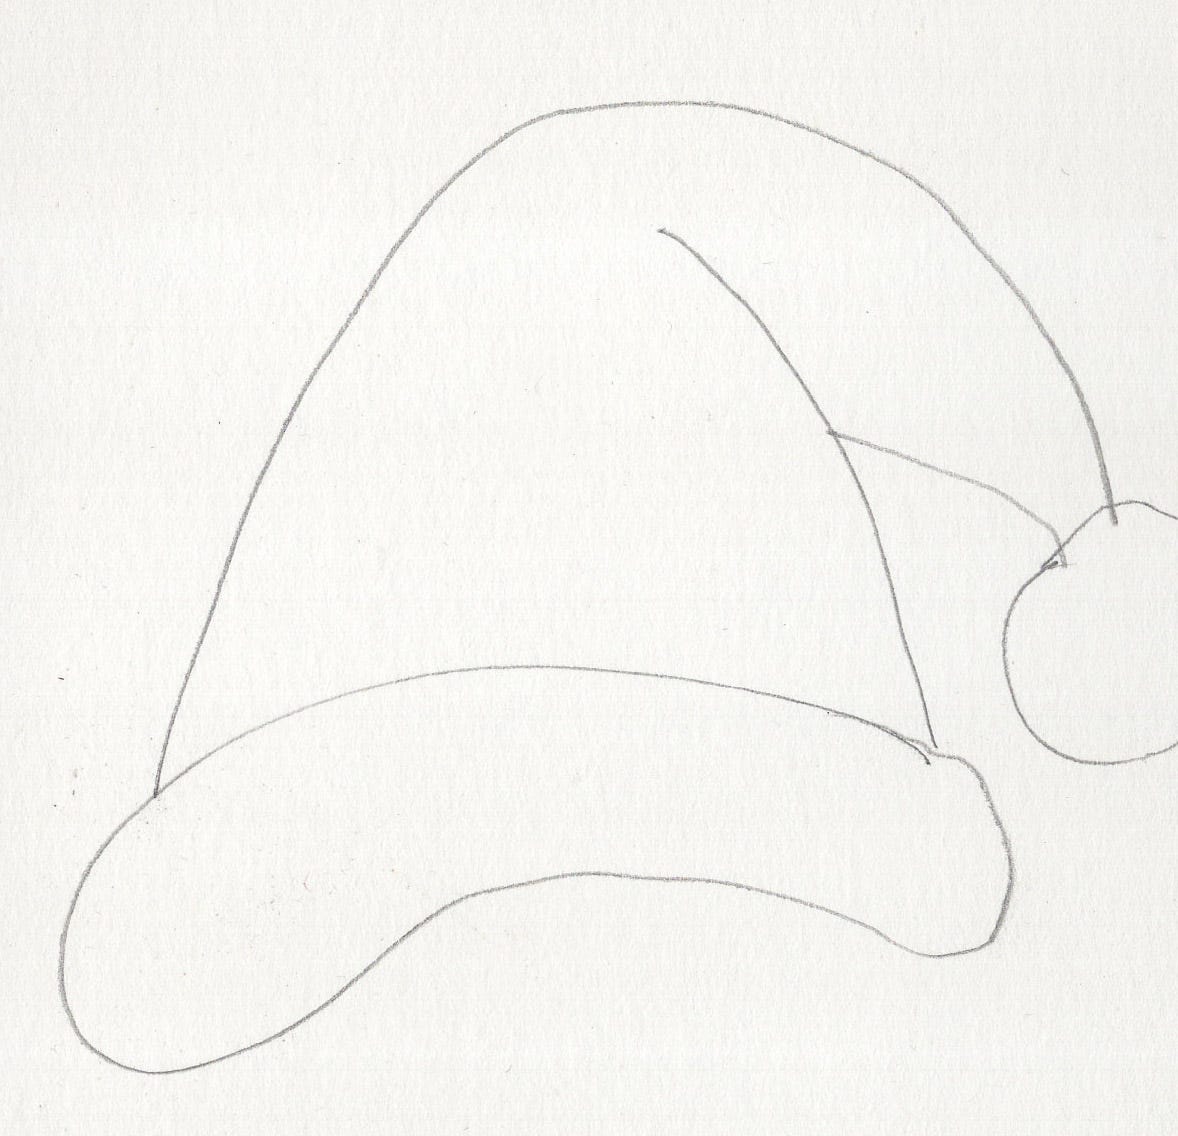
Sketching The Hat
Drawing a hat can be a fun and rewarding experience. Start by sketching the basic shape and then refine your drawing to add details. This guide will help you learn how to draw a hat in simple steps. Let’s begin with sketching the hat.
Outline The Shape
First, draw the basic shape of the hat. Use light, smooth lines to create the initial outline. Focus on the general form and size.
- Draw a rough oval for the top of the hat.
- Sketch a curved line beneath it for the brim.
Ensure the shape is proportional to the head. Adjust as needed.
Refine The Edges
Once the basic shape is done, refine the edges. Add more detail to make the hat look realistic.
- Darken the lines that define the hat’s edge.
- Erase unnecessary guidelines.
- Add curves and folds to show the fabric’s texture.
Pay attention to shadows and highlights. These elements give the hat depth and dimension.
Adding Details
Adding details to your hat drawing brings it to life. It’s where your creativity shines. Let’s dive into the specifics of enhancing your hat with intricate details.
Brim And Crown
The brim and crown are key components of a hat. Start with the brim. This is the part that extends out. It can be wide, narrow, or wavy. Draw a smooth curve to represent the brim’s edge.
Next, focus on the crown. This is the part that sits on the head. It can be tall, short, rounded, or flat. For a rounded crown, draw a dome shape. For a flat crown, draw a straight line across the top.
Decorative Elements
Decorative elements add personality to your hat. Start with basic decorations like ribbons or bows. Draw a line around the base of the crown for a ribbon. Add a bow by drawing two loops and a knot in the middle.
For a more detailed look, consider adding patterns. Stripes, dots, or even floral designs can make your hat unique. Use light, precise lines to sketch these patterns. Ensure they follow the hat’s shape and curves.
Feathers can also add elegance. Draw a long, curved line for the feather’s spine. Add smaller lines extending out to form the feather’s barbs.
| Element | Details |
|---|---|
| Brim | Wide, narrow, wavy |
| Crown | Tall, short, rounded, flat |
| Ribbons | Line around base of crown |
| Bows | Two loops and a knot |
| Patterns | Stripes, dots, floral designs |
| Feathers | Curved line with smaller lines for barbs |
Remember to use light lines while adding details. This allows for easy adjustments and ensures your hat looks natural. With practice, your hat drawings will become more detailed and realistic.
Shading Techniques
Shading techniques can bring life and depth to your hat drawing. They add realism and make your artwork stand out. Mastering these techniques involves understanding light, shadow, texture, and patterns. Let’s explore these aspects to enhance your drawing skills.
Light And Shadow
Start by identifying the light source. This determines where shadows fall. Use light pencil strokes to mark the areas hit by light. Gradually darken the areas where shadows form. This contrast between light and shadow creates a three-dimensional effect.
Observe how shadows vary in intensity. The closer an object is to the light, the sharper the shadow. Softer shadows appear further from the light source. Practice this by drawing simple shapes before applying it to your hat.
Texture And Patterns
Different hats have unique textures and patterns. A straw hat has a woven texture. A wool hat appears soft and fuzzy. To create these textures, use various shading techniques. For a woven texture, use cross-hatching or fine lines.
For a soft look, blend the pencil strokes gently. Patterns can also be added to the hat. Polka dots, stripes, or floral designs add character. Lightly sketch these patterns first, then shade around them. This makes the patterns stand out without overwhelming the drawing.
Experiment with different shading tools. Pencils, blending stumps, or even your fingers can create varied effects. Each tool adds a unique touch to your hat drawing.
Common Mistakes
Many struggle with proportions when drawing a hat, often making it too big or small. Incorrect angles can also distort the overall look. Practice helps improve accuracy.
Drawing a hat can be fun, but there are common mistakes. Beginners often struggle with proportions and overworking the drawing. Avoid these pitfalls to improve your drawing skills.
Proportional Errors
One common mistake is getting the proportions wrong. Hats come in many shapes and sizes. It’s essential to match the hat size to the head size. If the hat is too big or too small, it looks odd. Measure carefully. Use reference images. Compare the hat to the head repeatedly. This ensures the proportions look correct.
Overworking The Drawing
Another mistake is overworking the drawing. Drawing too many details can make the hat look messy. Simplify your lines. Focus on the main shapes first. Add details slowly. Take breaks. Step back and look at your work. Fresh eyes can spot overworked areas. Keep your drawing clean and simple. This makes it more appealing and easier to understand. “`
Final Touches
You’ve drawn the basic shape of the hat. Now, it’s time for the final touches. This stage is essential to make your hat drawing look polished and complete. Let’s focus on reviewing and adjusting your work, and signing your artwork.
Review And Adjust
Take a moment to step back and review your drawing. Look at the proportions and details. Are the lines smooth and consistent?
Adjust any areas that seem off. Erase extra lines or smudges. Ensure that the shading is even and looks natural.
You can use a blending tool or your finger to soften harsh lines. This step enhances the realism of your drawing.
Sign Your Artwork
Every artist should sign their work. It adds a personal touch and claims ownership. Choose a corner of your drawing to sign.
Use a fine-tip pen or pencil for a neat signature. Make sure it doesn’t distract from the drawing itself.
Date your work as well. This helps you track your progress over time.
| Step | Action |
|---|---|
| 1 | Review your drawing |
| 2 | Erase and adjust lines |
| 3 | Blend shading |
| 4 | Sign your artwork |
| 5 | Date your work |
Frequently Asked Questions
What Materials Do I Need To Draw A Hat?
You need paper, pencil, eraser, and coloring tools. Simple materials.
How Do I Start Drawing A Hat?
Begin by sketching a basic shape. A circle or oval works well.
Can I Draw Different Types Of Hats?
Yes, you can draw many types. Try a cowboy hat, a cap, or a top hat.
How Do I Add Details To My Hat Drawing?
Focus on lines and textures. Add stitching, bands, or patterns for detail.
Drawing a hat can be simple and fun. Follow the steps carefully. Practice regularly to improve your skills. Remember, each hat is unique. Use your creativity to make it special. Share your drawings with friends. They might give you new ideas.
Keep learning and experimenting. Drawing different hats can be a great hobby. Enjoy the process and have fun!


