

Want to learn how to draw a school? It’s easier than you think.
With some simple steps, you can create a detailed drawing. Drawing a school can be a fun and educational project. It helps you understand shapes, lines, and proportions. Whether you’re a beginner or someone looking to improve, this guide is for you.
Schools are a common subject, and knowing how to draw them can enhance your skills. In this blog post, we will break down the process into easy steps. We will cover everything from basic outlines to adding details. By the end, you will have a complete drawing of a school. Let’s get started!

Materials Needed
Drawing a school can be a fun and educational activity. It helps you understand the structure and design of buildings. Before you start, gather all the necessary materials. Having the right tools will make the drawing process smoother and more enjoyable.
Essential Supplies
The first thing you need is paper. A blank sheet of paper is perfect for drawing. You also need pencils. A set of pencils with different hardness levels is helpful. Erasers are essential too. You will make mistakes, and erasers will help you correct them. A ruler is important for drawing straight lines. It helps in making the school building look more realistic.
Optional Tools
Colored pencils can add life to your drawing. You can use them to color the walls, roof, and other parts of the school. Markers are also useful. They can help in outlining the drawing and adding bold details. A drawing compass can be useful too. It helps in drawing perfect circles, which can be windows or other round elements of the school.
Planning Your Drawing
Drawing essentials
These are the everyday tools we recommend for any drawing tutorial on this site, picked for reliability and beginner-friendly pricing.


As an Amazon Associate, drawingseasy.com earns from qualifying purchases. Prices and availability are subject to change.
The first step to drawing a school is planning. This step involves deciding on the perspective, sketching the layout, and ensuring all details are in place. Proper planning ensures your drawing looks structured and realistic.
Choosing A Perspective
Choosing a perspective is crucial. It determines the angle from which you view the school. You can choose a front view, a side view, or a three-quarter view. Each perspective offers a different look and feel.
- Front View: Shows the school from the front.
- Side View: Displays the side of the building.
- Three-Quarter View: Combines both front and side views.
A front view is simple and direct. It is ideal for beginners. A side view gives a different angle, showing depth. A three-quarter view combines both perspectives, offering a more dynamic look.
Sketching The Layout
Sketching the layout involves mapping out the main structures. Use light pencil strokes to outline the school building, windows, doors, and other features.
- Start with the main building shape.
- Add windows and doors.
- Include details like the roof and stairs.
Begin with the main building shape. Draw a large rectangle or square. Add the windows and doors. Ensure they are evenly spaced. Include details like the roof and stairs to make the drawing realistic.
Use a ruler for straight lines. Keep the sketch light. This allows you to make adjustments easily. Once satisfied, darken the lines.
| Element | Description |
|---|---|
| Main Building | Large rectangle or square. |
| Windows | Evenly spaced rectangles. |
| Doors | Centered, with details. |
| Roof | Triangle or flat top. |
| Stairs | Lines for steps. |
Sketching the layout sets the foundation. It helps visualize the final drawing. Take your time and ensure all elements are proportionate.
Drawing The School Building
Creating a school building drawing can be fun and rewarding. This guide will help you step-by-step to draw a school building. Follow each step carefully to create a beautiful school building drawing. Let’s start with creating the outline and then adding windows and doors.
Creating The Outline
First, draw a large rectangle for the main part of the building. This will be the body of the school. Then, add a triangle on top of the rectangle for the roof. Make sure the triangle is centered on the rectangle. This will give the building a nice symmetrical look.
| Step | Action |
|---|---|
| 1 | Draw a large rectangle |
| 2 | Add a triangle on top |
| 3 | Ensure the triangle is centered |
Adding Windows And Doors
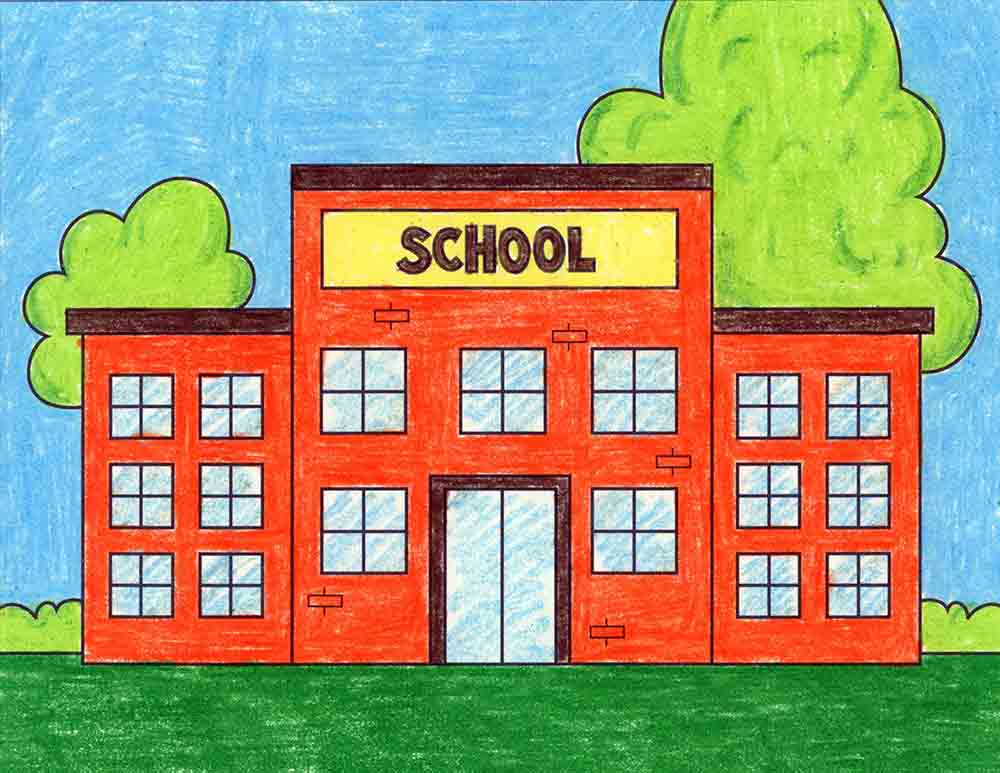
Next, it’s time to add windows and doors to your school building. Draw a large rectangle in the middle of the building for the main door. Then, add smaller rectangles on each side of the door for windows. Make sure the windows are evenly spaced. You can add more windows if you like. This will make your school building look more realistic.
- Draw the main door in the center
- Add windows on each side of the door
- Ensure windows are evenly spaced
Now, your school building has windows and doors. This step makes the building look more complete.
Adding Details
Adding details to your school drawing can bring it to life. These details make the drawing more realistic and engaging. Focus on elements like the roof, chimneys, stairs, and railings. Each small addition adds depth to your art.
Roof And Chimneys
The roof is a key part of a school building. Start by drawing a simple triangle or rectangle on top. Add shingles to make it look real. Draw small lines in a pattern. These lines should follow the roof’s slope. Next, draw chimneys. Place them on the roof. They can be square or rectangular. Add a small cap on top of each chimney. This detail makes the roof look complete.
Stairs And Railings
Stairs and railings add character to the school entrance. Draw the stairs as rectangles. Place them one below the other. Each rectangle should be slightly lower than the one above it. This creates a stair-like effect. Next, add railings. Draw two parallel lines next to the stairs. Connect these lines with small vertical lines. This makes the railing look real. These details make the school drawing more inviting.
Incorporating Surroundings
To make your school drawing more realistic, add surroundings. This includes the playground, trees, and bushes. These elements bring life to your drawing and make it more engaging.
Drawing The Playground
A playground is a fun part of any school. It usually has swings, slides, and a sandbox. Start by drawing the swings. Use two straight lines for the swing’s frame. Then, add a horizontal line for the seat. Next, draw the slide. Start with a ladder. Then, draw a curved line for the slide’s body. Don’t forget to add a sandbox. Draw a rectangle and fill it with small circles for the sand.
Adding Trees And Bushes
Trees and bushes make the school look more natural. Begin by drawing the tree trunks. Use straight lines for the trunks. Then, draw circles or ovals for the tree tops. For the bushes, draw small, round shapes. Add some leaves and branches to both trees and bushes. This makes them look more detailed. You can also add flowers around the bushes for a colorful touch.
| Element | How to Draw |
|---|---|
| Swings | Two straight lines for the frame, horizontal line for the seat |
| Slide | Ladder with a curved line for the slide body |
| Sandbox | Rectangle filled with small circles for sand |
| Tree | Straight lines for trunk, circles/ovals for tops |
| Bush | Small round shapes, add leaves and branches |
- Use straight lines for the swing’s frame.
- Draw a curved line for the slide.
- Add small circles in the sandbox for sand.
- Draw circles or ovals for tree tops.
- Add leaves and branches for detail.
- Include flowers around bushes for color.
Final Touches
After you have drawn the basic structure of the school, it’s time to add the final touches. These details will bring your drawing to life. They make it look more realistic and complete. Let’s dive into the key aspects of the final touches.
Shading And Texturing
Shading adds depth to your drawing. It shows where the light and shadows fall. Start by identifying the light source. Shade the areas that are far from the light. Use gentle strokes to create soft shadows.
Texturing makes the surfaces look real. For bricks, use small, repeated lines. For windows, draw reflections and highlights. Keep your hand light and steady. This will help in achieving a natural look.
Review And Adjustments
Take a step back and review your drawing. Look for any areas that need improvement. Check the proportions and perspective. Make sure everything looks balanced.
Adjust any lines that seem out of place. Erase any unwanted marks. Add any missing details. These small tweaks can make a big difference.
Frequently Asked Questions
How Do You Draw A Simple School?
Start with a rectangle for the main building. Add a triangle for the roof. Draw windows and a door.
What Materials Do I Need To Draw A School?
You need paper, a pencil, an eraser, and colored pencils or markers.
How Can Kids Learn To Draw A School?
Kids can follow simple step-by-step instructions. Start with basic shapes. Practice regularly for improvement.
How Long Does It Take To Draw A School?
It usually takes about 20-30 minutes for a simple drawing. More detailed drawings may take longer.
Creating a drawing of a school can be fun and rewarding. With practice, your skills will improve. Remember to start with basic shapes. Add details gradually. Use different colors for a vibrant look. Don’t be afraid to make mistakes. They help you learn and grow.
Keep experimenting with different styles. Share your art with friends and family. Enjoy the process and keep drawing!


