

Drawing a plane might seem challenging at first. But with simple steps, it becomes easy.
Learning how to draw a plane is a fun and rewarding activity. Whether you’re an aspiring artist or just looking for a creative way to spend your time, this guide will help you. Planes have unique shapes and details, making them an interesting subject to draw.
This tutorial will break down the process into manageable steps, ensuring you can follow along easily. You’ll start with basic shapes and gradually add details to complete your drawing. By the end, you’ll have a plane that you can be proud of. Ready to get started? Let’s dive into the world of drawing planes!
Materials Needed
Drawing a plane can be a fun and rewarding activity. To start, you’ll need some basic materials. Having the right tools will make the process easier and more enjoyable. Below, we’ll cover the essentials you’ll need to get started.
Pencils And Paper
The first materials you need are pencils and paper. A good quality pencil is crucial. It helps you sketch both light and dark lines. Mechanical pencils are great for detailed work. Regular pencils are also fine. Make sure to have an eraser handy. Mistakes happen, and that’s okay. For paper, use a smooth surface. It should be thick enough to handle erasing.
Optional Tools
While pencils and paper are essential, some optional tools can enhance your drawing. A ruler helps in drawing straight lines. This is useful for the plane’s body and wings. Colored pencils or markers can add vibrant details. A sketchbook is also a good investment. It keeps all your drawings in one place. These tools are not necessary, but they can help.
Basic Shapes
Recommended drawing tools for vehicles and machines
Hard edges and proportional lines call for a mechanical pencil and clean fineliners. A toned sketch pad keeps the volumes readable.


As an Amazon Associate, drawingseasy.com earns from qualifying purchases. Prices and availability are subject to change.
Drawing a plane may seem complex, but breaking it down into basic shapes makes it manageable. Start with simple forms. These shapes form the foundation of your plane drawing. A few easy steps will guide you through this process.
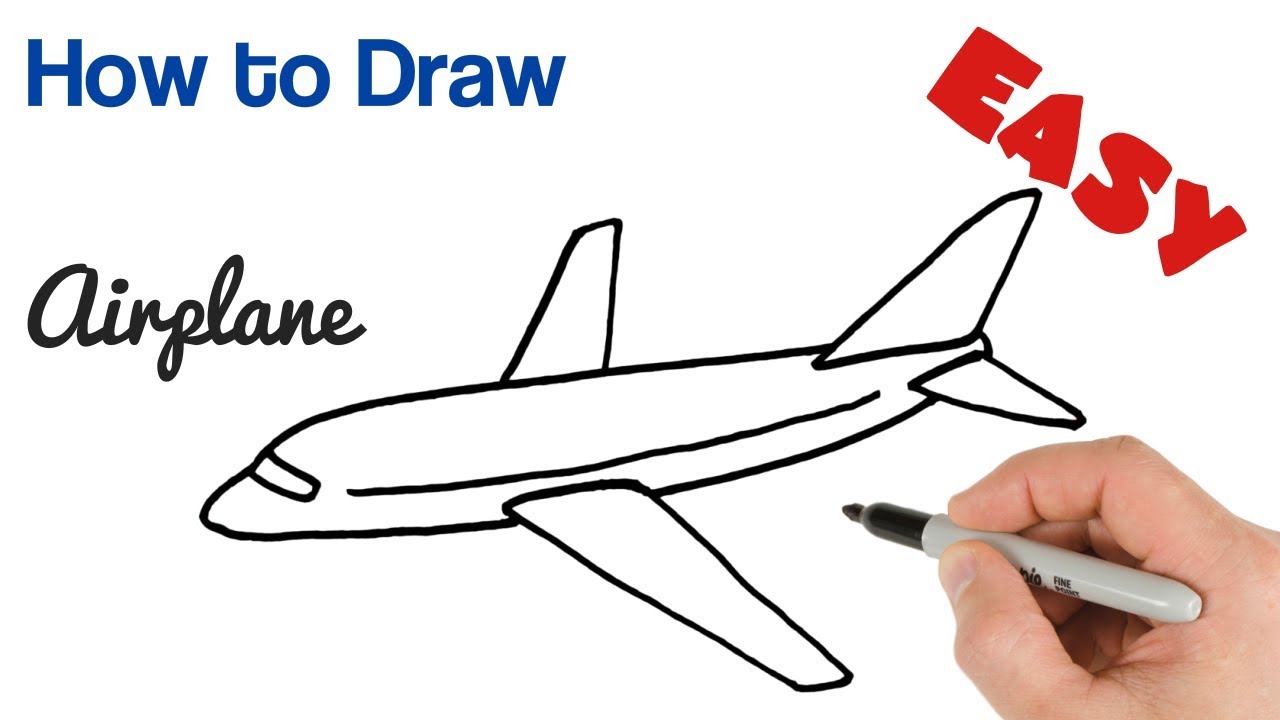
Drawing The Body
Begin by drawing a long, horizontal oval. This shape represents the main body of the plane. Ensure the oval is centered on your paper. Next, draw a small, vertical oval at one end. This will be the cockpit. Connect these two ovals with straight lines. Now, you have the basic shape of the plane’s body.
Adding The Wings
Draw a horizontal line across the body. This line marks where the wings will go. On each side of this line, sketch two long, thin rectangles. These rectangles will be the wings. Make sure they are evenly spaced. For the tail wings, draw two smaller rectangles at the back. These tail wings should angle slightly upward. You now have the basic shapes of the plane’s wings.
Adding Details
Adding details to your plane drawing brings it to life. These small elements make your plane look realistic and complete. Focus on windows, doors, engines, and propellers to add depth and character.
Windows And Doors
Start with the plane’s windows. Draw small rectangles or circles along the fuselage. Ensure they are evenly spaced. Windows give the plane a realistic appearance.
Next, draw the doors. Typically, planes have one or two main doors. Place the doors near the front or middle of the plane. Use a simple rectangle for the door shape.
Engines And Propellers
Now, add the engines. Draw them under the wings or on the sides of the fuselage. Engines are usually cylindrical. Add small details like lines to show the engine parts.
If your plane has propellers, draw them in front of the engines. Propellers look like long, thin blades. Draw two or three blades for each propeller. Make sure they are evenly spaced.
These details enhance your plane drawing, making it look realistic and exciting. Enjoy the process and watch your plane come to life!
Refining The Outline
After sketching the basic shape of your plane, the next step is refining the outline. This process involves making the lines smoother and adjusting the proportions. Let’s dive into the details and make your plane look more realistic.
Smoothing The Lines
At this stage, focus on smoothing the lines of your plane. Use a sharper pencil or pen. Start by tracing over the rough lines you drew earlier. Make sure your hand moves steadily to avoid jagged edges. If any line looks uneven, gently erase it and redraw.
Here are some tips for smoother lines:
- Use light pressure initially, and darken the lines gradually.
- Keep your hand relaxed to avoid stiffness.
- Work on small sections at a time for better control.
Correcting Proportions
Next, focus on correcting the proportions of your plane. Pay attention to the size and placement of different parts. For example, ensure the wings are in proportion to the fuselage. The tail section should not be too large or too small.
Here are a few steps to correct proportions:
- Measure the length of the fuselage and compare it with the wings.
- Adjust the size of the wings if they look too big or small.
- Check the position of the cockpit and make sure it aligns correctly.
If you find any part out of proportion, use an eraser to make corrections. Redraw the section and ensure it fits well with the overall outline.
By refining the outline, your plane drawing will start to take shape beautifully. Take your time and enjoy the process.
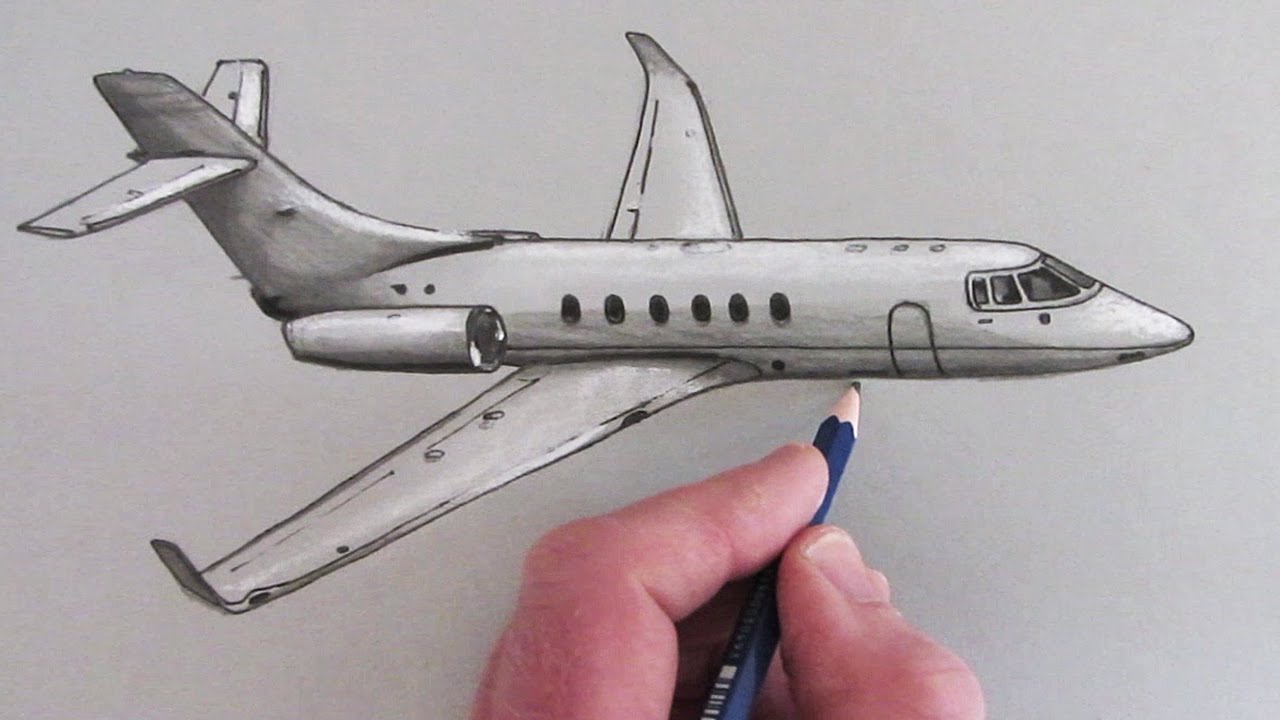
Shading And Texture
Shading and texture are essential to bring your plane drawing to life. By using shading techniques, you can create depth and make your plane look three-dimensional. Adding texture helps in making the drawing more realistic. In this section, we will discuss how to use shading and texture effectively.
Creating Depth
Creating depth in your plane drawing involves using light and shadow. You can achieve this by:
- Identifying the light source: Determine where the light is coming from. This will help you decide where shadows fall.
- Using gradients: Gradually shift from light to dark shades. This technique helps in creating a smooth transition.
To illustrate this, let’s look at how to shade the wings of the plane:
| Step | Description |
|---|---|
| 1 | Shade the area closer to the body of the plane darker. |
| 2 | Use lighter shades as you move towards the tips of the wings. |
Adding Realism
To add realism to your plane drawing, focus on the texture. Different parts of the plane have different textures. For example:
- Metal body: Smooth and reflective. Use light lines and highlights.
- Wheels: Rough and rubbery. Use short, dark strokes to show texture.
Here are some tips to add texture:
- Cross-hatching: Use intersecting lines to create a textured look.
- Stippling: Use small dots to add texture and depth.
By varying the texture, you can make the plane look more realistic. This will make your drawing more engaging and lifelike.

Final Touches
You’ve sketched your plane and added all the main elements. Now, it’s time to refine your drawing with some final touches. This step will make your plane look polished and professional. Let’s focus on highlighting key areas and cleaning up the drawing.
Highlighting Key Areas
Adding highlights can make your drawing stand out. Use a white pencil or an eraser to create light spots on the plane. These spots should be where the light naturally hits the plane.
- Wings: Lightly shade the top edge.
- Windows: Add small white dots to show reflections.
- Body: Highlight the top and sides.
Remember, the highlights should be subtle. Too much can make the drawing look unrealistic.
Cleaning Up The Drawing
Now, it’s time to clean up your drawing. This step involves erasing any extra lines and refining the edges.
- Use a soft eraser to remove unwanted lines.
- Redraw the main outlines with a sharp pencil.
- Check for any smudges and clean them up.
Make sure your drawing looks neat and tidy. A clean drawing makes all the details stand out.
Here are some tips for cleaning up:
| Action | Tool |
|---|---|
| Erase extra lines | Soft eraser |
| Refine edges | Sharp pencil |
| Remove smudges | Kneaded eraser |
Follow these steps to give your plane drawing a professional finish. Your plane should now look realistic and well-detailed. Enjoy your final masterpiece!
Common Mistakes
Drawing a plane can be challenging. Many beginners face similar issues. Understanding these common mistakes helps improve your drawing skills.
Proportion Issues
Maintaining correct proportions is crucial. Planes have specific ratios between different parts. For example:
- Wings should be balanced with the fuselage.
- The tail fin should fit the body size.
Use a reference image. Compare your drawing with the reference. This helps identify proportion errors.
Perspective Problems
Perspective gives depth to your drawing. Many struggle with this. Consider the following:
| Common Perspective Issues | Solutions |
|---|---|
| Incorrect angles | Use guidelines to maintain angles |
| Flat appearance | Apply shading for depth |
| Uneven lines | Draw with a light hand first |
Practice basic shapes in perspective. This builds a strong foundation. Over time, your plane drawings will look more realistic.
Frequently Asked Questions
What Materials Do I Need To Draw A Plane?
You need paper, pencils, eraser, and a ruler. Optional: colored pencils.
How Do I Start Drawing A Plane?
Begin with a simple outline. Draw basic shapes for the body and wings.
How Can I Add Details To My Plane Drawing?
Add windows, engines, and tail details. Use references for accuracy.
How Do I Make My Plane Drawing Look 3d?
Use shading and perspective lines. This adds depth to your drawing.
Drawing a plane can be fun and rewarding. Start with basic shapes. Add details gradually. Use light lines first, then darken. Practice makes perfect. Don’t rush the process. Enjoy each step. Share your artwork with friends. Keep learning and improving your skills.
Drawing helps express creativity. Stay patient and keep practicing. Anyone can learn to draw a plane with dedication. Happy drawing!


