

Drawing a pizza is fun and easy. It just takes a few steps.
Creating a simple pizza drawing can boost your artistic skills. Whether you are a beginner or an experienced artist, this guide will help you. Start with basic shapes and build up to a detailed, mouth-watering pizza. This activity is perfect for kids and adults alike.
You can use it to decorate your kitchen or just have fun. Grab your paper and pencils. Let’s begin the journey of drawing a delicious pizza slice by slice.
Gather Your Materials
Before you start drawing a pizza, you need the right materials. Having the correct tools will make your drawing process smoother and more enjoyable. Let’s dive into what you’ll need to get started.
Essential Tools
First, gather the essential tools. These are the items you absolutely need.
- Pencil: Use a sharp pencil for detailed lines.
- Eraser: Mistakes happen, so have an eraser handy.
- Paper: Choose good quality paper for a better drawing experience.
These basic items form the core of your drawing toolkit. Make sure you have them all.
Optional Add-ons
Next, consider some optional add-ons. These items can enhance your drawing.
- Colored Pencils: Add color to make your pizza look delicious.
- Markers: Use markers for bold and vibrant lines.
- Blending Stump: Smooth out pencil lines for a polished look.
While not necessary, these tools can boost your artwork. Use them to add flair and detail to your pizza drawing.
Sketch The Pizza Base
Tools we use for food and still life drawings
Food and still life pop with bright colored pencils, plus a graphite layer to plan the form before color goes down.


As an Amazon Associate, drawingseasy.com earns from qualifying purchases. Prices and availability are subject to change.
Before you get to the fun toppings, you need a solid pizza base. This is the foundation of your pizza drawing. In this section, we will cover how to outline the circle and draw the crust.
Outline The Circle
Start by drawing a large circle. Use a light pencil for this step. You want the circle to be smooth and even. If you’re having trouble, use a round object like a bowl to trace. Keep the circle’s size in mind, as it will be the size of your pizza.
Draw The Crust
Next, focus on the crust. Draw a smaller circle inside the first one. This smaller circle should be closer to the size of the actual pizza. The space between the two circles will be your crust. Make the crust wavy or irregular to give it a more realistic look. Add a few small lines or bumps to show the texture of the baked dough.
| Step | Action |
|---|---|
| 1 | Draw a large circle lightly with a pencil. |
| 2 | Draw a smaller circle inside the first one. |
| 3 | Add wavy lines to the space between the circles. |
| 4 | Add small bumps to show texture. |
Now your pizza base is ready! You can start adding toppings. Make sure your base is neat and clear. This will make the next steps easier.
Add The Sauce Layer
Adding the sauce layer to your pizza drawing brings it to life. This step is crucial for giving your pizza a realistic and delicious look. The sauce layer adds depth and detail to your artwork. Follow these steps to make it stand out.
Create Texture
Start by giving your sauce some texture. Use short, wavy lines to show the sauce spread on the dough. These lines should be uneven and random. This makes the sauce look more natural. Avoid making the lines too straight or uniform. The sauce should look like it was spread with a spoon.
Add Color
Color is key to making your sauce look tasty. Use a rich red color for the sauce. You can mix in some darker reds and browns. This adds depth and variation. Lightly blend these colors to avoid harsh lines. Your sauce should look smooth and appetizing.
Draw The Cheese
Drawing a delicious pizza can be fun. One of the most critical steps is drawing the cheese. The cheese is the gooey, melty part that makes pizza irresistible. Let’s break down how to draw the cheese in easy steps.
Spread Evenly
First, start by spreading the cheese evenly. Imagine how cheese melts and covers the pizza. Use light, curved lines to represent this. These lines should follow the shape of the pizza. Make sure the cheese spreads out to the edges but not beyond. This will give it a realistic look.
Shading Techniques
Next, use shading techniques to add depth to the cheese. Shading is essential. It makes the cheese look real and tasty. Follow these steps:
- Identify the light source.
- Shade the areas away from the light source.
- Use a darker pencil or apply more pressure for darker areas.
- Blend the shaded areas smoothly with a blending tool or your finger.
This will make the cheese look melty and delicious.
Don’t forget to add some texture. Small, quick strokes can represent the melted cheese’s bubbles and strings. This will add realism to your drawing.
| Step | Description |
|---|---|
| 1 | Spread cheese evenly with light, curved lines. |
| 2 | Identify the light source. |
| 3 | Shade areas away from the light source. |
| 4 | Use darker pencil for darker areas. |
| 5 | Blend shaded areas smoothly. |
By following these steps, your pizza drawing will look more realistic and appetizing. Happy drawing!
Include Toppings
Drawing a pizza is fun and creative. Including toppings brings your pizza to life. With every detail, your drawing looks more delicious. Let’s explore the variety of toppings you can add.
Popular Choices
Toppings make each pizza unique. Here are some popular choices:
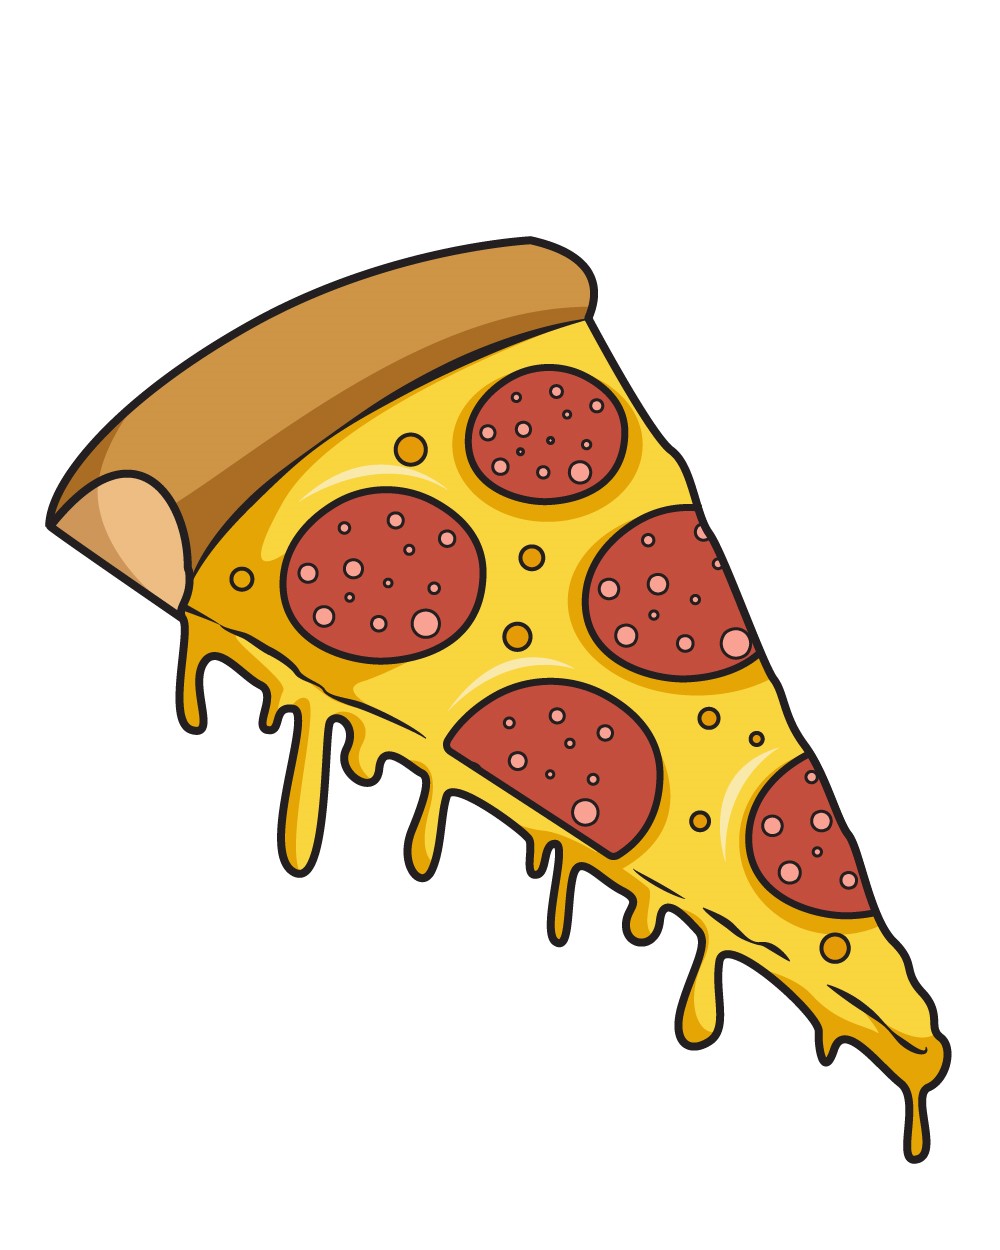
- Pepperoni: Classic choice, loved by many.
- Mushrooms: Adds texture and earthiness.
- Bell Peppers: Colorful and crunchy.
- Onions: Sweet or spicy, your choice.
- Olives: Black or green, for a salty touch.
- Cheese: Extra cheese for the win!
Detailing Each Topping
Details make your drawing realistic. Let’s discuss each topping:
Pepperoni: Draw small circles. Space them evenly. Add little dots for texture.
Mushrooms: Draw half circles. Add lines for gills. Vary the sizes.
Bell Peppers: Slice shapes with wavy edges. Use different colors.
Onions: Draw rings or slivers. Vary the thickness.
Olives: Small ovals. Add a dot in the center.
Cheese: Draw wavy lines. Show melted texture. Extra cheese means more lines.
Use these tips to make your pizza detailed and mouth-watering. Happy drawing!
Final Touches
After completing your basic pizza drawing, it’s time to add the final touches. These details will bring your pizza to life, making it look more realistic and delicious. Focus on enhancing shadows and highlighting key areas. These steps will give your pizza depth and dimension.
Enhance With Shadows
Start by identifying the light source. Decide where the light hits the pizza. This will help you place shadows correctly. Use a darker pencil or a shadowing tool. Add shadows under the crust. Also, add shadows around the toppings. This gives the pizza a 3D effect. It makes each piece stand out.
Blend the shadows softly. Avoid harsh lines. You want the shadows to look natural. Use a blending stump or your finger. Gently blend the edges of the shadows. This technique gives a smooth transition. It creates a realistic look.
Highlight Key Areas
Next, focus on highlighting. Highlights show where the light hits the pizza directly. Use a white pencil or an eraser. Add highlights on the crust. Also, highlight some toppings. This makes the toppings look shiny and fresh.
Be subtle with the highlights. Too much can look unnatural. A few well-placed highlights can make a big difference. It adds to the overall realism of your drawing. Your pizza will look more appetizing and vivid.
Review And Refine
Once you’ve drawn your pizza, it’s time to review and refine your work. This step is crucial to ensure your pizza drawing looks accurate and appealing. Let’s break down the process into simple steps.
Check For Accuracy
Take a close look at your pizza drawing. Notice the details. Are the proportions correct? Does the pizza look balanced? Make sure the crust, toppings, and cheese all look realistic. Here’s a quick checklist to help you:
- Crust: Is it even and round?
- Toppings: Are they spaced out well?
- Cheese: Does it look melted and delicious?
Make Necessary Adjustments
Based on your review, make any necessary adjustments to your drawing. Here are some tips:
- Refine the Crust: Use smooth lines to make the crust rounder.
- Adjust Toppings: Move or resize toppings to create a balanced look.
- Enhance Cheese: Add texture to the cheese for a melted effect.
Don’t rush this step. Take your time to ensure every detail is perfect. Your patience will make your pizza drawing look amazing.
Frequently Asked Questions
How Do You Start Drawing A Pizza?
Start by drawing a large circle. This will be your pizza base.
What Details Should Be Added To Make It Look Real?
Add triangles for slices. Draw toppings like pepperoni, mushrooms, and cheese.
What Tools Are Best For Drawing A Pizza?
Use pencils for sketching. Colored pencils or markers for the toppings and details.
How Can I Draw Pizza Toppings Easily?
Simplify shapes. Use circles for pepperoni, small rectangles for cheese, and wavy lines for mushrooms.
Drawing a pizza can be fun and easy. Follow these steps, and you’ll create a great picture. Start with a circle for the base. Add triangles for slices. Draw toppings like pepperoni, mushrooms, or olives. Use colors to make it look tasty.
Practice makes perfect. Soon, you’ll draw pizzas without thinking. Keep experimenting with different toppings and styles. Enjoy your new skill and share your art with friends. Happy drawing!


