

Drawing a clock can be fun and educational. It helps improve your drawing skills and understanding of time.
Learning to draw a clock with dates adds an extra layer of challenge. This skill can be helpful for school projects or personal artwork. You will learn how to make a detailed clock with clear dates. This blog post will guide you through easy steps to create a clock drawing.
No special tools are needed. Just grab your pencil and paper. Let’s make drawing clocks simple and enjoyable. Whether you are a beginner or have some experience, this guide will help you. Let’s start creating beautiful and functional clock drawings together.

Introduction To Clock Drawing
Clock drawing is a fun and educational activity. It helps improve your understanding of time and dates. You can learn to draw a clock easily with simple steps. This guide will show you how to do it.
Why Draw A Clock?
Drawing a clock has many benefits. It helps you:
- Improve your fine motor skills
- Understand the concept of time
- Enhance your attention to detail
- Learn how to read time
It is also a relaxing and rewarding activity. You can do it alone or with friends and family.
Materials Needed
Before you start, gather the following materials:
| Material | Purpose |
|---|---|
| Paper | To draw your clock on |
| Pencil | For sketching |
| Eraser | To correct mistakes |
| Ruler | For drawing straight lines |
| Markers | To add color |
With these materials, you are ready to start drawing your clock.
Basic Clock Structure
Drawing essentials
These are the everyday tools we recommend for any drawing tutorial on this site, picked for reliability and beginner-friendly pricing.


As an Amazon Associate, drawingseasy.com earns from qualifying purchases. Prices and availability are subject to change.
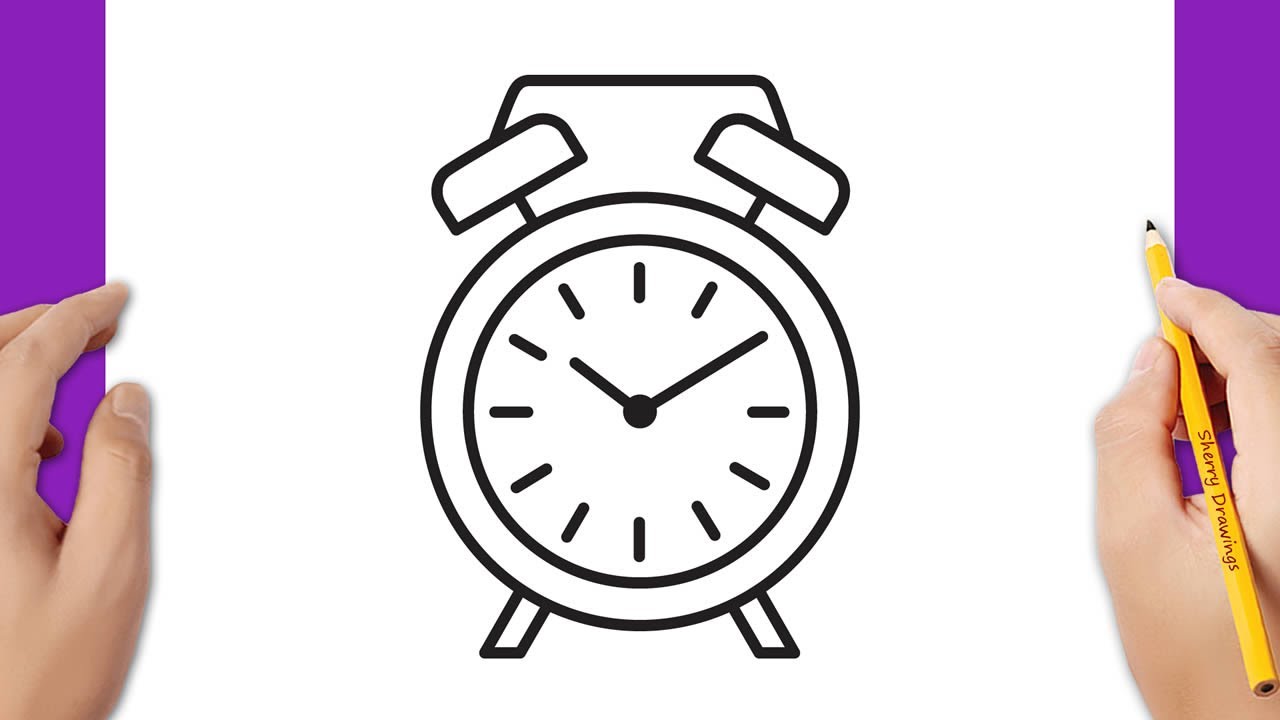
The basic clock structure is simple yet essential. Understanding it helps in drawing clocks with ease. A clock has two main parts: the clock face and the hands. Both are crucial for telling time accurately.
Clock Face Layout
The clock face is the circular part of the clock. It displays the numbers. Usually, it has twelve numbers, from 1 to 12, arranged in a circle. Each number represents an hour of the day.
In the center of the clock face, there is a pivot point. This is where the clock hands are attached. The numbers on the clock face are evenly spaced. The number 12 is at the top, and the number 6 is at the bottom.
A clock may also have minute markers. These are small lines or dots between the hour numbers. They help in reading the exact time.
| Number | Position |
|---|---|
| 12 | Top |
| 3 | Right |
| 6 | Bottom |
| 9 | Left |
Understanding The Hands
Clocks have three main hands: the hour hand, the minute hand, and the second hand. Each hand moves at a different speed.
- Hour Hand: The shortest hand. It moves the slowest. It completes one full circle every 12 hours.
- Minute Hand: Longer than the hour hand. It moves faster. It completes one full circle every 60 minutes.
- Second Hand: The longest hand. It moves the fastest. It completes one full circle every 60 seconds.
These hands work together to show the correct time. The hour hand points to the hour number. The minute hand points to the minute markers. The second hand points to each second.
Understanding the hands is key to reading a clock. Knowing their movements helps you draw them accurately.
Drawing The Clock Face
Creating a clock face may seem challenging, but it is simple with the right steps. Here, we’ll guide you through drawing a perfect circle and marking the hours to make your clock accurate and easy to read.
Creating A Perfect Circle
Start with a blank sheet of paper. Place a compass at the center of the paper. Set the radius to your desired clock size. Draw a circle carefully.
If you don’t have a compass, use a round object. Place the object on the paper and trace around it. Ensure the circle is even and smooth.
Marking The Hours
Divide the circle into 12 equal parts. Use a protractor to measure each angle. Each section should be 30 degrees apart.
Mark each hour with a small line. Begin with the top of the circle for 12 o’clock. Move clockwise to add the rest of the hours.
Label each line with the correct number. Use a pencil for easy adjustments. Ensure the numbers are evenly spaced and clear to read.
Here is a simple table to guide you:
| Hour | Angle (Degrees) |
|---|---|
| 12 | 0 |
| 1 | 30 |
| 2 | 60 |
| 3 | 90 |
| 4 | 120 |
| 5 | 150 |
| 6 | 180 |
| 7 | 210 |
| 8 | 240 |
| 9 | 270 |
| 10 | 300 |
| 11 | 330 |
With the hours marked, your clock face is ready. Now, you can add the hands and other details to complete your clock drawing.
Adding The Clock Hands
Adding the clock hands is a key step in creating a functional clock drawing. It brings the clock face to life, allowing it to show time. This section will guide you through drawing the hour and minute hands.
Drawing The Hour Hand
The hour hand is shorter and thicker than the minute hand. It points to the current hour on the clock.
Follow these steps to draw the hour hand:
- Start at the center of the clock face.
- Draw a line towards the number representing the current hour.
- Make sure the line is shorter than the minute hand.
- Thicken the line a bit to distinguish it from the minute hand.
Remember, the hour hand moves slowly, taking 12 hours to complete one full circle.
Drawing The Minute Hand
The minute hand is longer and thinner than the hour hand. It points to the current minute on the clock.
Here are the steps to draw the minute hand:
- Again, start at the center of the clock face.
- Draw a line towards the number representing the current minute.
- Make sure the line is longer than the hour hand.
- Keep the line thinner to distinguish it from the hour hand.
The minute hand moves faster, taking 60 minutes to complete one full circle.
By correctly drawing the hour and minute hands, your clock will accurately show the time. This step is crucial for a functional and visually appealing clock drawing.
Incorporating Dates
Create a clock drawing with simple steps that include adding dates. This makes learning time fun and educational.
Adding dates to your clock drawing can be both fun and useful. It helps keep track of days and adds a practical feature. This section will guide you on how to do it.
Positioning The Date Window
First, decide where to place the date window. Popular choices include above the 6 o’clock position. Or near the 3 o’clock position. Ensure it doesn’t clash with the clock hands. Next, draw a small rectangle or square for the date window. Make sure it is visible but not too big. This balance is important for both aesthetics and function.
Writing The Date Numbers
Now, it’s time to write the date numbers. Use clear and legible font styles. Bold numbers are often preferred. They are easy to read. Ensure the numbers fit well within the date window. Adjust the size accordingly. This makes the date easy to see and read. Make sure to update the date regularly. This keeps your clock accurate. And adds a touch of professionalism. “`
Adding Details And Finishing Touches
Adding details and finishing touches to a clock easy drawing can enhance its realism. Include dates to mark special occasions and give personal significance.
Drawing a clock with dates is fun and educational. Adding details and finishing touches can make your drawing stand out. This section will guide you through enhancing your clock drawing. Let’s dive into the details.
Enhancing With Colors
Colors can bring your clock drawing to life. Start by choosing a color scheme. Use light colors for the clock face. Darker shades work well for the numbers and hands. Adding colors to the dates can make them pop. Use contrasting colors to make the dates easy to read. Soft colors for the background create a calm effect.
Finalizing The Design
Final touches make your drawing complete. Add shadows to give a 3D effect. Use a fine pen to outline the clock and dates. This makes the drawing look neat. Erase any unwanted pencil marks. Check for symmetry and balance. Make small adjustments for a polished look. Finally, sign your artwork. It shows pride in your creation. “`
Common Mistakes To Avoid
Drawing a clock with dates may seem simple. But many make common mistakes that affect the accuracy and appearance of their drawings. Understanding these mistakes can help you create more precise and visually appealing clock drawings.
Misaligned Numbers
A common issue is misaligned numbers. Each number should be placed at equal intervals around the clock face. Misalignment can make the clock look unbalanced and hard to read.
To avoid this mistake, you can:
- Use a ruler or a compass to mark equal intervals.
- Ensure that each number is evenly spaced.
Here’s a simple table to help you place the numbers correctly:
| Number | Position (Degrees) |
|---|---|
| 12 | 0° |
| 3 | 90° |
| 6 | 180° |
| 9 | 270° |
Incorrect Hand Placement
Another common mistake is incorrect hand placement. The hour, minute, and second hands need to be positioned accurately to reflect the correct time.
Follow these tips to place the hands correctly:
- Ensure the hour hand is shorter and thicker.
- The minute hand should be longer and thinner.
- The second hand is usually the thinnest and longest.
Each hand should point directly at the corresponding number or mark. Double-check their positions to ensure accuracy.
By avoiding these common mistakes, your clock drawing with dates will be more precise and visually appealing.
Frequently Asked Questions
How Do You Draw A Simple Clock?
Start with a circle. Add numbers. Draw hour, minute, and second hands.
Why Include Dates In Clock Drawings?
Dates enhance realism. They show the current time and date, making drawings more accurate.
What Tools Are Best For Clock Drawing?
Use pencils, rulers, and compasses. These help create precise lines and shapes.
Can Children Learn Clock Drawing Easily?
Yes, it’s simple. Basic shapes and numbers make it easy for kids to understand and draw.
Drawing clocks with dates can be fun and educational. It helps improve creativity and time-telling skills. The simple steps make it easy for everyone to follow. Perfect for both kids and adults. Practice regularly to get better. Share your drawings with friends and family.
Keep exploring new designs and ideas. Happy drawing!


