

Drawing a train might seem challenging at first. But with the right steps, it’s simple.
Many people love trains. They are powerful and full of details. Drawing one can be a fun and rewarding experience. Whether you are a beginner or have some experience, this guide will help you. You’ll learn the basic shapes and details needed to create a realistic train.
With practice, your skills will improve. So, grab your pencils and paper. Let’s start the journey of drawing a train together!
Materials Needed
Drawing a train requires the right materials. These will help you create a detailed and beautiful drawing. The materials you choose can affect the final look of your train drawing.
Let’s break down the essential materials you will need. This will make the drawing process easier and more enjoyable.
Drawing Tools
First, gather your drawing tools. Start with a set of pencils. Different grades of pencils offer varied tones and textures. You might want a 2B for sketching and an HB for details. A good eraser is also essential. It helps to correct mistakes and refine lines.
Consider using fine-tip markers or pens. They are great for outlining your train drawing. Lastly, a sharpener is necessary to keep your pencils in top shape.
Paper Types
The paper you choose is important. It can impact the quality of your drawing. Standard printer paper is okay for practice. But for a better final piece, use drawing paper.
Drawing paper is thicker and more durable. It can handle various drawing tools without tearing. You can find it in sketchbooks or as individual sheets. Choose a paper size that fits your drawing style.
If you plan to add color, consider using mixed media paper. It works well with both dry and wet mediums. This allows more flexibility in your drawing process.
Basic Shapes
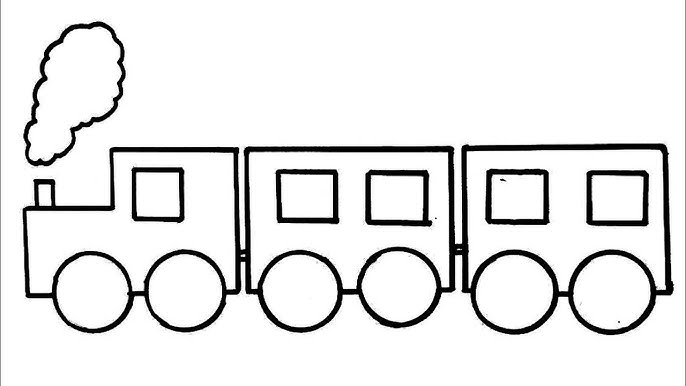
Drawing a train can be fun and exciting. Understanding the basic shapes helps simplify the process. By breaking down a train into manageable shapes, you can create a detailed and accurate drawing. Let’s explore the basic shapes used to draw a train.
Engine Shape
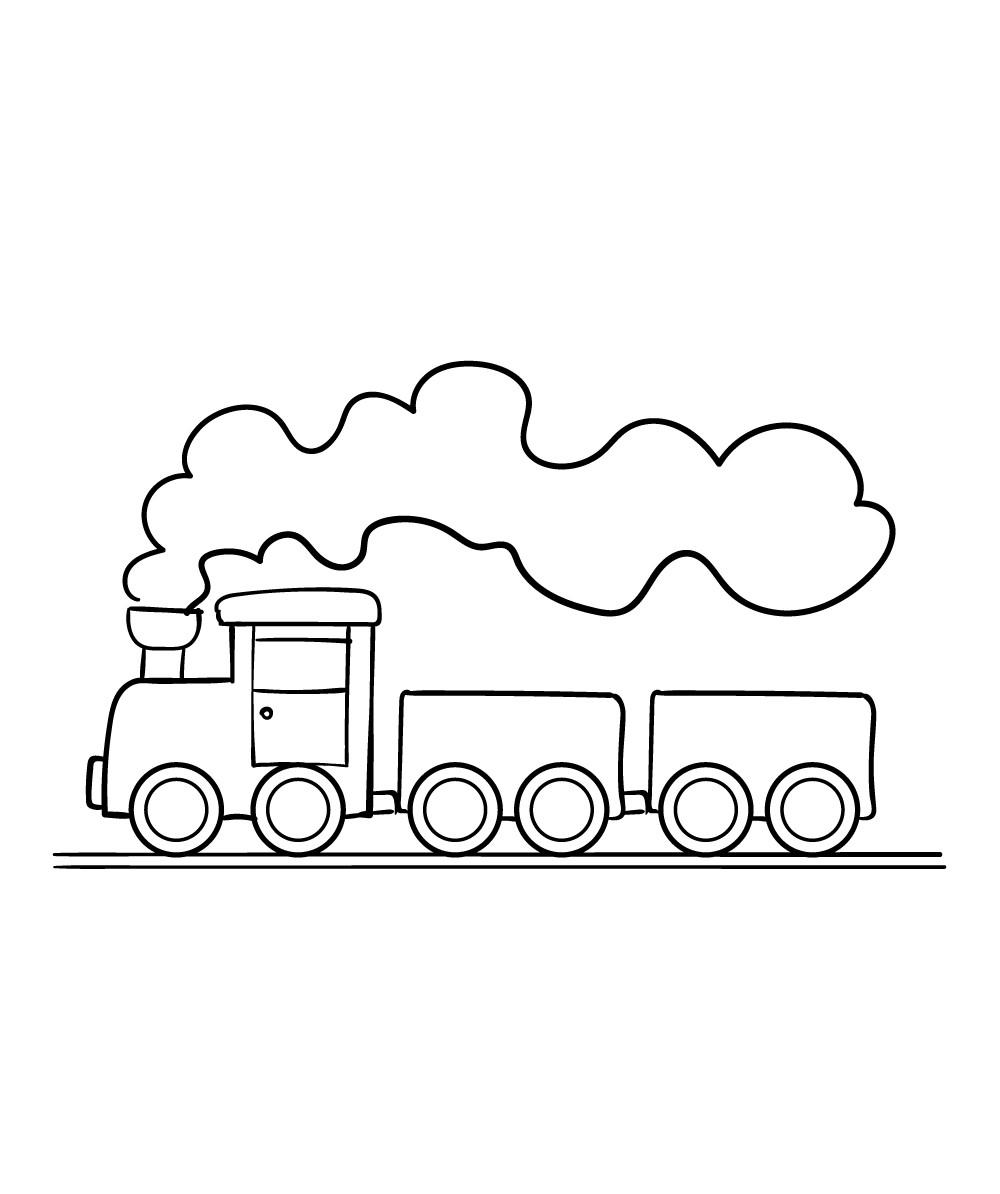
The engine is the front part of the train. Start with a large rectangle. This forms the main body of the engine. Add a smaller rectangle on top for the cabin. Draw a circle at the front for the headlight. Don’t forget the chimney. A small rectangle on top of the engine represents it. This will help you outline the train’s engine structure.
Carriage Shape
The carriages follow the engine. Begin with a long rectangle. This is the base of the carriage. Add smaller rectangles on top to show windows. Draw circles below the base for the wheels. Ensure the carriages are aligned with the engine. Repeat this process for each carriage. This will create a coherent train structure.
Adding Details
Adding details to your train drawing brings it to life. Small elements make a big difference. They add realism and depth. Let’s focus on some key details.
Windows And Doors
Draw rectangles for windows. Space them evenly. Make sure they are the same size. Add a line in the middle to show the window frame. This adds depth. For doors, draw larger rectangles. Place them at the ends of the train cars. Don’t forget the handle. Small circles work well for this.
Wheels And Tracks
Wheels are simple circles. Draw them at the bottom of the train. Make them the same size. Add a small circle inside each wheel. This shows the axle. For the tracks, draw parallel lines. Space them evenly. Add short lines between the tracks. These represent the ties. They keep the rails in place.
Outlining The Train
Outlining the train is the foundation of your drawing. It sets the stage for the details that follow. Start with basic shapes and lines. This will help you create a well-proportioned train. Focus on getting the outline right before moving to finer details.
Refining Shapes
Begin by refining the shapes you have drawn. Look at each part of the train. Adjust the lines to match the real train’s structure. Smooth out any rough edges. Make sure the shapes are even and proportionate.
Pay attention to the main body of the train. It should be rectangular. The front part, or engine, may have a more rounded shape. Use a ruler if needed to keep lines straight. This will give your train a solid foundation.
Adding Depth
Next, add depth to your drawing. This makes the train look more realistic. Start by drawing parallel lines to the existing shapes. These lines will create a 3D effect.
For the wheels, draw small circles inside the larger ones. This adds dimension to the wheels. Do the same for windows and doors. Draw smaller shapes within them to show thickness.
Shading is another way to add depth. Lightly shade one side of the train. This shows where the light hits and where shadows fall. Use a soft pencil for shading. Blend the lines gently for a smooth finish.
With these steps, your train outline will come to life. Continue refining and adding details. Soon, you will have a complete and realistic train drawing.
Shading Techniques
Shading techniques bring your train drawing to life. Effective shading adds depth and dimension. It makes your train look more realistic. Below are some vital tips on shading.
Light And Shadow
Understanding light and shadow is key. Light hits the train from a specific direction. This creates shadows on the opposite side. Identifying this source of light is your first step.
Draw light, soft lines where the light hits. Use darker, heavier lines for shadows. This contrast makes the train appear three-dimensional. You can use a blending stump to smooth out the shadows.
Here’s a simple guide:
| Light Source | Shading Technique |
|---|---|
| Front | Shadows at the back |
| Side | Shadows on the opposite side |
| Top | Shadows below |
Creating Texture
Texture makes your train drawing more interesting. Different parts of the train have different textures. For example, the wheels and metal parts are smooth. The body may have a rougher texture.
Use short, quick strokes for a rough texture. Smooth out areas with longer, fluid strokes. This adds variety to your drawing. To create a metallic look, leave some areas lighter. This simulates a shiny surface.
Here’s a quick tip:
- Wheels: Smooth, circular strokes.
- Body: Varied, rough strokes.
- Windows: Light, gentle shading.
Experiment with different techniques. See what works best for your style. Shading can transform a flat sketch into a dynamic piece of art.
Coloring The Train
Coloring the train is a fun and creative part of drawing. It brings your train to life and makes it unique. Let’s explore how to choose colors and blend them effectively.
Choosing Colors
Start by selecting the main colors for your train. Think about the body, roof, and wheels. Bright colors like red, blue, or green can make your train stand out. Use lighter shades for smaller details to create contrast. Remember to pick colors that go well together.
Blending Techniques
Blending colors can add depth and realism to your drawing. Use soft strokes to mix two colors. Try blending darker shades into lighter ones. This will create a smooth transition. You can use colored pencils or markers for this. Experiment with different tools to find what works best.
Layering is another useful technique. Apply one color first. Then add another layer on top. This can create interesting effects. Practice blending and layering to improve your skills.
Final Touches
Completing your train drawing involves adding the final touches. These details will bring your train to life. Let’s look at how to add these essential elements.
Highlights And Reflections
Adding highlights and reflections can make your train look three-dimensional. Use a white pencil or eraser for this. Focus on areas where light would naturally hit the train.
- Windows: Add small white lines or dots on the windows.
- Metal parts: Highlight the edges of metal parts.
- Wheels: Add a touch of white on the rims.
These touches can make your train look shiny and realistic. It’s a small detail but makes a big difference.
Review And Adjustments
Take a step back and review your drawing. Check for any areas that need adjustments. Look at the proportions and details. Make sure everything is balanced.
- Proportions: Ensure the train’s parts are in proper ratio.
- Details: Fine-tune small elements like bolts and panels.
- Shading: Adjust the shading for a consistent look.
These adjustments can help improve the overall quality of your drawing. It’s worth taking the extra time for a polished look.

Frequently Asked Questions
What Materials Do I Need To Draw A Train?
You need paper, pencil, eraser, ruler, and colored pencils.
How Do I Start Drawing A Train?
Begin with basic shapes like rectangles and circles for the train body and wheels.
How Can I Add Details To My Train Drawing?
Add windows, doors, and lines to show the train’s structure and features.
Are There Easy Steps To Draw A Realistic Train?
Yes, follow step-by-step guides or tutorials to draw a detailed and realistic train.
Drawing a train can be a fun and rewarding experience. With practice, your skills will improve. Start with basic shapes and add details gradually. Use references for accuracy. Drawing trains helps boost creativity and patience. Share your art with friends and family.
Enjoy the process and keep drawing. Happy sketching!


