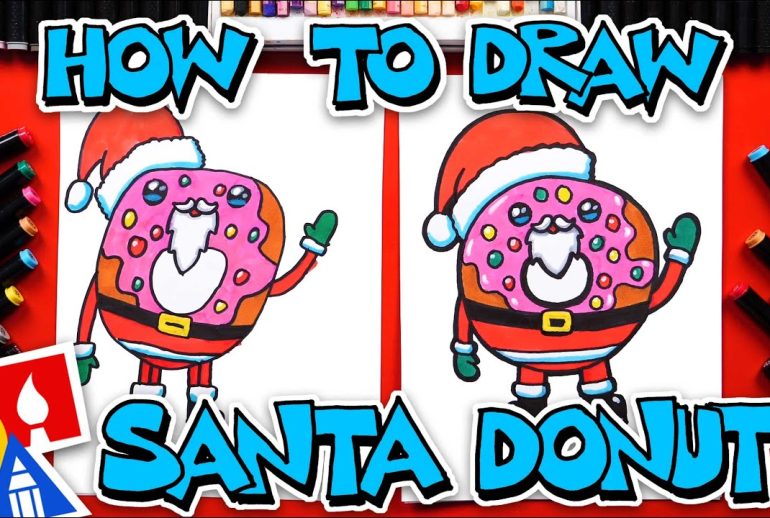
Drawing a donut is easier than you think. With a few simple steps, you can create a delightful treat on paper.
Donuts are not just delicious; they are fun to draw too. Whether you are a beginner or have some drawing experience, learning to draw a donut can be a delightful activity. This guide will walk you through the process step-by-step.
You will learn how to sketch the basic shape and add details to make it look realistic. By the end, you will have a drawing that looks good enough to eat. Let’s get started and bring that sweet treat to life on your sketchpad!
Gathering Materials
Before starting your donut drawing, gather all the necessary materials. This will help you stay focused and make the process smoother. With the right tools and paper, your drawing will look amazing. Let’s explore what you need.
Basic Tools Needed
First, grab a pencil. A simple HB pencil works well. It allows for light sketching and dark lines. You will also need an eraser. Mistakes happen, and an eraser will help you fix them. A sharpener is essential. Keep your pencil sharp for clear lines.
Next, get some colored pencils or markers. These will add life to your donut drawing. Choose colors that represent your favorite donut. You can also use a black pen for outlining. It will make your drawing stand out.
Choosing The Right Paper
Not all paper is the same. Choose a medium-weight paper. It should handle both pencil and color. Avoid thin paper. It can tear easily and won’t hold color well. A sketchbook works great. It keeps all your drawings in one place.
Consider using a smooth paper. It helps your pencil glide easily. Textured paper can be challenging. It may affect your lines and colors. Smooth paper gives a clean look to your donut drawing.

Sketching The Basic Shape
Drawing a donut starts with a simple sketch. First, you need to outline the basic shape. This includes the outer and inner circles. These shapes will guide the rest of your drawing. Let’s break it down step by step.
Drawing The Outer Circle
Begin by drawing a large circle. This will be the outer edge of your donut. You can use a compass or a circular object to help. Keep your lines light. This way, you can easily erase and adjust if needed.
| Steps | Details |
|---|---|
| 1 | Draw a big circle. |
| 2 | Use light pencil strokes. |
| 3 | Ensure the circle is smooth and even. |
Adding The Inner Circle
Next, draw a smaller circle inside the large one. This is the hole of the donut. The size of this circle depends on your preference. Make sure it’s centered within the outer circle. Keep your lines light and smooth.
- Draw a smaller circle inside the big circle.
- Ensure it is centered.
- Keep the lines light for adjustments.
With these basic shapes drawn, you now have the foundation of your donut. This simple sketch will make the next steps easier and more precise.
Creating The Donut Hole
Creating the donut hole is a fun and crucial step in drawing a donut. The hole gives the donut its iconic look. To get started, you need to focus on two key aspects: positioning and shaping the hole. Let’s dive into these steps for a perfect donut illustration.
Positioning The Hole
First, find the center of your donut. This is where the hole will go. Use a light pencil mark to pinpoint the center. This helps keep your drawing symmetrical. Ensure the hole is centered to maintain balance.
Shaping The Hole
Next, draw a small circle around your center mark. This will be the donut hole. Make sure the circle is proportionate to the donut. It should not be too big or too small. A well-shaped hole enhances the overall appearance.
Use smooth, even strokes to create a clean circle. If you make a mistake, gently erase and redraw. Take your time to get it right. A perfect hole makes your donut look delicious.

Adding Details
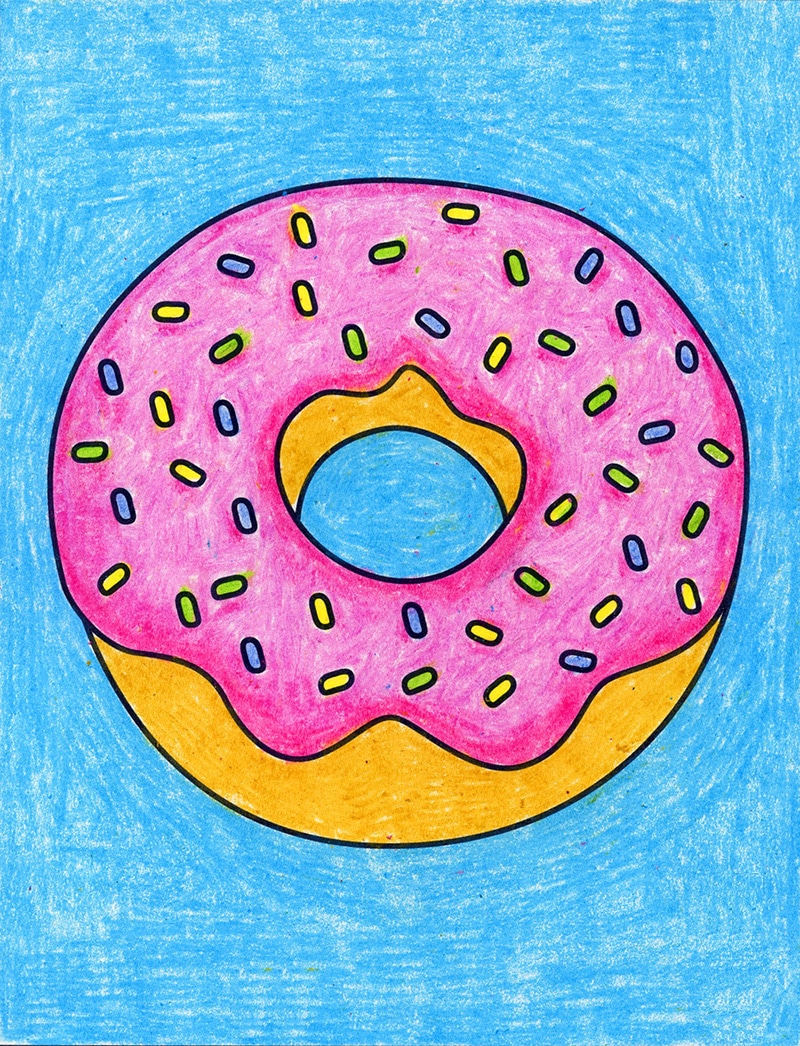
Once you have the basic shape of your donut, it’s time to add some character. Adding details like frosting and sprinkles can make your drawing more lively and realistic. Follow these steps to make your donut look delicious and appealing.
Drawing The Frosting
Frosting is a key feature of a donut. It adds color and texture. Here’s how to draw it:
- Outline the frosting: Draw a wavy line around the top half of the donut. This will represent the edge of the frosting.
- Add depth: Make the frosting look thick by adding another wavy line a bit below the first one. Connect the lines at the edges.
- Detail the texture: Use short, curved lines within the frosting area to show its thickness and texture.
Adding Sprinkles
Sprinkles can make your donut look fun and tasty. Here’s how to add them:
- Random placement: Scatter small oval shapes across the frosting. Sprinkles are not uniform, so vary their size and angle.
- Add color: Use different colors to make the sprinkles pop. This will make your donut look more vibrant.
- Highlight and shadow: Add tiny white highlights on each sprinkle to show light reflection. Use a darker shade on one side for shadow.
Now your donut drawing has more depth and looks more realistic. These details can make a huge difference in how your artwork is perceived.
Refining The Outline
After sketching the basic shape of your donut, it’s time to refine the outline. This step helps in giving your donut a more polished and realistic look. Focus on smoothing out the edges and enhancing the lines to bring your drawing to life.
Smoothing The Edges
Start by taking a closer look at the rough sketch. Notice any jagged or uneven lines? Use a gentle hand to smooth out these edges. Aim for a consistent, rounded shape that resembles a real donut.
Work slowly and carefully. Adjust the curves to make them look more natural. This will help your donut look more appealing.
Enhancing The Lines
Next, focus on enhancing the lines. Go over the outline with a darker pencil or pen. Make sure the lines are clean and well-defined. This adds depth and clarity to your drawing.
Pay attention to the inner circle as well. Ensure it is proportionate to the outer shape. This balance is crucial for a realistic look.
Remember, practice makes perfect. Don’t worry if it takes a few tries. Keep refining until you are happy with the result.
Shading And Texture
Shading and texture are essential for bringing your donut drawing to life. Proper shading creates depth, while texture adds realism. This section will guide you through creating depth and adding highlights to your donut drawing.
Creating Depth
To create depth, start by identifying your light source. This will help you determine where shadows fall. Use a soft pencil to shade the areas that are farthest from the light. Gradually build up the layers of shading to create a smooth transition.
- Identify the light source
- Shade with a soft pencil
- Build up layers
Next, add darker shading to the inner side of the donut. This will make it look more three-dimensional. Pay attention to the curve of the donut. Shading should follow the natural shape.
Adding Highlights
Highlights make your donut look shiny and realistic. Use an eraser to lift some graphite from the areas where the light hits directly. This technique creates a bright spot.
- Use an eraser for highlights
- Focus on direct light areas
- Create a bright spot
For a more polished look, use a white pencil or gel pen. This will enhance the highlights, making them pop. Remember, highlights are usually on the top part of the donut where the light source is strongest.
Final Touches
After completing the main structure of your donut drawing, it’s time to add the final touches. These steps will help you to refine your drawing and make it look polished. Let’s get started with the details that make your donut come to life.
Erasing Guidelines
First, gently erase the guidelines you drew at the beginning. This will help to clean up your drawing and focus on the final lines. Use a soft eraser to avoid damaging the paper.
Ensure all the unnecessary lines are gone. This makes the drawing look neat and professional.
Reviewing The Drawing
Now, take a step back and review your drawing. Check if all the parts of the donut look right.
- Is the shape of the donut even?
- Do the sprinkles look natural?
- Is the icing well-detailed?
Make any necessary adjustments. This is your chance to make your drawing perfect.
Remember, the final touches are what make your drawing stand out. Take your time and enjoy the process!
Frequently Asked Questions
What Materials Do I Need To Draw A Donut?
You need paper, pencil, eraser, and colored pencils or markers.
How Do I Start Drawing A Donut?
Start by drawing a large circle. Then, draw a smaller circle inside it.
How Do I Add Details To My Donut Drawing?
Draw wavy lines for icing. Add sprinkles or other toppings for more detail.
How Can I Make My Donut Drawing Look Realistic?
Shade the donut to add depth. Use different colors to show highlights and shadows.
Conclusion
Drawing a donut can be fun and relaxing. Practice makes your skills better. Use simple shapes and lines first. Add details slowly. Enjoy the process. Don’t rush. Mistakes help you learn. Share your artwork with friends. Keep practicing to improve.
Drawing brings joy and creativity. Happy drawing!

