

Drawing a cone can seem tricky. But with simple steps, anyone can do it.
Learning how to draw a cone is a fun and rewarding experience. Whether you’re an aspiring artist or just looking to improve your drawing skills, mastering this basic shape is essential. A cone is a three-dimensional figure with a flat base and a single curved surface that tapers to a point.
It’s commonly found in everyday objects like ice cream cones and party hats. By understanding the basic structure and using easy-to-follow techniques, you can create realistic and accurate cone drawings. In this guide, we’ll break down the process into clear steps, so you can confidently draw a cone and enhance your artistic abilities.
Materials Needed
Before starting to draw a cone, it’s essential to gather all the necessary materials. Having the right tools and paper can make the process smoother and more enjoyable. Let’s break down what you need.
Drawing Tools
To create a perfect cone, you need some basic drawing tools. Here’s a list of the essentials:
- Pencil: A sharp pencil will give you precise lines. A mechanical pencil is ideal.
- Eraser: Mistakes happen. A good quality eraser helps you correct them.
- Ruler: For drawing straight lines and measuring. A 12-inch ruler works well.
- Compass: A compass helps in drawing perfect circles. Ensure it’s adjustable and sturdy.
- Sharpener: Keep your pencil sharp for detailed work.
Paper Selection
The type of paper you use can affect your drawing. Here are some options:
| Paper Type | Best For |
|---|---|
| Sketch Paper | General drawing and practice |
| Bristol Board | Detailed and final drawings |
| Newsprint | Quick sketches and rough drafts |
Choose the paper based on your drawing needs. For beginners, sketch paper is a good start. It’s affordable and easy to find.
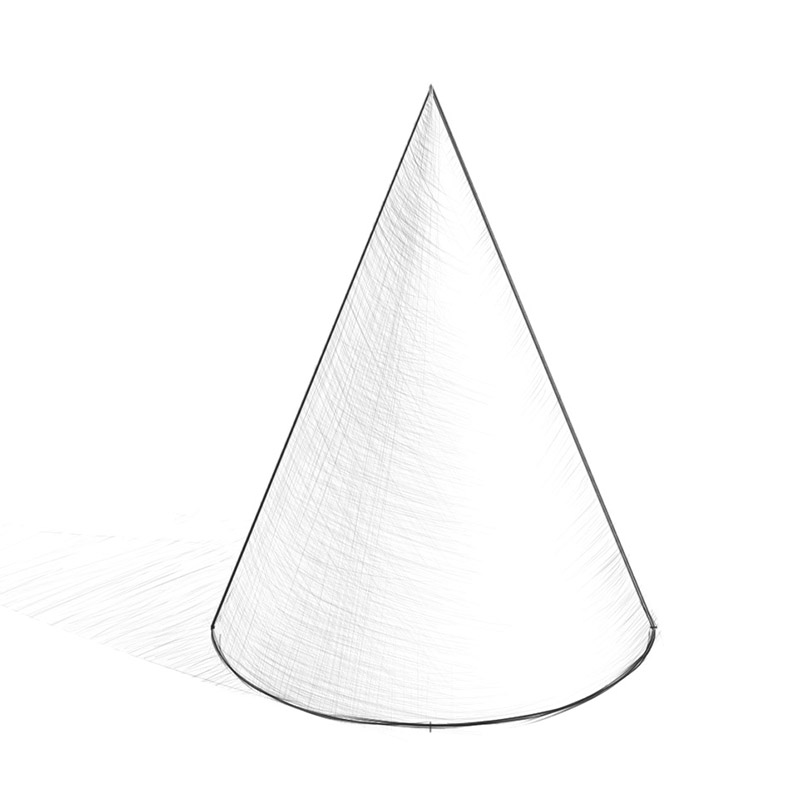
Basic Cone Shape
Drawing a cone might seem challenging, but breaking it into steps helps. The basic cone shape has two main parts. First, the base circle. Second, the apex, or the pointed top.
Drawing The Base Circle
Start with the base circle. Use a compass or trace around a round object. Keep the circle smooth and even. This circle will be the bottom of your cone.
Place the circle in the center of your paper. This ensures you have space for the rest of the cone. Make sure the circle is not too big. A large base makes the cone harder to draw.
Creating The Apex
Next, draw the apex. This is the top point of the cone. Place a dot above the center of the circle. This dot will be the cone’s tip.
Connect the apex to the edge of the circle. Draw straight lines from the dot to the circle’s edge. Make sure the lines are even. This creates the cone’s sloping sides.
You have now drawn the basic cone shape. Practice makes perfect. Keep trying until you get the desired shape.
Adding Dimensions
Adding dimensions to your cone drawing can bring it to life. Understanding how to represent height and connect points is crucial. Let’s explore these steps in detail.
Height Of The Cone
First, determine the height of the cone. This is the distance from the apex to the base. Draw a straight vertical line to represent this. Keep it centered over the base. This will help maintain symmetry.
Use a ruler for accuracy. The height should be proportionate to the base. A taller height gives a more slender cone. A shorter height results in a stubbier cone.
Connecting The Apex To The Base
Next, connect the apex to the base edges. Start from the top point of the height line. Draw a line downwards to the left edge of the base. Repeat this for the right side. This forms the sides of your cone.
Ensure the lines are straight and meet at the base edges. This creates a solid, three-dimensional look. Adjust if needed for a more balanced appearance.
These steps add depth and realism to your cone. Practice to improve your skill in drawing cones with accurate dimensions.
Shading Techniques
Shading a cone can bring your drawing to life. It adds depth and realism. Understanding shading techniques is crucial. This section will guide you through Light Source Direction and Creating Shadows.
Light Source Direction
The first step in shading a cone is identifying the light source direction. This will determine where the shadows fall. Imagine a light bulb shining on your cone. The part facing the light will be the brightest.
- Draw a small circle or dot to represent the light source.
- Draw arrows pointing from the light source towards the cone.
- Identify the highlight, which is the brightest spot on the cone.
Keep your light source consistent. This helps in achieving realistic shading.
Creating Shadows
Shadows add depth to your cone. Here’s how to create them:
- Start shading from the darkest part opposite to the light source.
- Use soft, even strokes to build up the shadow gradually.
- Blend the shadow into the mid-tones where the light fades.
- Leave the highlight area mostly white, or lightly shaded.
Use a blending tool like a tortillon for smooth transitions. This will make your cone look more three-dimensional.
Remember:
| Shading Element | Description |
|---|---|
| Highlight | Brightest area, near the light source. |
| Mid-Tones | Areas with moderate shading, between the highlight and shadow. |
| Core Shadow | Darkest area, opposite the light source. |
| Cast Shadow | Shadow that the cone casts on the surface. |
Practice these techniques. With time, your shading will improve. Your cone drawings will appear more realistic.
Detailing The Cone
Detailing the cone is a crucial step in drawing. It brings your cone to life. Attention to detail makes a big difference. Your cone will look more realistic and polished.
Highlighting Edges
First, focus on the edges of your cone. Use a fine-tipped pencil. Lightly trace the cone’s outline. Emphasize the lines where the cone’s surface meets the base. This adds depth and definition. Be careful not to press too hard. You want subtle highlights that enhance the shape.
Smooth Transitions
Next, create smooth transitions between light and shadow. This will give your cone a three-dimensional look. Shade the cone’s curved surface lightly. Gradually darken the shading as you move away from the light source. Blend the shaded areas with a blending stump or your finger. This ensures the transitions are smooth and natural.
Remember, practice makes perfect. Keep refining your technique. Your cone will look more realistic with each attempt.

Common Mistakes
Drawing a cone can be tricky. Beginners often make mistakes. These errors can lead to frustration. Let’s explore some common mistakes and how to avoid them.
Uneven Base
The base of a cone should be a perfect circle. Many beginners draw an oval instead. This makes the cone look uneven. To avoid this, use a compass or trace a circular object.
Another issue is the base being tilted. This happens when the circle is drawn at an angle. Keep your paper straight. Use a ruler to ensure the circle’s position is level.
Incorrect Proportions
Proportions are crucial. A cone with incorrect proportions looks unrealistic. Common mistakes include making the height too short or too tall. This distorts the shape.
Follow these steps for correct proportions:
- Draw a circle for the base.
- Find the center of the circle.
- Draw a vertical line from the center to the top.
- Ensure the height is about 1.5 times the diameter.
Using these steps helps maintain the correct shape. Consistency is key. Practice these steps often.
Practice Exercises
Practice exercises are essential for improving your drawing skills. They help you understand different perspectives and refine your technique. In this section, we will explore a few exercises to draw cones more effectively.
Drawing Different Sizes
Start with drawing cones of various sizes. This helps you get comfortable with proportions. Draw a small cone, then a medium one, followed by a large cone. Use a pencil for initial sketches. This allows for easy corrections.
Observe how the base and height change with size. A small cone has a tiny base and height. A large cone has a wide base and greater height. Practice this exercise until you can draw different sizes effortlessly.
Experimenting With Angles
Next, experiment with drawing cones at different angles. This builds your ability to depict cones in diverse perspectives. Begin with a cone standing upright. Then, try drawing a cone tilted to the left.
After that, sketch a cone tilted to the right. Notice how the base and sides appear differently. Practice drawing cones at various angles. This will enhance your understanding of 3D shapes.

Final Touches
Final touches are crucial to make your cone drawing look polished. This step ensures your artwork stands out and appears realistic. Let’s explore the essential aspects of this stage.
Adding Texture
Adding texture can give your cone a more realistic look. Use gentle strokes to create a rough surface.
- Shade one side of the cone to show light and shadow.
- Crosshatch or add small lines for a rough effect.
- Use an eraser to create highlights.
Experiment with different pencil pressures to achieve the desired texture. Combine smooth and rough areas for a dynamic look.
Reviewing Your Work
Review your drawing to ensure it looks balanced and realistic. Look for areas that need more shading or highlights.
- Check the alignment of the cone.
- Ensure the base is even.
- Adjust any uneven lines.
Step back and view your drawing from a distance. This helps to spot any inconsistencies.
Final touches bring your cone drawing to life. Take your time, and enjoy the process.
Frequently Asked Questions
What Materials Are Needed To Draw A Cone?
To draw a cone, you need paper, a pencil, a ruler, and a compass. These materials help create accurate and clean lines for your cone drawing.
How Do You Start Drawing A Cone?
Start by drawing a circle with a compass. Then, draw a vertical line from the circle’s center to create the cone’s height.
What Is The Easiest Way To Draw A Cone?
The easiest way is to draw a circle, then add a triangle below it. This creates the cone’s base and height.
How Do You Add Shading To A Cone?
To add shading, determine the light source direction. Shade the opposite side of the cone, making it look three-dimensional.
Drawing a cone can be fun and simple. Follow the steps carefully. Practice regularly to improve your skills. Use basic shapes to start, then add details. Don’t rush the process. Enjoy the journey of learning to draw. Share your artwork with friends.
They might have useful tips. Drawing helps relax and express creativity. Keep exploring new techniques and tools. Happy drawing!


