

Drawing a rainbow is fun and easy. Anyone can do it with simple steps.
Rainbows are beautiful and colorful. They spark joy and wonder. Learning to draw one can be a delightful activity. It’s perfect for kids and beginners alike. You’ll need basic materials like paper, pencils, and colors. Follow along, and you’ll create a stunning rainbow in no time.
Understanding the order of colors is key. Each color flows into the next, creating a seamless arch. This guide will help you through each step. Let’s get started on this vibrant journey. Soon, you’ll have your own rainbow to admire.

Materials Needed
Drawing a rainbow is a fun and creative activity. To get started, you need the right materials. This guide will help you gather everything you need. Let’s dive into the essential tools and colors.
Tools And Supplies
First, gather your tools. You need a pencil for sketching. Use an eraser to fix mistakes. Choose a ruler for straight lines. A compass helps with curves. Finally, grab some paper for your drawing.
Choosing The Right Colors
Rainbows are vibrant with seven colors. Get red, orange, yellow, green, blue, indigo, and violet. Use colored pencils, markers, or paints. Make sure they blend well. Bright and bold colors work best for rainbows.
Preparing Your Workspace
Drawing essentials
These are the everyday tools we recommend for any drawing tutorial on this site, picked for reliability and beginner-friendly pricing.


As an Amazon Associate, drawingseasy.com earns from qualifying purchases. Prices and availability are subject to change.
Creating a beautiful rainbow drawing begins with proper preparation. Setting up your workspace ensures you can focus on your art. A well-organized area helps you find your materials easily. Let’s start by preparing your workspace for a rainbow masterpiece.
Setting Up Your Area
Find a quiet and comfortable place to draw. A desk or table works best. Ensure your surface is clean and free of clutter. This helps you concentrate on your drawing. Good lighting is important too. Natural light is ideal but a desk lamp can work well.
Organizing Your Materials
Gather all the materials you need before you start. This includes paper, pencils, erasers, and colored markers or pencils. Arrange them neatly on your workspace. You might also need a ruler for straight lines. Keep a sharpener nearby for your pencils.
Having everything within reach saves time. It also keeps you from getting distracted. Make sure your materials are in good condition. Fresh markers and sharp pencils make drawing easier.
Sketching The Rainbow
Drawing a rainbow is fun and easy. Follow these steps to create a beautiful rainbow sketch. Start with a simple pencil sketch and add colors later.
Drawing The Arch
First, draw an arch with a pencil. The arch is the base of your rainbow. Begin by drawing a large, curved line. Make sure the curve is smooth and even.
Keep the arch wide enough to add more bands inside. Use a light hand so you can erase any mistakes.
Spacing The Bands
Next, draw the bands inside the arch. Each band represents a different color. Make sure the bands are evenly spaced.
Use a ruler if you need help. Start from the top of the arch and work your way down. Draw five or six bands to represent the main colors of the rainbow.
| Band | Color |
|---|---|
| 1 | Red |
| 2 | Orange |
| 3 | Yellow |
| 4 | Green |
| 5 | Blue |
| 6 | Violet |
Adding Colors
Adding colors to your rainbow drawing is the most exciting part. This step brings life and vibrancy to your artwork. With the right techniques, you can create a beautiful, eye-catching rainbow.
Choosing The Color Order
The first step is to choose the correct color order. Start with red at the top, followed by orange, yellow, green, blue, indigo, and violet. This sequence is known as ROYGBIV. It is the order you see in a natural rainbow. Make sure each color is bright and distinct.
Blending Techniques
Blending colors can make your rainbow look more realistic. Use a soft brush or a blending tool. Gently mix the edges where two colors meet. This creates a smooth transition. Practice until you achieve the desired effect.
Colored pencils are great for blending. Apply light pressure for a soft look. Use small, circular motions to blend the colors well. Watercolors also work well. Lightly wet the paper before adding the colors. Let them blend naturally as they dry.
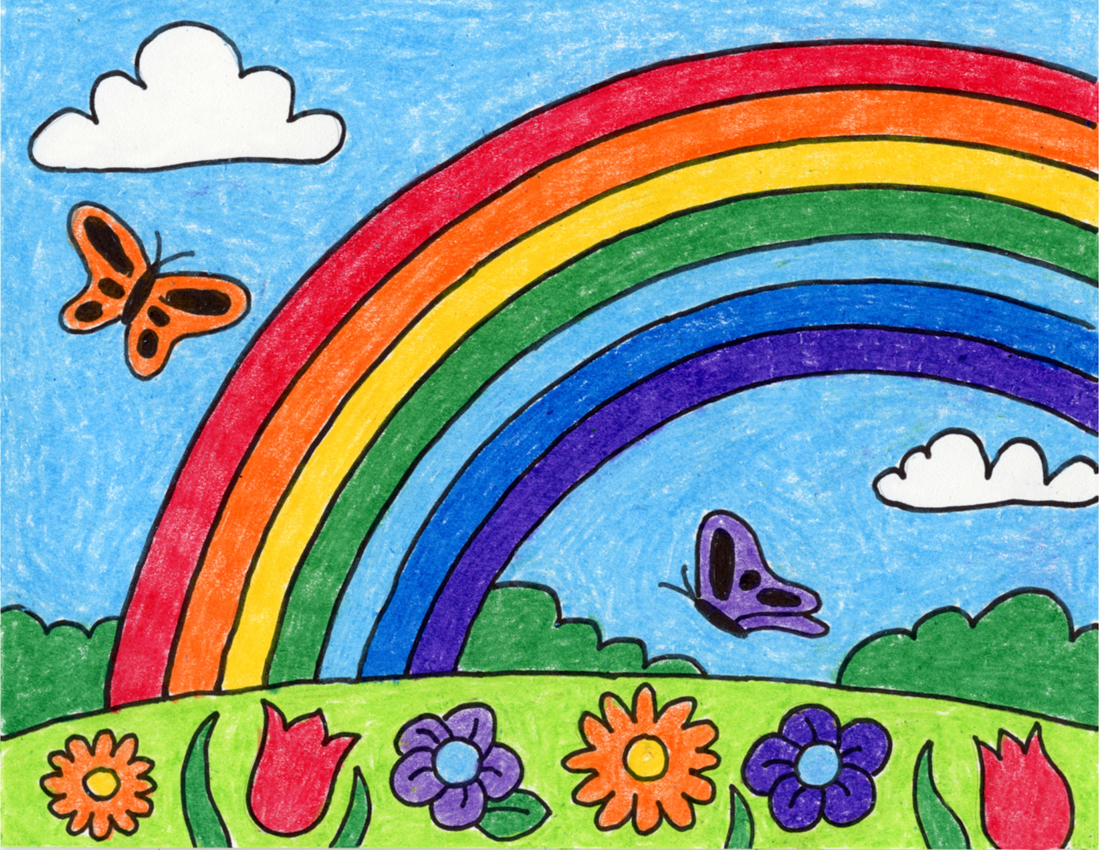
Enhancing With Details
Drawing a rainbow can be simple. But adding details makes it special. This section covers how to add clouds and create a background. These steps will make your rainbow drawing more engaging and realistic.
Adding Clouds
Clouds add a natural touch to your rainbow drawing. To draw clouds, start with soft, curvy lines.
- Use light, circular motions to sketch the cloud shapes.
- Keep the clouds fluffy and uneven for a natural look.
- Place clouds at the ends of the rainbow or around it.
Shading the clouds can add depth. Lightly shade the bottom of the clouds. This will give them a three-dimensional look.
Creating A Background
A background makes your rainbow pop. It adds context to your drawing. You can draw a simple sky or a more detailed scene.
| Background Type | Description |
|---|---|
| Simple Sky | Use light blue for the sky. Add a few clouds. |
| Detailed Scene | Add trees, hills, or a sun to the background. |
Use soft colors for the background. This makes the rainbow stand out more. Start with a light blue for the sky. Add some green for grass if you include it.
Remember to keep the background simple. It should complement, not overpower, your rainbow.
Final Touches
You’re almost done with your beautiful rainbow drawing. Now, it’s time to add the final touches. This step will make your artwork stand out. Let’s focus on reviewing your work and making adjustments.
Reviewing Your Work
Take a step back and look at your drawing. Check if all the colors are in the right order. Red, orange, yellow, green, blue, indigo, and violet. Are the arcs smooth and even? Do the colors blend well into each other? Your rainbow should look natural and bright.
Make sure there are no gaps between the colors. A complete rainbow has smooth transitions. If you find any areas that need more color, fill them in gently.
Making Adjustments
Now, let’s fine-tune your drawing. If any color seems too light, add another layer. Use light strokes to avoid harsh lines. Blend the colors gently where they meet. This will create a seamless look.
Check for any smudges or mistakes. Use an eraser to clean them up. Be careful not to erase your rainbow. If you notice any uneven arcs, adjust them slightly. Small changes can make a big difference.
Finally, add any extra details you like. Maybe some clouds at the ends of your rainbow. Or a light blue sky in the background. These details will bring your rainbow to life.
With these final touches, your rainbow drawing is complete. You’ve done a great job! Now, enjoy your colorful masterpiece.
Showcasing Your Art
After drawing your beautiful rainbow, the next step is showcasing it. Displaying your art can be both fun and rewarding. It helps you share your creativity with others. Here are some simple ways to showcase your rainbow drawing.
Framing Your Rainbow
Framing your rainbow can make it look professional. Choose a frame that complements the colors of your rainbow. Simple black or white frames work well with vibrant colors.
- Measure your drawing to find the right frame size.
- Consider using a matte board to add depth.
- Hang the framed rainbow in a well-lit area.
| Frame Type | Description |
|---|---|
| Simple Frame | Basic and clean design |
| Ornate Frame | Decorative and detailed |
| Floating Frame | Gives a 3D effect |
Sharing With Others
Sharing your rainbow can inspire others. There are many ways to share your artwork.
- Social Media: Post a photo of your drawing on platforms like Instagram or Facebook.
- Art Communities: Join online art groups and share your work there.
- Local Exhibitions: Participate in local art shows and display your rainbow.
When sharing online, use high-quality images. Capture your rainbow in good lighting. Add a short caption to describe your inspiration. Engaging with your audience can make sharing more enjoyable.

Frequently Asked Questions
What Materials Do I Need To Draw A Rainbow?
You need paper, pencils, a ruler, and colored markers or pencils.
How Do I Start Drawing A Rainbow?
Draw a large arc on your paper. This is the base of the rainbow.
How Many Colors Are In A Rainbow?
A rainbow has seven colors: red, orange, yellow, green, blue, indigo, and violet.
Can Beginners Draw A Rainbow Easily?
Yes, beginners can draw a rainbow. Just follow simple steps and practice.
Creating a rainbow drawing is simple and fun. First, gather your colors. Next, draw curved lines for each color, starting with red. Follow with orange, yellow, green, blue, and purple. Practice makes perfect, so keep trying. Soon, your rainbows will look amazing.
Drawing rainbows can be a relaxing activity. Share your artwork with friends and family. They will surely appreciate your effort. Happy drawing!


