

Drawing a triangle is a simple yet fundamental skill in art and geometry. Whether for school projects, design work, or just for fun, understanding how to draw a triangle is essential.
Triangles are one of the basic shapes in geometry, found everywhere in our world. From the pyramids of Egypt to the design of bridges, triangles play a crucial role in architecture and engineering. Learning how to draw a triangle can help you understand the basics of geometry, enhance your drawing skills, and boost your creative projects.
In this guide, we will explore different methods to draw various types of triangles, making it easy and fun for anyone to learn.

Materials Needed
Before you start drawing a triangle, gather the right materials. The correct tools and paper make a difference. You will need drawing tools and the right paper.
Drawing Tools
First, get a good pencil. A standard HB pencil works well. It provides the right balance of hardness and softness. Next, use a ruler. A clear, plastic ruler is best. It helps you see the lines clearly. Also, have an eraser handy. Mistakes happen. You need a good eraser to correct them. A compass is also useful. It helps draw perfect circles. This can aid in creating accurate angles in your triangle.
Paper Selection
Choose the right paper. Regular printer paper is fine for practice. For better results, use drawing paper. It is thicker and more durable. It handles pencil marks better. Avoid glossy paper. It is too smooth and hard to draw on. A sketchbook with medium-weight paper is ideal. It provides a good surface for drawing and erasing. The right paper ensures your triangle looks clean and sharp.
Basic Triangle Types
Drawing essentials
These are the everyday tools we recommend for any drawing tutorial on this site, picked for reliability and beginner-friendly pricing.


As an Amazon Associate, drawingseasy.com earns from qualifying purchases. Prices and availability are subject to change.
Understanding the basic types of triangles is key to drawing them accurately. Triangles are simple geometric shapes with three sides and three angles. Each type of triangle has unique properties and characteristics. Let’s explore the most common types of triangles.
Equilateral Triangle
An equilateral triangle has three equal sides. This means all three sides are the same length. Consequently, all three angles in an equilateral triangle are equal, each measuring 60 degrees. This symmetry makes it a popular choice in design and architecture.
Isosceles Triangle
An isosceles triangle has two equal sides. The angles opposite these equal sides are also equal. This type of triangle is often seen in everyday objects and nature. It is easy to identify due to its unique shape, which combines symmetry with asymmetry.
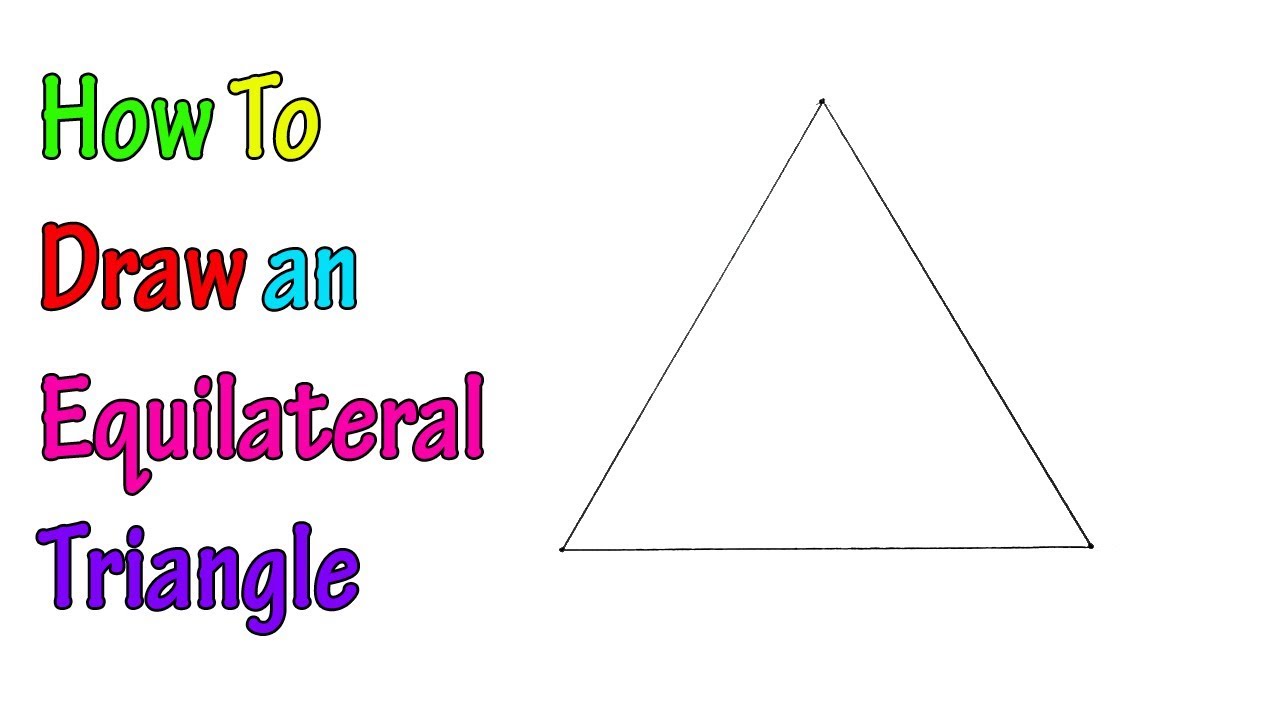
Drawing An Equilateral Triangle
Drawing an equilateral triangle can be fun and rewarding. An equilateral triangle has three equal sides and three equal angles. This makes it a perfect shape for various designs and projects. Let’s learn how to draw one with simple steps.
Measure And Mark
First, grab a ruler and pencil. Measure the length you want for each side. For example, choose 5 cm. Mark three points on your paper. These points will be the corners of your triangle. Make sure the distance between each point is equal. This ensures your triangle will be equilateral.
Connect The Dots
Next, use your ruler to connect the dots. Draw a straight line between the first and second points. Then, draw a line between the second and third points. Finally, connect the third point back to the first. You now have your equilateral triangle. Check the lengths to confirm they are equal. This ensures accuracy in your drawing.

Drawing An Isosceles Triangle
Creating an isosceles triangle can be a fun and easy task. An isosceles triangle has two sides of equal length. This makes it unique and symmetrical. Follow these simple steps to draw your own isosceles triangle.
Mark The Base
First, start by marking the base of your triangle. Use a ruler to draw a straight line. This line will serve as the base. Ensure the line is the length you want for your triangle’s base. You can choose any length that fits your paper. Just remember, it will be the foundation of your triangle.
Draw Equal Sides
Next, draw the equal sides. Place your ruler at one end of the base. Measure the length you desire for the two equal sides. Mark this length with a small dot. Repeat this step for the other end of the base. Now, connect each dot to the opposite end of the base. Ensure both lines are straight and equal in length. You’ve now created an isosceles triangle!
Drawing A Scalene Triangle
Creating a scalene triangle can be a fun and educational experience. A scalene triangle has all sides of different lengths. Its angles are also different. This makes it unique and interesting to draw. Follow these simple steps to draw a perfect scalene triangle.
Define The Angles
Start by deciding the angles of your triangle. Remember, the sum of all angles in a triangle is always 180 degrees. For a scalene triangle, choose three different angles.
| Angle A | Angle B | Angle C |
|---|---|---|
| 45° | 60° | 75° |
In our example, we use 45°, 60°, and 75°. You can choose any set of angles as long as their sum is 180°.
Connect All Points
Now, you need to connect the points to form the triangle. Begin by drawing a base line. This will be one side of your triangle. Mark two points on this line. These will be the ends of your first side.
- Draw a base line and mark points A and B.
- From point A, draw a line at 45°.
- From point B, draw a line at 75°.
The two lines will meet at point C. Now, you have three points: A, B, and C. Connect these points to form your triangle.
Tip: Use a protractor to ensure your angles are accurate. This will help you create a more precise triangle.
Using A Protractor
Drawing a triangle using a protractor can be easy and fun. A protractor helps measure angles accurately. It also helps draw straight lines. With a few steps, you can create a perfect triangle.
Measure Angles
Place the protractor on your paper. Ensure the baseline is straight. Align the center point with one vertex of your triangle. Look at the degree marks on the protractor. Decide the angle you want for the triangle’s corner. Mark this angle on the paper using a pencil. Repeat this step for the other two angles of the triangle.
Draw Accurate Lines
After marking the angles, connect the points with a ruler. Place the ruler between two marks. Draw a straight line. Do this for all three sides. Now, you have a triangle with accurate angles and straight sides.
Using a protractor ensures precision in your drawing. It makes the process simple and enjoyable. Practice these steps to improve your skills. Soon, you will draw triangles easily.
Common Mistakes
Drawing a triangle might seem simple at first. Yet, many beginners make common mistakes. Understanding these errors can help you improve your drawing skills. Let’s explore some frequent mistakes and how to avoid them.
Incorrect Measurements
One common mistake is incorrect measurements. Not measuring the sides accurately can ruin your triangle. Use a ruler to measure each side precisely. Ensure all sides match the required lengths. Even a small error can distort the shape.
Another issue is the angles. Incorrect angles can change a triangle’s type. Use a protractor to measure angles accurately. Ensure the total of all angles is 180 degrees. This ensures your triangle is mathematically correct.
Uneven Lines
Uneven lines can also cause problems. Wobbly or shaky lines can make your triangle look unprofessional. Use a straightedge to draw your lines. This helps keep them even and straight. Practicing steady hand movements can also help.
Sometimes, lines may not connect properly. Ensure all three points meet exactly. Gaps or overlaps can distort the shape. Double-check your work and make adjustments if needed. This ensures a clean, precise triangle.
Frequently Asked Questions
What Tools Do I Need To Draw A Triangle?
You need a ruler, pencil, and paper. Optional: a protractor for angles.
How Do I Draw An Equilateral Triangle?
Draw three equal sides. Use a ruler for accuracy. Each angle should be 60 degrees.
Can I Draw A Triangle Without A Protractor?
Yes, you can. Use a ruler to measure sides. Estimate angles by eye.
What Are The Types Of Triangles?
There are three types: equilateral, isosceles, and scalene. They differ in side lengths and angles.
Drawing a triangle is easier than you might think. Start with a ruler and pencil. Draw three connected lines. Make sure they form a closed shape. Practice often to improve your skills. Soon, you will draw triangles effortlessly. Keep experimenting with different types.
Equilateral, isosceles, and scalene triangles all have unique properties. Enjoy the process. Happy drawing!


