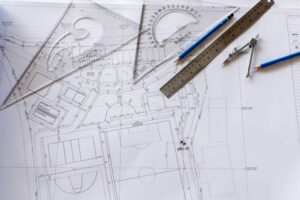
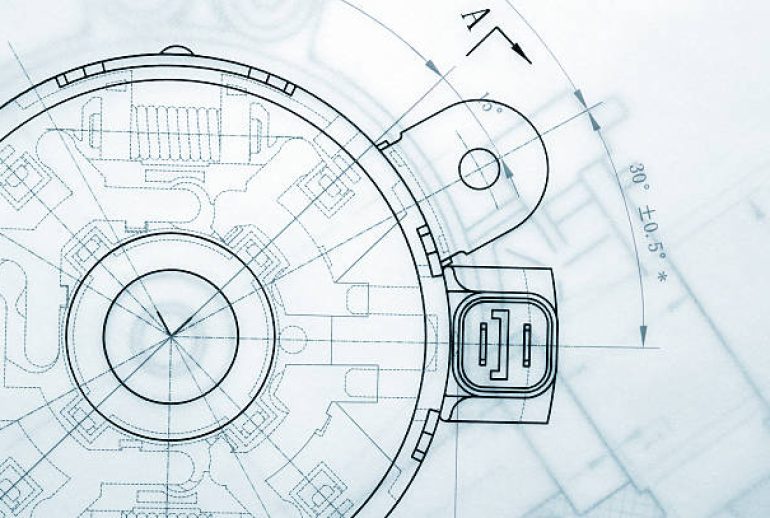
To use a protractor for technical sketches, start by understanding its basic function. A protractor measures angles precisely, which is essential for technical accuracy in drawings.
Technical sketches require precision and detail. Using a protractor can help achieve that accuracy. It’s a tool designed to measure and draw angles correctly. Whether you’re a student, designer, or engineer, mastering this tool is essential. It ensures your sketches are not only accurate but also professional.
Learning to use a protractor can seem tricky at first, but with practice, it becomes second nature. This guide will walk you through the steps, making the process straightforward and easy to follow. Let’s dive in and explore how to use a protractor for your technical sketches effectively.

Introduction To Protractors
Technical sketches often require precise angles and measurements. A protractor is an essential tool for this purpose. It helps in achieving accuracy in your drawings. Understanding how to use a protractor can improve your technical sketches significantly.
Types Of Protractors
Protractors come in different types. The most common one is the semicircular protractor. It measures angles from 0 to 180 degrees. Another type is the full-circle protractor. It measures angles from 0 to 360 degrees. There are also adjustable protractors. They have moving arms for more flexibility in measuring angles.
Common Uses In Technical Sketching
Protractors help in drawing precise angles. They are used to measure existing angles in a drawing. You can also create new angles with a protractor. This is important for technical sketches. It ensures all angles are correct and consistent. Protractors are also useful for creating geometric shapes. Shapes like triangles and polygons require accurate angles. A protractor ensures these shapes are drawn correctly.
Selecting The Right Protractor
Choosing the right protractor is crucial for accurate technical sketches. A good protractor ensures precise angles and clean lines. But how do you select the best one?
Material And Durability
The material of your protractor affects its longevity. Plastic protractors are lightweight and affordable. They can break easily though. Metal protractors are more durable and can last longer. They are heavier and more expensive. Choose a material that suits your needs and budget.
Size And Precision
Protractors come in various sizes. Smaller protractors are portable and easy to use. They may lack the precision needed for detailed work. Larger protractors offer better accuracy. They can be harder to handle. Consider your project’s requirements before choosing the size.
Precision is also important. Look for protractors with clear, easy-to-read markings. This helps in drawing accurate angles. Some protractors have extra features like a built-in ruler. These can be useful for more precise measurements.
Basic Techniques
Mastering the basic techniques of using a protractor is essential for creating accurate technical sketches. A protractor helps measure and draw precise angles, ensuring your drawings are correct and professional. This guide will walk you through the fundamental methods, making the process simple and straightforward.
Measuring Angles
To measure angles with a protractor, follow these easy steps:
- Place the midpoint of the protractor at the vertex of the angle.
- Align one side of the angle with the zero line of the protractor.
- Read the degree measure where the other side of the angle meets the protractor’s scale.
Ensure the protractor is not tilted. This guarantees accurate readings. Double-check the alignment before recording the measurement.
Drawing Angles
Drawing angles accurately is just as important. Here’s how to do it:
- Mark the vertex of the angle on your paper.
- Draw a baseline from the vertex using a ruler.
- Place the midpoint of the protractor at the vertex.
- Align the baseline with the zero line of the protractor.
- Mark the desired angle on the paper using the protractor’s scale.
- Connect the vertex to the marked point to complete the angle.
Practice these steps to improve your accuracy. Remember, a steady hand helps in achieving precise angles.

Advanced Techniques
Learning advanced techniques in using a protractor can elevate your technical sketches. These methods help in creating more precise and detailed drawings. Let’s explore some advanced techniques to make your sketches stand out.
Bisecting Angles
Bisecting an angle means dividing it into two equal parts. Place the protractor’s midpoint on the angle’s vertex. Align one side of the angle with the protractor’s zero line. Note the measurement where the other side crosses the protractor. Divide this measurement by two. Mark the midpoint using the protractor. Draw a line through this mark and the vertex. You’ve now bisected the angle.
Constructing Polygons
Constructing polygons requires precision. Start by drawing a base line. Use the protractor to measure and draw each angle from this base. For a regular polygon, ensure all angles and sides are equal. Mark each vertex carefully. Connect the vertices to form the polygon. Check each angle and side for accuracy. With practice, constructing polygons becomes easier.
Maintaining Accuracy
Using a protractor for technical sketches requires precision. Maintaining accuracy is crucial for achieving precise drawings. This section will guide you on how to keep your measurements exact.
Calibrating Your Protractor
Always start by calibrating your protractor. Check the baseline and the center point. Ensure they align correctly. Place the protractor on a flat surface. Align the zero mark with your sketch’s baseline. Adjust as needed to make sure it is even.
Avoiding Common Mistakes
Many common mistakes can affect accuracy. One frequent error is not aligning the protractor properly. Always double-check its position before measuring angles. Another mistake is using a worn-out protractor. Over time, markings can fade. This can lead to inaccurate readings. Make sure your protractor is in good condition.
Also, avoid parallax errors. This happens when your eye is not directly above the protractor. Look straight down to get the correct angle. Finally, use a sharp pencil for marking. A dull pencil can create thick lines. This makes it hard to pinpoint the exact measurement.
Practical Applications
A protractor helps create precise angles in technical sketches. Place it on your drawing, align it, and mark the desired angle.
Using a protractor in technical sketches offers precision. This tool helps in creating accurate angles. Understanding practical applications can enhance your drawing skills. Let’s explore how a protractor is vital in various fields.
Mechanical Engineering Sketches
Mechanical engineering requires precise measurements. Protractors help in creating detailed component designs. You can measure and draw angles for gears, shafts, and other parts. This accuracy ensures that components fit perfectly. Using a protractor can prevent errors in mechanical drawings.
Architectural Drawings
Architectural drawings need exact angles. A protractor helps in designing building plans. You can draw walls, roofs, and other structures with precision. This tool ensures all angles are correct. Accurate drawings make construction easier. A protractor is essential for reliable architectural sketches. “`
Troubleshooting Tips
Using a protractor for technical sketches can sometimes present challenges. Errors can arise, leading to inaccurate drawings. This guide will help troubleshoot common issues. Let’s explore some tips for dealing with these problems.
Dealing With Inaccurate Measurements
Incorrect measurements often happen due to small mistakes. Ensure the protractor is aligned correctly. Place it carefully on your paper. Double-check the zero line with the baseline of your drawing. Always use a sharp pencil for clear marks. Dull pencils can cause errors. Regularly clean your protractor to avoid dust build-up.
Fixing Misalignments
Misalignments can ruin your sketch. Check if the protractor is slipping. Use a small piece of tape to hold it steady. Make sure the center point of the protractor matches your drawing’s vertex. Verify that the angles are drawn from the correct side. Flip the protractor if necessary. This simple step can solve many issues.

Frequently Asked Questions
How Do You Read A Protractor?
To read a protractor, align the baseline with the bottom edge of the angle. The protractor’s center point should be at the angle’s vertex. Read the degree measurement where the other side of the angle intersects the protractor.
How Do You Draw Angles With A Protractor?
To draw angles, place the protractor’s baseline along a straight line. Mark the desired angle measurement on the paper. Then, draw a line from the vertex to the marked point.
Why Is A Protractor Important In Technical Sketches?
A protractor ensures precise angle measurements in technical sketches. Accurate angles are crucial for correct designs. It helps in creating professional and consistent drawings.
What Types Of Protractors Are Used In Technical Drawing?
There are two main types: semicircular and circular protractors. Semicircular protractors measure up to 180 degrees. Circular protractors measure a full 360 degrees.
Conclusion
Using a protractor for technical sketches is simple with practice. Start by understanding basic angles. Then, measure and draw accurately. Always double-check your work. This ensures precision. Keep your tools clean. This helps maintain accuracy. Remember, practice makes perfect. Consistent use improves your skills.
Soon, creating precise technical sketches will be easy. Happy sketching!


