Drawing a waterfall can seem challenging at first. But with the right steps, anyone can do it.
Waterfalls are beautiful and dynamic subjects for art. Capturing their essence on paper can be both relaxing and rewarding. Whether you’re a beginner or experienced artist, learning to draw a waterfall can enhance your skills. This guide will walk you through the process, making it simple and fun.
You will learn the basics of sketching, shading, and adding details to create a realistic waterfall. By the end, you’ll have a stunning piece of art to be proud of. So, grab your pencils and let’s get started on this artistic journey together!

Materials Needed
Creating a beautiful waterfall drawing requires the right materials. Using high-quality materials can make the process more enjoyable and your artwork more impressive. Below, we list the essential tools and optional supplies you need to get started.
Essential Tools
To draw a waterfall, you’ll need a few key items. These tools will help you create precise lines and stunning effects.
- Pencils: Use a range of pencils from 2H to 6B for different shading effects.
- Eraser: A good quality eraser is crucial for correcting mistakes.
- Paper: High-quality drawing paper or sketch pad is recommended.
- Ruler: Helps in drawing straight lines and maintaining proportions.
- Sharpener: Keep your pencils sharp for fine details.
Optional Supplies
While the essential tools are enough to get started, optional supplies can enhance your drawing experience and add more depth to your artwork.
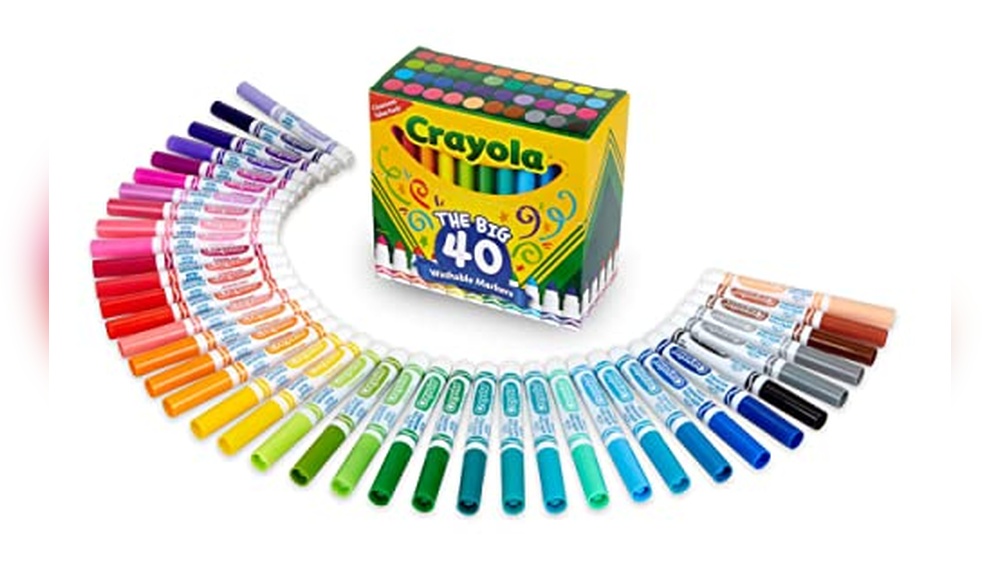
- Colored Pencils: Adding color to your waterfall can make it more vibrant.
- Blending Stumps: Useful for blending and softening edges.
- Kneaded Eraser: Great for lightening areas without leaving residue.
- Watercolors: For a more dynamic and realistic waterfall effect.
- Fine Liners: Ideal for adding sharp details and outlines.
| Essential Tools | Optional Supplies |
|---|---|
| Pencils (2H to 6B) | Colored Pencils |
| Eraser | Blending Stumps |
| Paper | Kneaded Eraser |
| Ruler | Watercolors |
| Sharpener | Fine Liners |

Choosing Your Scene
Choosing your scene is the first step in drawing a waterfall. The right scene can make your drawing stand out. It sets the tone and mood for your artwork. Let’s explore how to choose the best scene for your waterfall drawing.
Finding Inspiration
Start by finding inspiration. Look around you. Nature is full of beautiful waterfalls. Visit a nearby park or nature reserve. Observe the details of the waterfall. Notice the way the water flows over rocks. Pay attention to the surrounding plants and trees.
If you can’t visit a waterfall, don’t worry. You can also find inspiration online. Browse through photos of waterfalls. Look at different types and styles. Some waterfalls are tall and narrow. Others are short and wide. Each has its unique beauty.
Selecting A Reference
Once you find your inspiration, select a reference. A reference will guide your drawing. It helps you capture the details accurately. Choose a clear and detailed image. Make sure it shows the entire waterfall. This includes the water, rocks, and surroundings.
Print the image or keep it on your device. Refer to it often as you draw. Focus on the shapes and lines. Notice the light and shadow. A good reference can make a big difference in your drawing. It helps you stay on track and create a realistic waterfall scene.
Sketching The Outline
Sketching the outline is the first step to drawing a waterfall. This stage sets the foundation for your drawing. Start with basic shapes. They help you understand the structure. Then, define the waterfall more clearly. This will give your sketch a realistic feel.
Basic Shapes
Begin with a rectangle for the waterfall. This shows the height and width. Next, draw an oval at the top. This represents the pool from where the water flows. Add a larger oval at the bottom. This shows where the water lands. These shapes help guide your sketch.
Defining The Waterfall
Now, add details to the basic shapes. Draw wavy lines down the rectangle. These lines show the flow of water. Make the lines uneven. This makes the waterfall look natural. Add small curves at the top and bottom. This shows the water splashing and pooling.
Adding Details
Adding details to your waterfall drawing brings it to life. These small touches transform a simple sketch into a vibrant scene. Focus on each part to enhance realism. This guide will help you add details to your waterfall drawing.
Rocks And Terrain
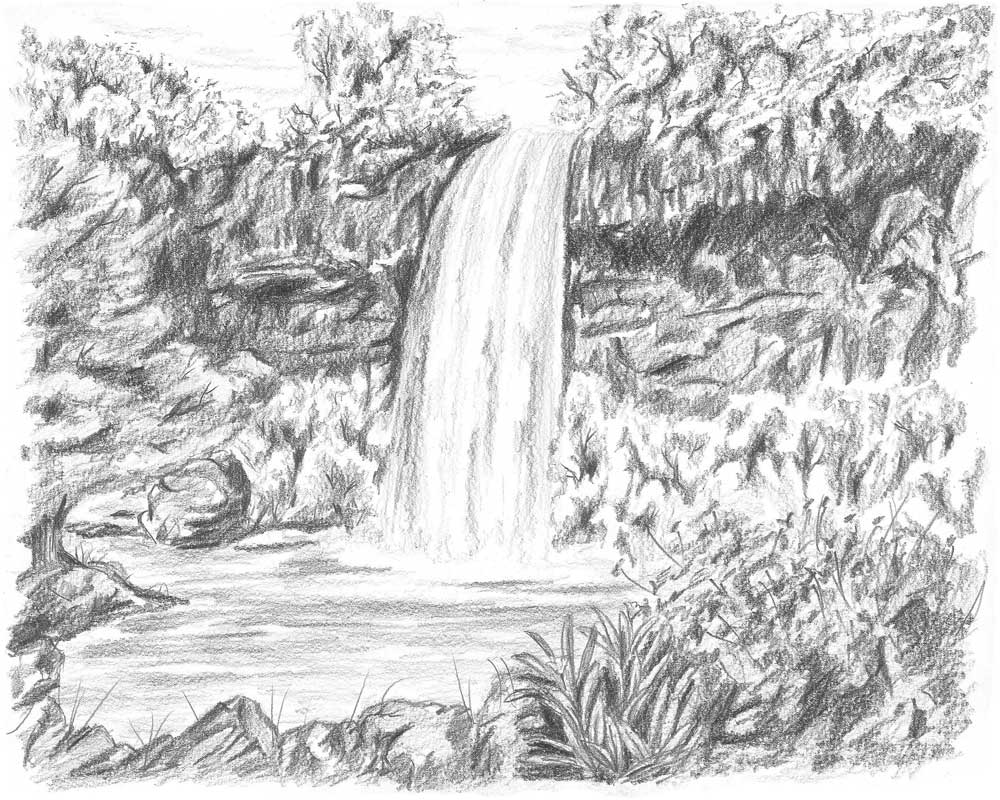
Start by sketching rocks around the waterfall. Vary the sizes and shapes for realism. Add jagged edges to some rocks. Smooth others. Draw a few rocks partially submerged. This gives depth to your drawing. Include shadows under the rocks. Use light and dark shades to show texture.
Draw the terrain around the waterfall. Add trees, bushes, and grass. Use short, quick strokes to represent grass. For trees, draw the trunk first. Then add branches and leaves. Use tiny circles for leaves. Add shading to the terrain. This creates a sense of depth and perspective.
Flowing Water
Show the water flowing over the rocks. Use smooth, wavy lines. Draw small ripples in the water. Add tiny waves at the base of the waterfall. Use light pencil strokes for these details. Create a foamy effect where the water hits the ground. Use small circles and curved lines.
Highlight the water with lighter shades. This makes it look transparent. Add a few lines to show movement. Make sure they follow the direction of the flow. These lines can be very light. Just enough to suggest motion.
Lastly, add shadows in the water. This gives it depth. Use darker shades near the edges and lighter in the middle. This creates a realistic, flowing effect. Your waterfall will look dynamic and alive.
Shading Techniques
Shading is essential in drawing. It adds life and realism to your artwork. In this section, learn key techniques for shading a waterfall. Let’s explore how light and shadow, and creating depth can make your waterfall drawing pop.
Light And Shadow
Understanding light and shadow is crucial. It helps in creating a three-dimensional effect. Observe a real waterfall or a reference image. Notice where the light hits and where shadows form.
Here are some tips to get started:
- Identify the light source. This could be the sun or artificial light.
- Shade the opposite side of the light source. This will be your shadow area.
- Use gradual shading. Avoid harsh lines between light and dark areas.
- Blend your shading to create a smooth transition.
Creating Depth
Depth makes your waterfall look realistic. It gives a sense of distance and layers.
Follow these steps:
- Foreground: Use darker shades. This creates a sense of closeness.
- Middle Ground: Use medium shades. This balances the foreground and background.
- Background: Use lighter shades. This gives the illusion of distance.
Pay attention to the waterfall’s layers. The water at the top should be lighter, as it’s catching more light. The base should be darker, where shadows form.
Here’s a quick table to help you:
| Area | Shading |
|---|---|
| Top | Lighter Shades |
| Middle | Medium Shades |
| Base | Darker Shades |
Practice these techniques. You’ll see improvement in your waterfall drawings. Happy drawing!
Coloring The Scene
Coloring the scene is a crucial part of drawing a waterfall. This step adds life and depth to your artwork. Proper coloring can transform a simple sketch into a vibrant and realistic scene. Let’s explore how to choose the right colors and blend them effectively.
Choosing Colors
Choosing the right colors is essential for creating a realistic waterfall. Start by selecting shades of blue and white for the water. Use lighter shades for the areas where the water is falling and darker shades for the deeper parts. Green and brown are ideal for the surrounding landscape. These colors represent trees, rocks, and foliage, enhancing the natural look of the scene.
It’s also important to consider the lighting in your scene. If the waterfall is in a sunny area, use brighter colors. If it’s in a shaded area, opt for muted tones. Here’s a quick guide:
| Element | Suggested Colors |
|---|---|
| Water | Light Blue, Dark Blue, White |
| Rocks | Grey, Brown |
| Foliage | Green, Dark Green |
Blending Techniques
Blending is key to making your colors look natural. Start with the base colors and gently blend them together. Use a soft brush or your fingers to smooth out the lines between different shades. This technique helps to create a seamless transition between colors.
For the water, blend light blue and white to create a sparkling effect. Use circular motions to blend the colors smoothly. For rocks and foliage, blend brown and green with a light touch to keep the textures distinct. Here’s a step-by-step approach:
- Apply the base color lightly.
- Layer the secondary color over the base.
- Use a blending tool or your fingers to soften the edges.
- Repeat until the desired effect is achieved.
Remember, practice makes perfect. Don’t be afraid to experiment with different colors and techniques. With time, your skills will improve, and your waterfall drawings will look more realistic.
Final Touches
Final touches can bring your waterfall drawing to life. They add depth, realism, and a sense of movement. Each detail you add will enhance the beauty of your artwork. Let’s look at some essential final touches to perfect your waterfall drawing.
Highlighting
Adding highlights can make your waterfall look bright and lively. Use a white pencil or eraser to create highlights. Focus on areas where light would naturally hit the water. This includes the edges of the waterfall and splashes. Highlights make your drawing pop and look more three-dimensional.
Adding Texture
Texture adds realism to your waterfall drawing. Use short, quick strokes to mimic the flow of water. Vary the pressure to create different textures. Light strokes can represent gentle water. Stronger strokes can show fast-moving water. Add texture to the rocks and surrounding areas too. This will make your drawing look more detailed and complete.
Frequently Asked Questions
What Materials Do I Need To Draw A Waterfall?
You need paper, pencils, erasers, and colored pencils or watercolors.
How Do I Start Drawing A Waterfall?
Begin by sketching the outline of the waterfall and surrounding rocks.
How Can I Make The Water Look Real?
Use light, flowing lines for water and add shading for depth.
What Are Common Mistakes In Drawing Waterfalls?
Avoid straight lines. Waterfalls are irregular and flow naturally.
Conclusion
Drawing a waterfall can be relaxing and fun. Practice makes perfect. Start with simple shapes and lines. Add details gradually. Use light and shadow to bring depth. Experiment with different techniques. Enjoy the process. Share your art with friends. Keep improving your skills.
Happy drawing!


