Drawing a valley can be a rewarding experience. With the right techniques, anyone can do it.
Valleys are stunning natural features. They offer a great subject for artists. Whether you are a beginner or experienced, drawing a valley can be fun. You will learn about shapes, shadows, and perspectives. This guide will help you understand the basics.
It will also provide simple steps to create your own valley drawing. You don’t need fancy tools. Just a pencil, paper, and some patience. Ready to get started? Let’s dive into the world of valley drawing!
Materials Needed
Drawing a valley can be a rewarding experience. It requires the right materials to bring your vision to life. This section will guide you through the essential tools and recommended supplies needed for your artwork.
Essential Tools
To draw a valley, you need some basic tools. Here is a list of essential items:
- Pencils: Use a range of pencils from H to B for different shades.
- Eraser: A quality eraser helps in correcting mistakes.
- Sharpener: Keep your pencils sharp for detailed work.
- Paper: Choose smooth or textured paper based on your preference.
Recommended Supplies
In addition to the essential tools, some extra supplies can enhance your drawing:
- Blending Stumps: These help in creating smooth transitions.
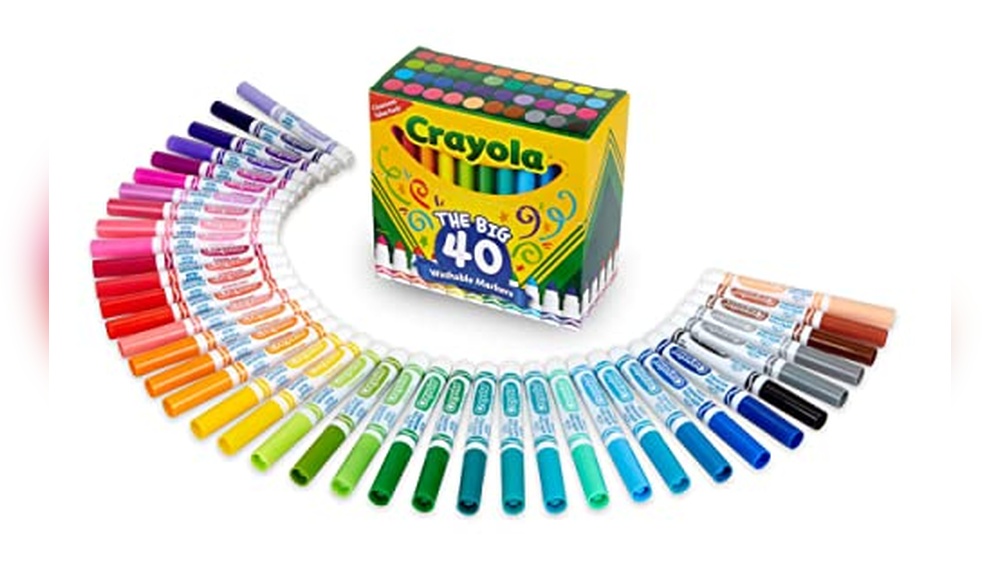
- Colored Pencils: Add color to make your valley more vibrant.
- Ruler: Useful for drawing straight lines and maintaining proportions.
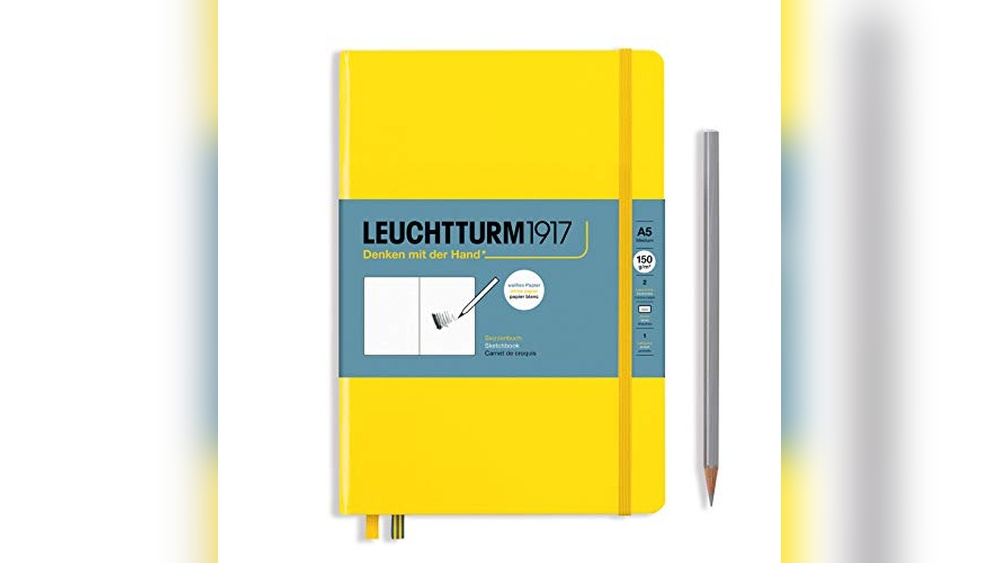
- Sketchbook: Keep all your valley drawings in one place.
Below is a table summarizing the materials needed:
| Item | Purpose |
|---|---|
| Pencils | For sketching and shading |
| Eraser | For correcting mistakes |
| Sharpener | To keep pencils sharp |
| Paper | Surface for drawing |
| Blending Stumps | To create smooth transitions |
| Colored Pencils | To add color |
| Ruler | For straight lines |
| Sketchbook | To organize drawings |
Basic Shapes
Understanding basic shapes is key to drawing a valley. Start with simple forms. These shapes form the structure of your drawing. Once you master them, creating detailed valleys becomes easier.
Drawing The Horizon
The horizon line is essential. This line divides the sky from the land. Draw it across your paper. It should be straight and steady. The horizon gives your valley a base.
Here is a step-by-step guide:
- Use a pencil to draw a straight line.
- Position it slightly above the middle of the page.
- Make sure it is horizontal.
Sketching The Valley Outline
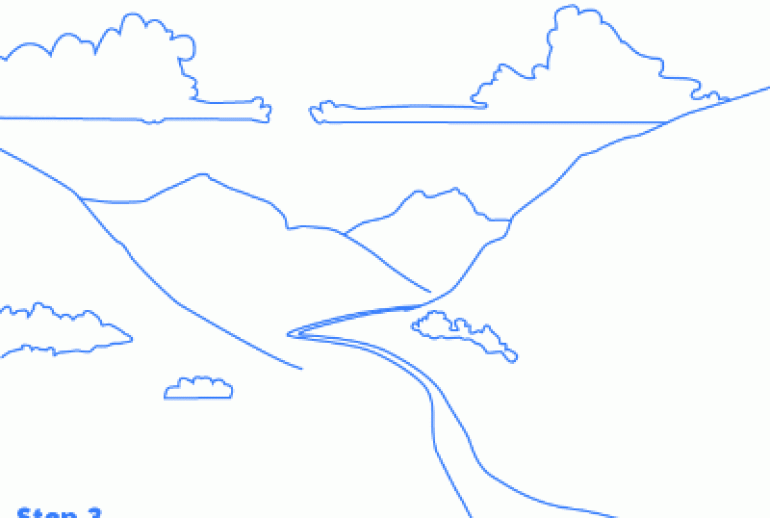
Now, sketch the outline of the valley. Begin with the edges. These lines curve downward from the horizon. This creates the slopes of the valley.
Follow these steps to sketch the outline:
- Start at the horizon line.
- Draw two curved lines, one on each side.
- Make the curves gentle and natural.
These outlines define the valley’s shape. Remember to keep your lines light and easy to adjust.
Adding Depth
Drawing a valley can be a fun and rewarding experience. To make your valley look more realistic, adding depth is essential. This involves creating layers and using shading techniques. These methods help bring your valley to life, giving it a three-dimensional appearance.
Creating Layers
Begin by sketching the outline of the valley. Use light pencil strokes for this. Start with the foreground, then the middle ground, and finally the background. This technique is known as layering. Each layer represents a different distance from the viewer. The foreground should have more details, while the background should be less detailed.
Next, add lines and shapes to represent hills, trees, and rocks. Place larger objects in the foreground. Smaller objects should go in the background. This creates a sense of depth. Remember to keep lines light and flexible, as you can adjust them later.
Shading Techniques
Shading is crucial for adding depth. Begin by identifying the light source. This helps determine where shadows will fall. Use lighter shades for areas closer to the light source. Darker shades should be used for areas further away.
There are various shading techniques you can use:
- Hatching: Draw closely spaced parallel lines.
- Cross-hatching: Draw intersecting sets of parallel lines.
- Stippling: Use small dots to create shading.
Practice each technique to see which one you prefer. Combining different techniques can also produce unique effects. Use an eraser to lighten areas and add highlights. This enhances the three-dimensional feel of your drawing.
By using these methods, you can create a valley that looks real and engaging. Remember to practice often to improve your skills.
Detailing The Landscape
Detailing the landscape is a crucial step in drawing a valley. It brings life and dimension to your artwork. By adding elements like trees, rocks, and water, your valley will look more realistic and engaging. Let’s break down the process into simple steps.
Drawing Trees And Rocks
Trees add depth and character to your valley drawing. Start by sketching the tree trunks with simple, vertical lines. Then, add branches that extend outward in different directions. Don’t worry about making them perfect. Nature is imperfect.
Next, draw the foliage. Use rounded shapes to represent the leaves. Vary the sizes for a natural look. To draw rocks, begin with basic shapes like ovals and rectangles. Add jagged edges to make them appear more realistic. Shade one side to give a sense of light and shadow.
Including Water Elements
Water elements like rivers or lakes add serenity to your valley scene. Draw the outline of your water body first. A curvy, wavy line works well for rivers. For lakes, use a more rounded shape. Next, add ripples to the surface of the water. Use short, curved lines for this.
To show reflection, draw light lines parallel to the water’s edge. This gives the illusion of a reflective surface. Adding rocks or plants near the water enhances the realism. With these elements, your valley will come to life on paper.
Adding Texture
Adding texture to your valley drawing brings it to life. It makes the scene feel real and engaging. You can use different techniques to show the landscape’s elements. Here’s how to add texture to grass, foliage, and rocky surfaces in your valley drawing.
Grass And Foliage
Drawing grass and foliage requires attention to detail. Use small, quick strokes with your pencil. These strokes should be light and random. This creates a natural look. You can layer these strokes to add depth.
To draw bushes and trees, use short, curved lines. These lines should overlap. This gives the illusion of leaves. For trees, add more detail to the trunk. Use rough, vertical lines to show bark texture.
Adding shadows can enhance the texture. Darken areas where the foliage is dense. Use lighter strokes for areas hit by sunlight. This contrast brings your drawing to life.
Rocky Surfaces
Rocks add a rugged feel to your valley. To draw rocks, use irregular shapes. Avoid perfect circles or squares. Use jagged, uneven lines. This makes the rocks look natural.
Shade the rocks to show texture. Use a combination of dark and light shading. This shows the rock’s rough surfaces. Add small cracks and lines. These details make the rocks look realistic.
For larger boulders, use heavy shading on one side. This shows the direction of light. The other side should have lighter shading. This contrast adds depth to your drawing.
Here’s a simple table to keep in mind:
| Element | Technique |
|---|---|
| Grass and Foliage | Light, quick strokes; short, curved lines; shadows |
| Rocky Surfaces | Jagged lines; irregular shapes; heavy and light shading |
By following these techniques, you can add realistic textures to your valley drawing. Practice these methods to improve your skills. Happy drawing!

Final Touches
The final touches are essential to bringing your valley drawing to life. These finishing steps will add depth, realism, and a unique charm to your artwork. Focus on the details, highlights, and shadows to make your valley look more lifelike. Let’s dive into these final steps to perfect your valley drawing.
Highlights And Shadows
Adding highlights and shadows will give your valley a three-dimensional effect. Use a light source direction to guide you. Imagine where the light hits the valley. These areas will have the highlights. For shadows, think about the areas blocked from the light. These will be darker.
Use a soft pencil or a blending tool to create smooth transitions. This will enhance the natural look of your valley. Consider the following tips:
- Highlight the tops of hills and peaks.
- Shade the valleys and crevices.
- Blend edges to avoid harsh lines.
Remember, the contrast between light and dark areas makes the valley pop out. It adds depth and realism.
Reviewing The Artwork
Once you have added highlights and shadows, take a step back and review your artwork. Look at your valley with fresh eyes. Check for any imbalances or areas that need more detail.
Consider the following checklist:
| Aspect | Review Points |
|---|---|
| Highlights | Are they consistent with the light source? |
| Shadows | Do they add depth and dimension? |
| Details | Are there areas that need more refinement? |
Adjust any areas as needed. Make sure the final piece looks balanced and realistic. This step ensures your valley drawing is complete and ready to impress.
Common Mistakes
Drawing a valley can be challenging. Many common mistakes can hinder your progress. Understanding these mistakes can improve your drawing skills.
Avoiding Flatness
A common mistake is making the valley look flat. Valleys should have depth. This gives them a realistic appearance. To avoid flatness, use shading techniques. This helps to create a sense of depth. Observe real valleys and study their contours.
Adding layers can also help. Start with the background and work towards the foreground. This creates a layered effect. Pay attention to light sources. This helps in shading correctly. Practice will make this easier.
Correcting Proportions
Incorrect proportions can ruin your valley drawing. Valleys have varying depths and widths. Keeping these proportions correct is important. Use reference images. They can guide you.
Start with simple sketches. Focus on the general shape first. Then add details. Check your work frequently. Compare it with your reference. This helps in catching mistakes early. Keep practicing. Over time, your proportions will improve.

Frequently Asked Questions
What Materials Do I Need To Draw A Valley?
You need paper, pencils, eraser, and colored pencils. Optional: markers and ruler.
How Do I Start Drawing A Valley?
Begin by sketching the horizon line. Then, draw the valley’s outline with gentle, curved lines.
What Details Should I Include In A Valley Drawing?
Add trees, rivers, rocks, and grass. These details make your valley look more realistic.
How Can I Add Depth To My Valley Drawing?
Use shading and perspective. Darker shades for closer areas and lighter shades for distant areas.
Conclusion
Drawing a valley can be relaxing and fun. Follow the steps carefully. Practice often to improve your skills. Use different shades and lines for depth. Experiment with angles for a unique look. Enjoy the process and be patient. Each drawing will get better with time.
Share your work with friends and family. They might give useful feedback. Keep exploring new techniques and styles. Your valleys will become more realistic and beautiful. Happy drawing!

