Drawing a steak might seem tricky, but it’s easier than you think. With some simple steps, anyone can do it.
Art can be fun and relaxing, and drawing a steak is a great way to practice. You don’t need to be a professional artist to create a realistic steak. By breaking it down into basic shapes and adding details, you can create a piece of art that looks good enough to eat.
In this guide, we’ll walk you through the process step-by-step. Whether you’re a beginner or just looking for a fun drawing project, you’ll find this tutorial helpful and enjoyable. So grab your pencil and let’s get started!
Materials Needed
When learning how to draw a steak, having the right materials is crucial. Using the appropriate tools can make your drawing process smoother and more enjoyable. Below, we outline the essential supplies and optional tools you might need for this artistic endeavor.
Essential Supplies
To start drawing a steak, gather these basic materials:
- Pencil: A standard HB pencil works well for sketching the initial outline.
- Eraser: Use a soft eraser to correct any mistakes without smudging.
- Paper: Choose good quality drawing paper. It should handle shading and erasing.
- Sharpener: Keep your pencil sharp for precise lines and details.
Optional Tools
While not necessary, these tools can enhance your drawing experience:
- Colored Pencils: These add vibrancy to your steak drawing.
- Blending Stumps: Use these to smooth out and blend pencil lines.
- Fine Liners: These help outline and add definition to your drawing.
- Ruler: Useful for straight edges and maintaining proportions.
By using these materials, you’ll be better equipped to create a detailed and realistic steak drawing. Happy drawing!
Basic Shapes
Drawing a steak can be fun and rewarding. Start with basic shapes to create a realistic steak. With a few simple steps, you can make your drawing look mouth-watering and delicious.
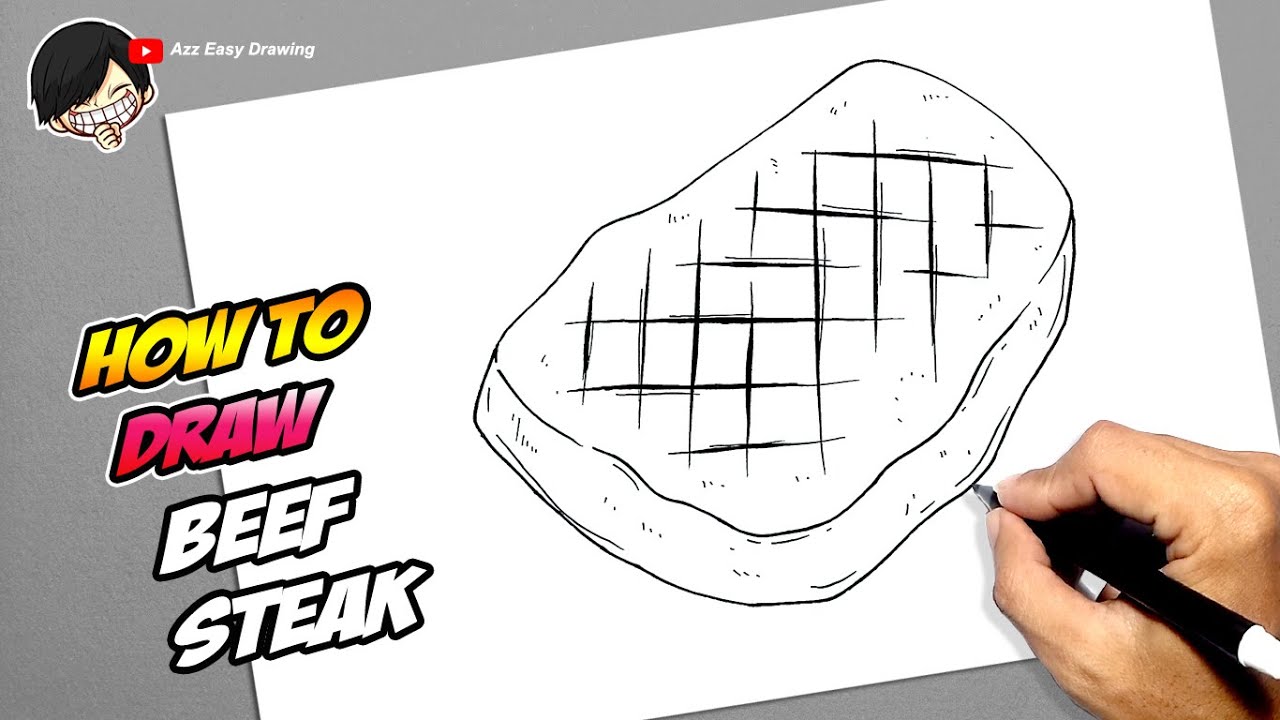
Drawing The Outline
Begin by sketching an oval shape. This will be the main part of the steak. Make the oval slightly uneven to mimic a natural look. Next, draw a smaller circle within the oval. This represents the steak’s marbling or fat. Keep your lines light so you can adjust them later.
Adding The Contours
Now, add the contours to give the steak depth. Draw curved lines inside the oval. Follow the natural shape of the steak. These lines should vary in length and curve. They represent the muscle fibers. Add a wavy line around the smaller circle. This will highlight the marbling. Lastly, erase any unnecessary lines to clean up your drawing.
Adding Details
Adding details to your steak drawing can bring it to life. These details will give it a realistic look. Focus on the texture and fat layers for a more authentic appearance.
Drawing The Texture
To draw the texture of the steak, start with the lines. These lines represent the muscle fibers. Use short, curved lines to show the grain. Add more lines for a detailed look. Keep the lines uneven. This helps to show the natural texture of the meat.
Next, shade the steak. Use light strokes for shading. This adds depth and dimension. Focus on the edges and corners for a realistic effect. Blend the shading for a smooth transition. This makes the steak look juicy and tender.
Creating The Fat Layers
Fat layers are essential for a realistic steak drawing. Begin by outlining the fat areas. These are usually near the edges. Use white or light colors for the fat. This will contrast with the darker meat.
Add some texture to the fat. Use small, wavy lines. This shows the marbling effect. Keep the lines light and delicate. This makes the fat look soft and juicy.
Finally, blend the fat into the meat. Use gentle strokes for blending. This creates a seamless transition. Your steak will now have a realistic look. The fat and meat will look well integrated.
Shading Techniques
Shading is crucial in drawing a steak. It gives depth and realism to your artwork. Understanding light and shadow, along with blending methods, can boost your drawing. Let’s explore these techniques.
Light And Shadow
Light and shadow play a vital role in shading. The light source determines the placement of shadows on your steak. Follow these steps to get it right:
- Identify the light source. This could be from any direction.
- Determine the shadow areas. These are the parts furthest from the light.
- Use a soft pencil for light areas and a darker pencil for shadows.
Remember, the transition between light and shadow should be smooth. This makes the steak look more realistic.
Blending Methods
Blending helps in achieving a smooth transition between light and shadow. Here are some effective blending methods:
- Smudging: Use a blending stump or your finger. Gently blend the graphite on the paper.
- Layering: Apply multiple layers of shading. Start with light layers and build up to darker tones.
- Cross-hatching: Draw intersecting lines to create a blended effect. This works well for textured surfaces like steak.
Experiment with these methods. Each technique offers a unique texture and depth.
| Technique | Description |
|---|---|
| Smudging | Blending using a stump or finger |
| Layering | Building up tones with multiple layers |
| Cross-hatching | Using intersecting lines for texture |
These shading techniques will enhance your steak drawing, making it look more lifelike and delicious.
Coloring The Steak
Coloring the steak is an exciting part of drawing. It brings your steak to life, making it look delicious and realistic. This section will guide you through choosing the right colors and applying them in layers.
Choosing Colors
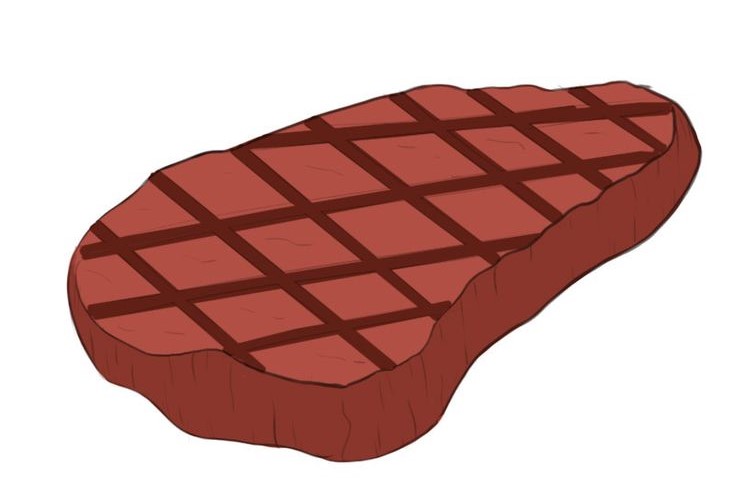
Selecting the right colors is crucial. Start with a rich brown for the meat. Choose lighter and darker shades for depth. Add a touch of red to show the steak’s juiciness. For the fat, use a creamy white or pale yellow.
Applying Layers
Start with a base layer of the main brown color. This creates the steak’s foundation. Next, add darker shades around the edges. This adds depth and dimension. Use the lighter brown to highlight the middle areas.
Blend these layers gently. This will give the steak a smooth look. Add red in small amounts to show the meat’s juiciness. Finally, apply the creamy white to the fat. Blend it into the edges for a realistic touch.
Final Touches
Once you have the basic shape and shading of your steak, it’s time to focus on the final touches. This step helps bring your drawing to life. Enhancing the details and correcting mistakes can make a big difference in the final result.
Enhancing Details
Start by adding texture to the steak. Use short, curved lines to show the grain of the meat. This gives your drawing a more realistic look. Pay attention to the fat lines and marbling. Add light lines to show these details. Use a soft pencil or a fine-tip pen for delicate lines.
Next, focus on the steak’s edges. Make them slightly uneven to mimic a real steak. Add small lines to show the cooked surface. These details help make the steak look more appetizing.
Correcting Mistakes
Check your drawing for any errors. Erase any unwanted lines carefully. Use a kneaded eraser for small areas. This helps avoid smudging your work.
If the shading looks too dark or uneven, lighten it with a clean eraser. Blend the shades with a blending stump or a cotton swab. This smooths out harsh lines and gives a natural look.
Finally, step back and view your drawing from a distance. This helps spot any areas that need fixing. Make small adjustments to improve the overall look. Remember, practice makes perfect. Keep refining your skills with each drawing.
Practice Tips
Drawing a steak can be a fun and rewarding task. Improving your skills takes time and patience. Here are some practice tips to help you on your journey.
Improving Skills
To improve your drawing skills, start with basic shapes. Break the steak down into simple forms like rectangles and ovals. This will make it easier to outline the steak.
Use reference images. Look at pictures of real steaks to understand their texture and shape. Notice the details, such as marbling and grill marks.
Practice shading. Shading adds depth to your drawing. Use light and dark tones to show the steak’s texture and thickness. This will make your drawing look more realistic.
Draw regularly. Consistent practice will help you improve faster. Set aside time each day to draw. Even a few minutes can make a big difference.
Common Mistakes
Many beginners make common mistakes when drawing steaks. Here are some to avoid:
- Outlining too dark: Start with light lines. Dark lines can be hard to erase and can make the drawing look harsh.
- Ignoring proportions: Pay attention to the steak’s size and shape. Draw it in proportion to the plate or other elements.
- Forgetting details: Small details, like fat lines and grill marks, add realism. Don’t skip them.
- Rushing the shading: Take your time with shading. Gradually build up the tones for a smooth effect.
By being aware of these mistakes, you can avoid them and improve your drawing skills.
Frequently Asked Questions
How Do You Start Drawing A Steak?
Begin by sketching the outline. Draw a simple oval shape for the steak.
What Details Make A Steak Drawing Realistic?
Add fat marbling lines and texture. Use shading for depth.
Which Tools Are Best For Drawing A Steak?
Use pencils for sketching. Colored pencils or markers for detailing.
Can Beginners Draw A Steak Easily?
Yes, with practice. Start with basic shapes and add details slowly.
Drawing a steak can be fun and easy. Follow the steps provided. Practice regularly to improve your skills. Remember to observe real steaks for accuracy. Use different shading techniques for depth. Enjoy the process and be patient. Your drawings will get better with time.
Share your work with friends and family. They will appreciate your effort. Keep learning and experimenting. Happy drawing!