Drawing a 4 leaf clover is easier than you think. Follow these steps to create your own.
Drawing can be relaxing and fun. A 4 leaf clover is a perfect start for beginners. This simple yet charming shape has long been a symbol of good luck. Whether you’re looking to decorate a card, create a design, or just enjoy a peaceful activity, drawing a 4 leaf clover is a wonderful choice.
In this guide, we’ll walk you through each step. You’ll need basic tools like paper and a pencil. Soon, you’ll be able to draw a beautiful 4 leaf clover with ease. Let’s begin this creative journey together!
Materials Needed
To draw a perfect 4 leaf clover, gathering the right materials is essential. Having the proper tools and paper will help you achieve the best results. Let’s dive into what you need.
Drawing Tools
To create a stunning 4 leaf clover, you’ll need the following drawing tools:
- Pencil: A sharp pencil for sketching the basic shape.
- Eraser: A good eraser to correct mistakes.
- Fine-tip Pen: For outlining your final drawing.
- Colored Pencils or Markers: To add color and depth to your drawing.
Using high-quality drawing tools will make the process smoother and more enjoyable.
Paper Selection
Choosing the right paper is crucial for your drawing. Here are some options:
| Type of Paper | Advantages |
|---|---|
| Sketch Paper | Great for pencil sketches, easy to erase and redraw. |
| Bristol Paper | Ideal for fine-tip pen work, smooth surface, durable. |
| Watercolor Paper | Best for colored pencils or markers, supports layering and blending. |
Pick a paper that matches your drawing style and the medium you plan to use.
Preparing Your Workspace
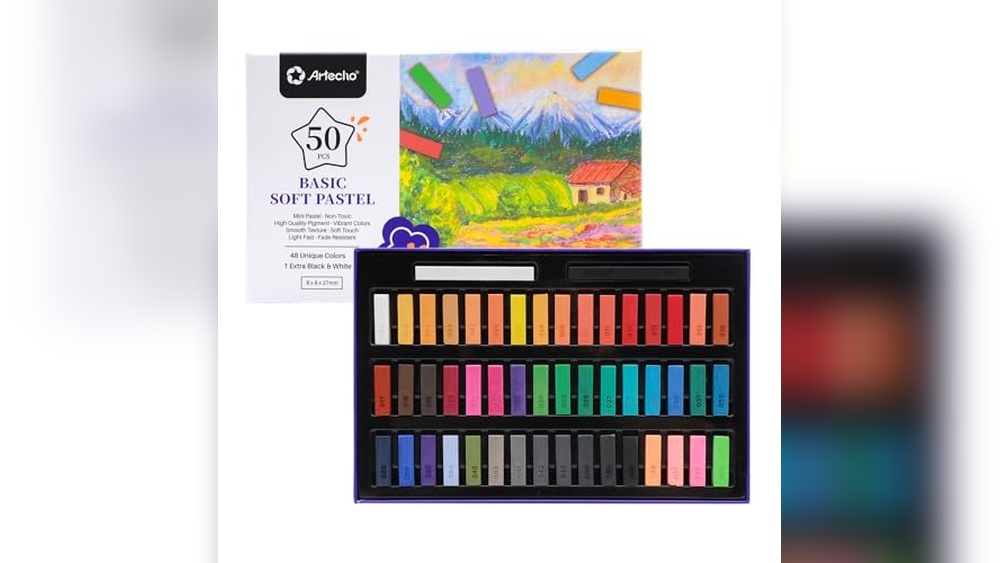
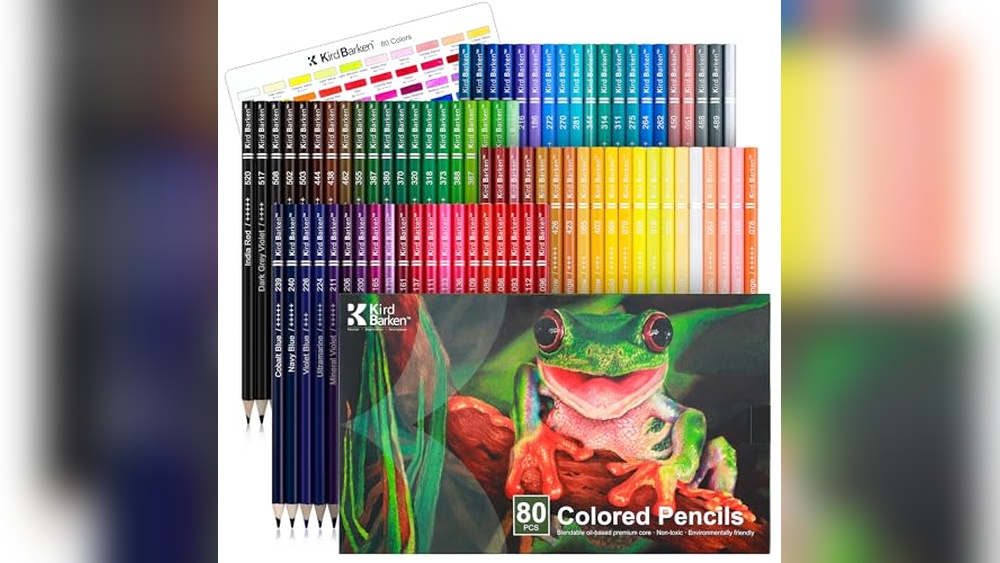
Tools we use for flower and plant drawings
Botanical subjects come alive with a quality colored pencil set and clean graphite linework. A pocket sketchbook makes outdoor study easy.


As an Amazon Associate, drawingseasy.com earns from qualifying purchases. Prices and availability are subject to change.
Before starting to draw a four-leaf clover, it’s essential to prepare your workspace. A well-organized and quiet space helps you focus better. This preparation improves your drawing experience.
Finding A Quiet Place
Find a quiet place in your home. Avoid places with lots of noise or distractions. A quiet room helps you concentrate. It allows you to draw without interruptions. If you have kids or pets, choose a time when they are not around.
You could use a corner of your living room. Or maybe a study room. Ensure the place has good lighting. Natural light is best. If not, a good desk lamp will do.
Organizing Supplies
Next, gather all your drawing supplies. Here’s a list of what you need:
- Pencils (preferably HB or 2B)
- Eraser
- Sharpener
- Ruler
- Drawing paper
Place these items within easy reach. This way, you don’t have to stop drawing to find them. Keep your workspace tidy. A clean space helps you stay focused.
Consider using a table to organize your supplies:
| Supply | Purpose |
|---|---|
| Pencils | For sketching and drawing |
| Eraser | To correct mistakes |
| Sharpener | To keep pencils sharp |
| Ruler | For drawing straight lines |
| Drawing paper | For creating your artwork |
With your supplies organized, you are ready to start drawing. A well-prepared workspace makes the process enjoyable. You can focus more on your art and less on finding things.
Basic Shapes And Guidelines
Learning to draw a 4 leaf clover can be simple and fun. Start with basic shapes and guidelines. These steps will help you create a neat and symmetrical design. Follow along to draw a perfect 4 leaf clover.
Drawing The Stem
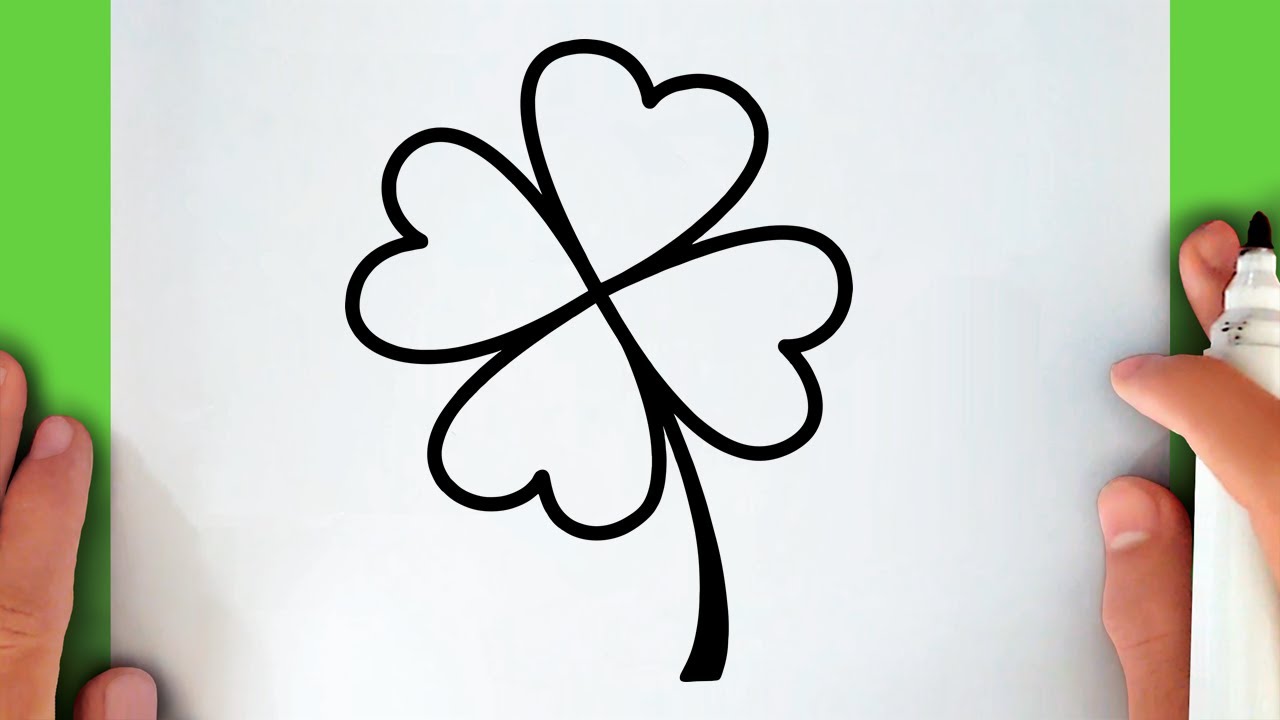
Begin by drawing the stem. Draw a simple, curved line. This line should be slightly bent. It gives the clover a natural look. The stem connects all the leaves together. Make sure it is not too long or too short.
Creating The Leaf Guides
Now, create the leaf guides. Draw a small circle at the top of the stem. This circle will help you place the leaves correctly. Next, draw a cross inside the circle. This cross will divide the circle into four sections. Each section will guide one leaf.
For each leaf, draw a teardrop shape. Start at the center of the cross and extend outward. Repeat this for all four sections. Make sure the leaves are even and symmetrical. This step helps in keeping the clover balanced and neat.
Drawing The Leaves
Drawing the leaves of a 4 leaf clover can be fun and relaxing. Each leaf has a unique shape that adds to the charm. Let’s break down the process into easy steps.
Shaping The First Leaf
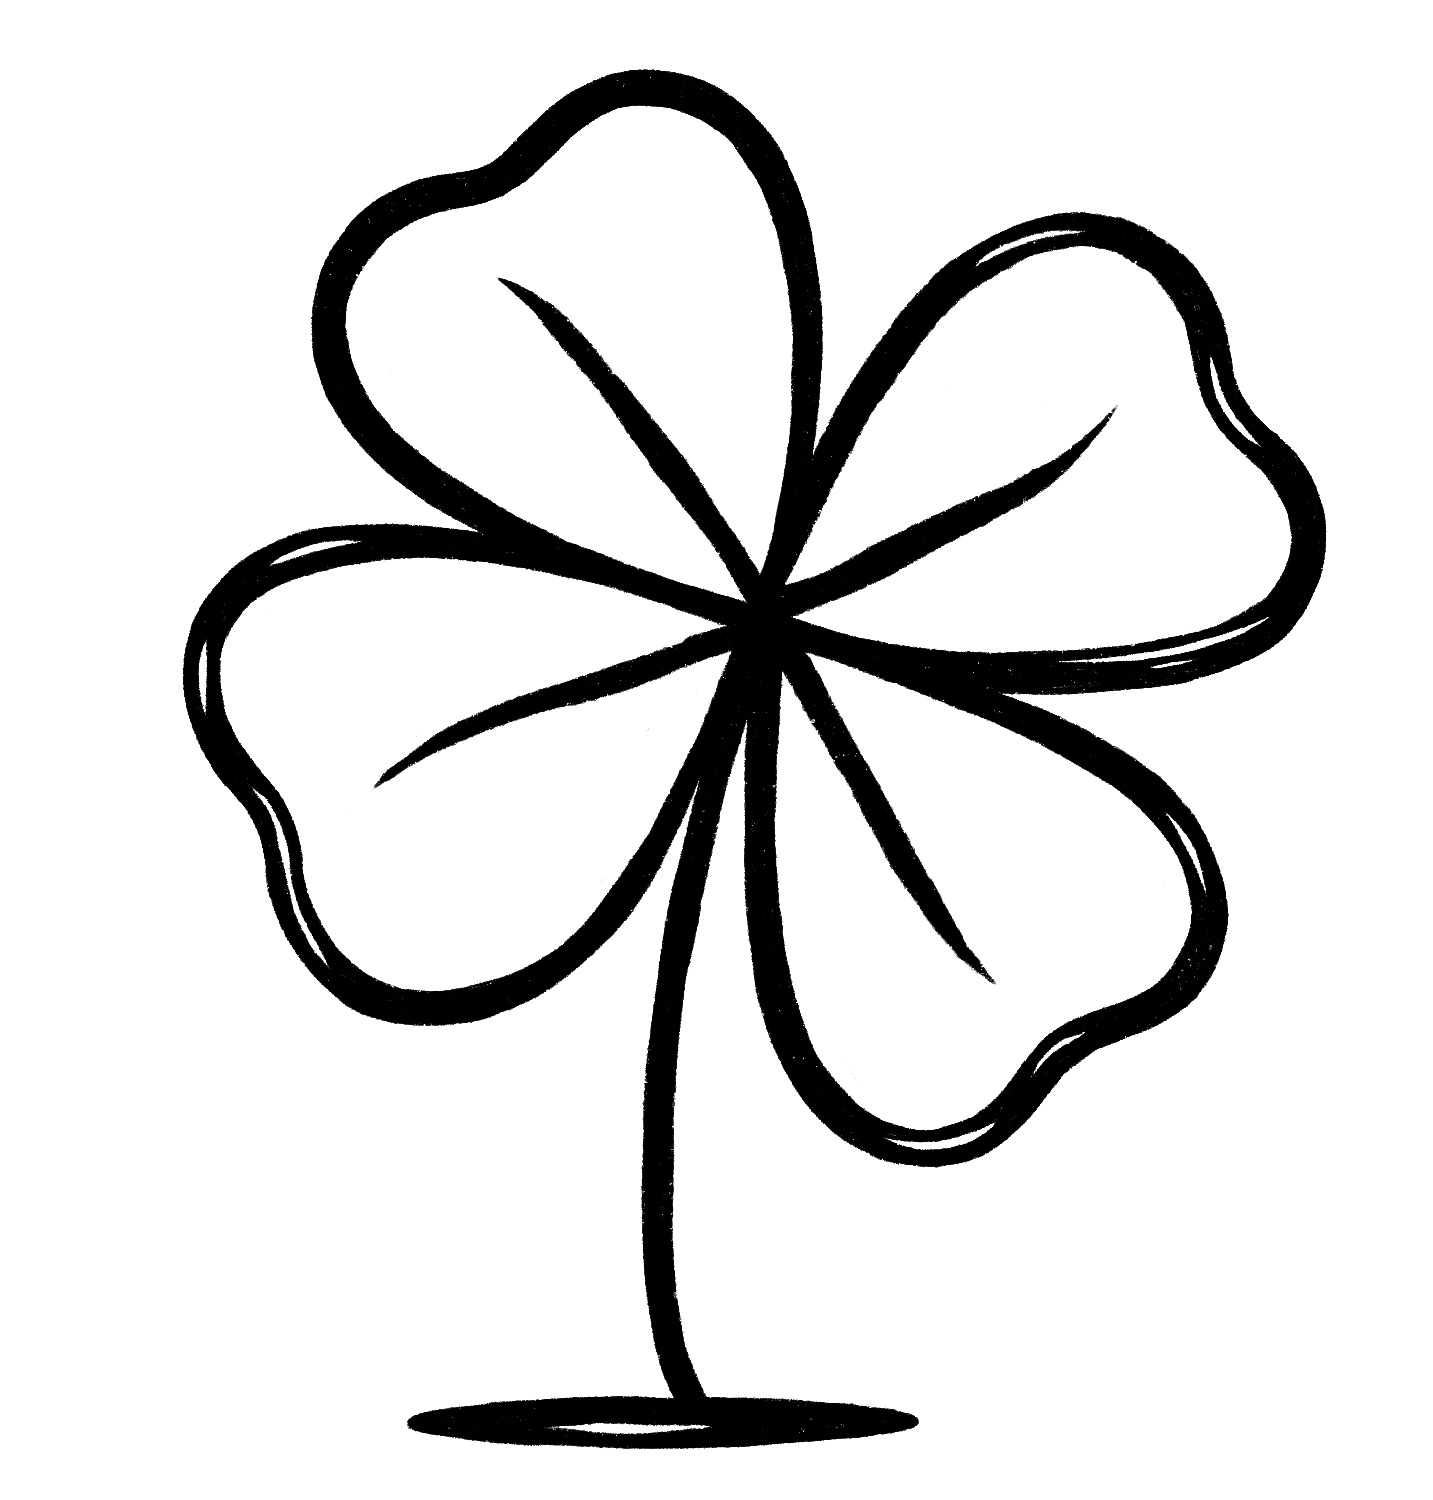
Start by drawing a heart shape. This will be the outline of your first leaf. Make sure the top is wide and round. The bottom should be narrow and pointed. Adjust the size to fit the whole clover. The first leaf sets the tone for the others.
Repeating For All Leaves
Repeat the heart shape three more times. Each heart should be the same size. Position the leaves to form a circle. The pointed ends should meet in the center. Make sure the leaves are evenly spaced. Symmetry is key for a balanced look. Rotate each heart slightly for a natural appearance.
Following these steps will give you a beautiful 4 leaf clover. Practice makes perfect. Enjoy the process and let your creativity flow.
Adding Details
Adding details to your 4 leaf clover drawing makes it come to life. It gives the clover a realistic and appealing look. In this section, we will focus on defining leaf edges and adding veins to your clover. These simple steps will enhance your drawing significantly.
Defining Leaf Edges
Start by refining the edges of each leaf. Use a smooth, curved line. This will make the leaves look natural. Avoid sharp corners. A clover’s leaves are soft and rounded.
Here are some tips to help you:
- Use light pencil strokes first.
- Ensure symmetry in the leaves.
- Refine the outline with a darker pencil or pen.
Below is a simple table to illustrate the process:
| Step | Action |
|---|---|
| 1 | Draw light, curved lines for edges. |
| 2 | Check for symmetry. |
| 3 | Darken the final lines. |
Adding Veins
To add veins, draw gentle lines from the center of each leaf. These lines should fan out toward the edges. Veins give texture and depth to your clover.
Follow these steps for best results:
- Start from the center of the leaf.
- Draw lines towards the edge, following the leaf’s curve.
- Make sure veins are evenly spaced.
Keep these tips in mind:
- Use light pressure for the veins.
- Make veins thinner than leaf edges.
- Do not overdo the veins; keep it simple.
By defining leaf edges and adding veins, your 4 leaf clover will look more natural. These details make a big difference in your drawing.
Final Touches
Final touches bring your 4 leaf clover drawing to life. This stage ensures your artwork looks polished and complete. Pay attention to details. They make a big difference.
Erasing Guidelines
Begin by erasing any guidelines you used. These lines helped shape your clover. Now, they are no longer needed. Use a soft eraser to avoid damaging the paper. Gently remove the lines, leaving only your final drawing.
Check for any remaining marks. Sometimes, light lines can still be visible. Carefully erase these as well. Your clover should now look clean and clear.
Adding Color And Texture
Color adds vibrancy to your clover. Choose a green shade that you like. Use colored pencils, markers, or paints. Start with a base layer of green. Fill in each leaf evenly.
Next, add texture to make the clover look realistic. Shade the edges of each leaf. This gives depth and dimension. Use a slightly darker green for shading. Blend the colors smoothly.
Finally, add highlights. Use a lighter green or even white. Apply it to the center and edges of the leaves. This makes the clover appear shiny and fresh.
Step back and admire your work. The final touches make your 4 leaf clover stand out. Your drawing is complete and ready to be showcased!

Frequently Asked Questions
What Materials Do I Need To Draw A 4 Leaf Clover?
You need paper, pencil, eraser, and green crayons or markers.
How Do I Start Drawing A 4 Leaf Clover?
Begin by drawing a small circle in the center. Then draw four heart shapes around it.
Can I Use Any Color For My Clover?
Traditionally, clovers are green. But you can use any color you like.
How Can I Make My 4 Leaf Clover Look Realistic?
Add details like veins in the leaves. Shade the leaves for depth.
Drawing a 4 leaf clover is fun and easy. Follow the simple steps. Practice makes perfect. Enjoy your creative journey. Soon, you’ll draw clovers with confidence. Share your work with friends. Happy drawing!