Drawing motion blur with just a pencil is possible and rewarding. First, sketch the moving object or scene.
Then, use shading and lines to show motion. This technique adds life to still images, making them feel alive and dynamic. Capturing motion blur with a pencil involves understanding motion itself. Artists use this technique to show speed and movement.
It helps convey stories and emotions in art. Even with simple tools like a pencil, you can create stunning effects. Focus on the direction of movement. Lines and shading should follow this path. This guides the viewer’s eye, creating a sense of flow. Practice is key. Start with basic shapes, like a car or a running figure. Over time, your skills will grow, and your drawings will come alive. Explore, experiment, and enjoy the process.
Basics Of Motion Blur
Capturing the essence of motion blur with a pencil can be daunting. Yet, understanding its basics can help. Motion blur in art refers to the visual effect that suggests movement. It imitates the blur seen in photographs of moving objects. This technique adds dynamism and life to drawings.
By mastering motion blur, artists can make scenes feel more vibrant. The use of pencil for this technique offers simplicity and control. Let’s explore deeper into the essentials of motion blur.
What Is Motion Blur?
Motion blur is the effect seen when objects move swiftly. It portrays the speed and direction of movement. In drawings, motion blur creates a sense of action. Artists use lines and shading to depict this blur. It helps convey energy and motion in static images.
Motion blur can make characters and scenes feel alive. It emphasizes the pace and flow of the subject. This technique allows viewers to sense movement through visual cues. The challenge lies in capturing this effect accurately with a pencil.
Why Use Pencil For Motion Blur?
A pencil is a versatile tool for creating motion blur. Its adaptability allows for varied shading and line techniques. Pencils offer precision, which is crucial for capturing movement. Artists can easily adjust pressure and strokes.
Using pencil enables gradual transitions and subtle effects. This makes pencil ideal for blending and softening edges. The pencil can depict motion without overwhelming details. Artists value its ease for sketching dynamic scenes.
Essential Tools
Drawing motion blur with a pencil can be exciting. The right tools are vital for success. Understanding essential tools helps you create dynamic sketches. Let’s explore the tools that enhance your artwork.
Choosing The Right Pencil
The pencil is your primary tool. Soft pencils like 2B or 4B work best for motion blur. They allow smooth shading and gentle strokes. Hard pencils can be too sharp and precise. Experiment with different pencils to find your favorite.
Consider the pencil’s grip and weight. A comfortable pencil prevents hand strain. Try different brands to discover what feels right. Quality pencils last longer and give consistent results.
Importance Of Paper Texture
Paper texture affects your drawing’s appearance. Smooth paper is ideal for fine details. It provides an even surface for precise lines.
Rough paper adds depth and character. It enhances the motion blur effect. Choose paper that complements your style. Test various textures to see how they impact your art.
Good quality paper withstands multiple erasures. It maintains integrity even after heavy shading. Invest in durable paper to improve your drawings.
Techniques For Motion Blur
Capturing motion blur with a pencil involves skillful shading and line techniques. Soft, quick strokes create the illusion of speed. Blending and smudging enhance the effect, giving drawings a dynamic, lifelike feel.
Creating the illusion of motion blur in pencil drawings can transform static images into dynamic scenes. This technique captures the essence of movement, whether it’s a speeding car or a running athlete. Let’s explore some practical methods you can use to convey motion with just a pencil.
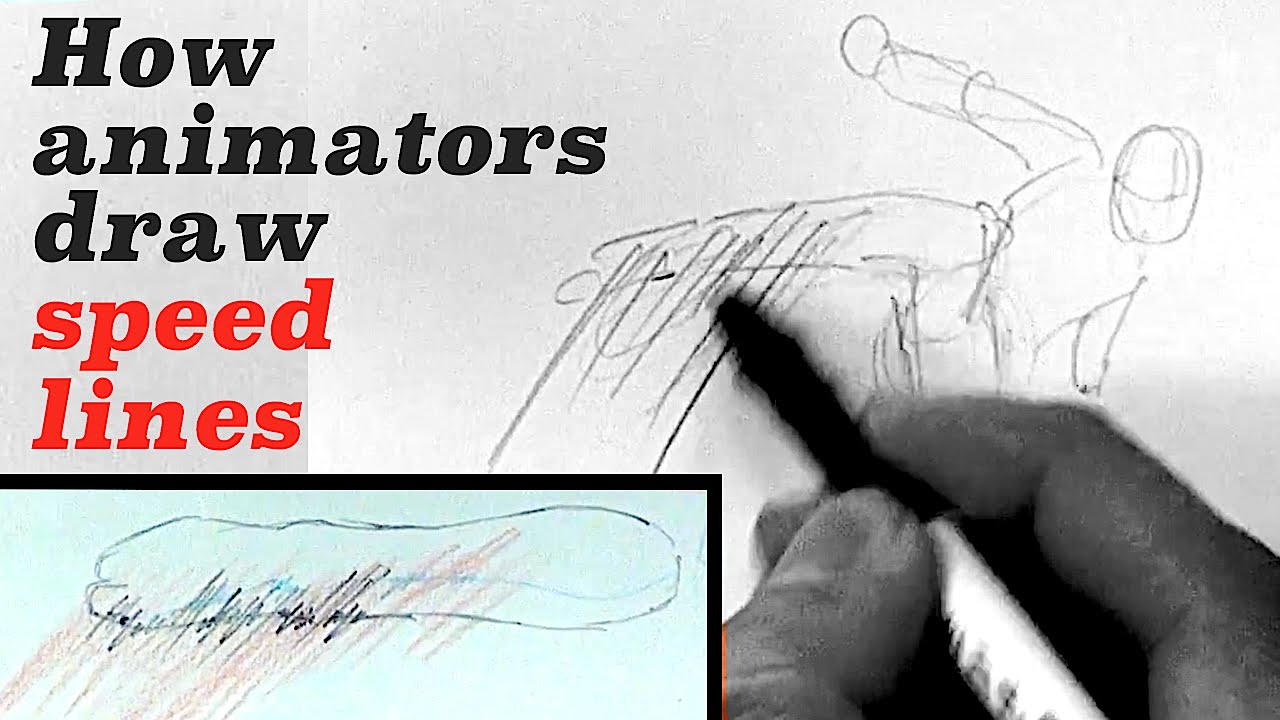
Speed Lines Technique
Speed lines are one of the most effective ways to suggest movement. These lines, drawn parallel to the direction of motion, can make your subject appear as if it’s zipping across the page. Start by identifying the direction your object is moving. Draw lines trailing behind it, varying the length and thickness for a more realistic effect. When I first tried this, my drawing suddenly felt alive, as if it could leap off the page at any moment. Consider the intensity of the action. For rapid motion, like a racing bike, use longer and more frequent lines. For slower movements, use fewer lines with softer strokes. This subtle detail helps communicate the speed to your audience.
Smudging Techniques
Smudging is another powerful tool for creating motion blur. This technique softens the lines, giving the impression of speed and fluidity. A simple blending stump or even your finger can work wonders. After sketching your subject, lightly smudge the edges in the direction of the motion. This blurring effect mimics the way our eyes perceive fast-moving objects. I remember the first time I tried smudging a drawing of a dancer. It was like watching a graceful twirl unfold on paper. Experiment with different pressure levels while smudging. Pressing harder will result in a more pronounced blur, while a gentle touch gives a subtle effect. Ask yourself: How much blur does this scene need to convey the right amount of motion? Both speed lines and smudging can be combined for a more dramatic effect. This dual approach can create a layered and textured motion blur that feels both organic and powerful. Isn’t it fascinating how simple pencil techniques can bring such energy to your drawings? These methods are easy to learn and can significantly enhance your artwork’s storytelling potential. Give them a try and see how they transform your sketches into dynamic pieces of art.
Creating Depth And Movement
Drawing motion blur with a pencil involves creating lines that suggest movement. Vary line weight and direction for depth. Blend edges softly to mimic speed.
Creating depth and movement in your drawings can be challenging, but pencil techniques like motion blur can make your artwork come alive. Imagine watching a car race—your eyes catch the blur of the speeding vehicles. You can recreate this sensation with a pencil. Think about how you can use your pencil to tell a story of speed and movement. It’s all about layering and directing your strokes to capture that fleeting motion.
Layering For Depth
Layering is your secret weapon for creating depth. Start by sketching the basic outline of your subject lightly. Imagine you’re drawing a runner. Begin with the basic body shape and add layers of pencil strokes to suggest muscles and movement. Adding strokes in darker shades can give your drawing the illusion of depth, making the runner’s legs look like they’re pushing forward. What do you want your viewer to feel when they see your drawing? Use your pencil to build layers, creating a visual hierarchy that draws the eye to the areas of most movement.
Direction Of Movement
The direction of your pencil strokes can suggest motion. Think about the path your subject is traveling. If you’re drawing a cyclist, the wheels might be spinning forward, right? Use quick, curved strokes to indicate this movement. Try tilting your pencil slightly to change the width of your stroke; this can suggest the speed and direction of movement. Consider the difference between a slow-moving turtle and a fast car. How can your pencil strokes reflect these different speeds? A slow, deliberate stroke can show a calm pace, while swift lines can suggest urgency. The direction and speed of your pencil strokes are like the brushstrokes of a painter; they guide your viewer’s eye and evoke emotion. In your quest to capture motion blur, ask yourself: How does your subject move? Use your pencil to direct the viewer’s gaze and tell the story of movement in your art.
Contrast And Shadows
Drawing motion blur with a pencil involves creating contrast and shadows effectively. Use swift, light strokes for blurred areas, keeping edges soft. Darker tones highlight movement, while gentle transitions enhance the illusion of speed.
Creating motion blur with just a pencil can transform your sketches from static to dynamic. One of the key techniques to achieving this effect is mastering contrast and shadows. These elements help convey movement and depth, making your drawings come alive. Understanding how to manipulate light and shadow can be the difference between a flat image and one that feels like it’s in motion.
Using Light And Dark
To draw motion blur, balance between light and dark areas is crucial. Use lighter pencil strokes where you want to suggest speed. Darker areas can indicate the trailing end of a moving object. Think about a car speeding down a highway. The front might be lighter, catching more light, while the back is darker, suggesting the movement away from a light source. Experiment with varying pressure on your pencil to achieve this effect.
Shadow Placement
Correct shadow placement can significantly enhance the motion blur effect. Consider where the light source is and how it affects the moving object. Shadows should fall in the direction opposite to the light. Imagine a person running under a streetlight. Their shadow would stretch behind them, parallel to the ground, accentuating their forward motion. Try placing your shadows in unexpected ways to see how it changes the perception of movement in your drawing. Have you ever noticed how shadows behave differently when an object is moving? This is the kind of detail that can make your drawings stand out. Observing real-world examples can provide insights that improve your technique. Incorporate these tips into your practice and watch as your pencil sketches transform into dynamic portrayals of motion. Remember, the more you experiment, the more you’ll learn about the fascinating interplay of contrast and shadows.
Refining Details
Achieving motion blur with a pencil demands attention to detail. This technique brings life to still images, making them dynamic. Focusing on refining details can improve your drawing, capturing movement effectively. Let’s explore how fine-tuning edges and highlighting key elements can enhance your motion blur effect.
Fine-tuning Edges
Edges are crucial in conveying motion. They guide the viewer’s eye across the drawing. To create motion blur, soften the edges of moving objects. Use light, quick strokes for this effect. Blending tools or fingers can help achieve smoother transitions. Keep edges slightly blurred but identifiable. This approach provides the illusion of movement, while maintaining clarity.
Highlighting Key Elements
Identify elements that define the motion. These might be parts of an object or light reflections. Highlight these elements to draw attention. Use sharper lines and deeper shading. Contrast these with softer, blurred areas. This technique emphasizes speed and direction. It ensures the motion is clear and dynamic, capturing the viewer’s interest.
Common Mistakes
Capturing motion blur with a pencil often leads to over-shading. This mistake can make drawings look muddy. Another common error is neglecting the direction of motion, which results in unrealistic blur effects.
Creating the illusion of motion blur with just a pencil can be a rewarding artistic challenge. However, many artists stumble over common mistakes that can sabotage their efforts. Recognizing these missteps can help you refine your technique and bring dynamic energy to your drawings. Let’s explore some pitfalls and learn how to avoid them. ###
Avoiding Over-smudge
One frequent mistake is over-smudging the pencil marks. While smudging can soften lines, excessive use can muddy your artwork and obscure details. Imagine trying to capture the speed of a racing car. Instead of a sleek blur, you might end up with a gray blob. To maintain clarity, use smudging sparingly. Consider using a blending stump or tissue to gently blur areas. This approach keeps your motion blur intentional, preserving the energy without losing definition. ###
Maintaining Focus
Another common error is losing focus on the subject in motion. It’s easy to get carried away with blurring the background, leaving your main subject undefined. Think about a dancer spinning across the stage. If you blur everything equally, the dancer loses impact. Keep the focus on the central figure while subtly blurring the surroundings. Ask yourself: Where should the viewer’s eye naturally land? By guiding their attention, you ensure the motion blur enhances rather than distracts from your subject. Reflect on these insights next time you attempt motion blur with a pencil. By avoiding these mistakes, your drawings will captivate with their energy and clarity.
Practicing Motion Blur
Capturing motion blur with a pencil involves shading techniques that create a sense of movement. Start by sketching the subject lightly, then gradually add darker lines and smudges to simulate speed. Experiment with different pencil pressures and directions to enhance the dynamic effect, making the drawing appear alive.
Creating motion blur with just a pencil may seem challenging, but with practice, you can breathe life into your drawings. The illusion of movement can transform static images into dynamic scenes. You might wonder how to capture that fleeting moment with just a pencil—here’s how you can hone this skill. ###
Sketching Exercises
Start with simple shapes like circles or lines. Draw them repeatedly on a page, altering their angles and sizes to suggest movement. This exercise helps you understand how motion affects form and perspective. Experiment with varying pressure on your pencil. Light strokes can indicate speed, while darker lines suggest something slowing down. Practicing this will give you control over how intense the motion appears. Use quick, decisive strokes to maintain the fluidity of motion. This might feel uncomfortable at first, but it trains your hand to capture fleeting movements. ###
Analyzing Real-life Motion
Observe the world around you. Notice how a car zooms by or how a runner’s limbs blur. These real-life examples provide invaluable insight into natural motion blur. Take note of objects moving at different speeds. A fast-moving object might have a longer blur trail compared to a slow-moving one. This understanding helps you replicate realistic blur in your drawings. Consider using a notebook to sketch moving subjects whenever you have the chance. This habit sharpens your ability to capture motion quickly and accurately. Have you ever tried drawing someone in mid-dance? It’s a great way to practice capturing fluid motion. Your challenge is to translate that energy onto paper. By observing and sketching, you develop an eye for motion and translate that into your art. Motion blur is more than just a technique—it’s about telling a story through movement. How will you let your pencil dance on the paper?
Frequently Asked Questions
How To Draw Blur Effect With Pencil?
Use light, circular motions to apply pencil shading. Blend gently with a tissue or blending stump. Layer gradually for depth. Adjust pressure for intensity. Practice different techniques for desired effect.
How To Create Motion Blur In A Drawing?
To create motion blur in a drawing, use long, sweeping strokes. Blend edges with a smudging tool for a soft effect. Add directional lines to emphasize movement. Use contrasting colors and light shading to enhance the illusion of speed. Experiment with different tools for unique textures.
How Do You Draw Lightly With A Pencil?
Use a soft grip to hold the pencil lightly. Apply minimal pressure while moving your hand smoothly. Use the pencil’s side for softer lines. Practicing these techniques helps create lighter drawings effortlessly.
How To Motion Blur A Picture For Free?
Use free online tools like Fotor or Canva to motion blur a picture. Upload your image, select motion blur, adjust settings, and apply the effect. Download the edited image once satisfied with the result. These platforms are user-friendly and require no software installation.
Drawing motion blur with a pencil is easier than you think. Start with basic shapes. Add lines to show movement. Use shading for depth. Practice often for better results. Don’t rush the process. Each stroke adds to the effect. Study real-life movement.
It helps in capturing motion. Experiment with different pencils. Some create softer lines. Others make bold strokes. Keep your sketches simple. Focus on the action. Use these tips to enhance your art. Motion blur adds life to drawings. Enjoy the journey of learning.
Watch your skills grow with practice. Happy drawing!