

Drawing a torus might seem challenging at first. But with the right steps, it’s achievable for anyone.
A torus is a doughnut-shaped object in geometry. It has a hole in the middle and a round surface. This shape is found in many places, from lifebuoys to inner tubes. Learning to draw a torus can improve your understanding of 3D shapes.
It also enhances your artistic skills. In this guide, you will learn simple steps to draw a torus. With practice, you will be able to create this unique shape with ease. So grab your pencil and let’s get started on this fun drawing journey!
Introduction To Drawing A Torus
Drawing a torus can be an exciting challenge. This shape, often seen in doughnuts, has unique properties. Understanding how to draw a torus helps develop your drawing skills. It can also improve your grasp of geometry. Let’s explore this fascinating shape together.
What Is A Torus?
A torus is a three-dimensional shape. Imagine a doughnut or a ring. It has a hole in the middle. The surface curves around in a loop. This shape is known as a torus. Tori (plural for torus) appear in many areas of math and science.
Importance Of Learning
Learning to draw a torus improves your spatial awareness. It also enhances your understanding of geometry. It develops precision in your drawing. These skills are valuable in various fields. Architecture, engineering, and art all benefit from this knowledge.
Drawing a torus can also be fun. It challenges your mind and creativity. You may see tori in everyday objects. Recognizing them can enrich your view of the world. Let’s dive into the steps of drawing a torus.
Tools And Materials Needed
Drawing essentials
These are the everyday tools we recommend for any drawing tutorial on this site, picked for reliability and beginner-friendly pricing.


As an Amazon Associate, drawingseasy.com earns from qualifying purchases. Prices and availability are subject to change.
Creating a torus drawing can be fun and challenging. To start, you need the right tools and materials. With the correct items, your drawing will be easier and more enjoyable.
Essential Drawing Tools
The first thing you need is a good set of pencils. These should include different hardness levels. A range of pencils helps you create light and dark lines. Next, get high-quality drawing paper. Smooth paper works best for precise lines. You also need an eraser. A kneaded eraser is great for removing small details.
A ruler is essential for drawing straight lines. It helps keep your shapes accurate. A compass is another important tool. It helps you draw perfect circles. Together, these tools make the process much easier. Finally, get a sharpener to keep your pencils sharp. Sharp pencils give you better control over your lines.
Optional Accessories
While not essential, some accessories can enhance your drawing experience. One helpful accessory is a blending stump. It helps you blend pencil marks smoothly. This gives your drawing a more polished look. Colored pencils can add another dimension to your work. They allow you to add color and make your drawing more vibrant.
Another useful item is a drawing board. It provides a stable surface to work on. This is especially helpful if you draw for long periods. Finally, consider using a fixative spray. It helps protect your drawing from smudging. Spraying your work ensures it stays in good condition.
Basic Geometry Of A Torus
The torus is a fascinating geometric shape. It is commonly known as a donut shape. Understanding its basic geometry can help you draw it accurately. This guide will cover key geometric concepts of a torus.
Understanding The Shape
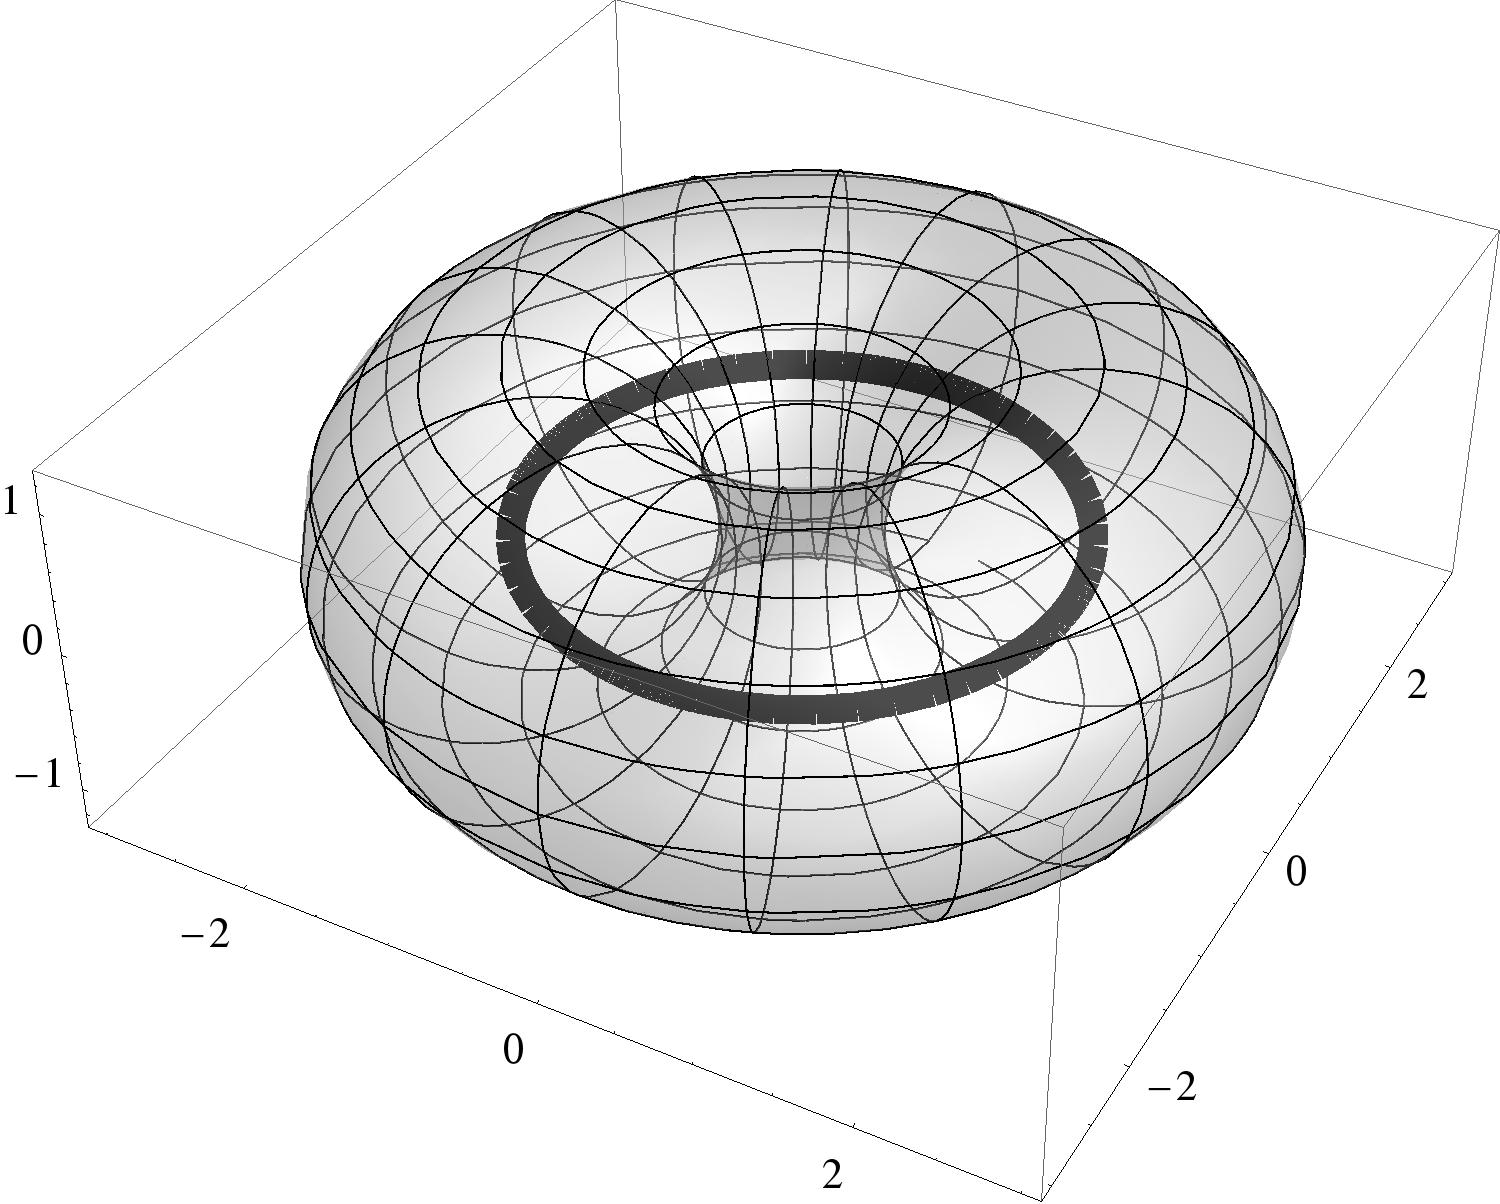
A torus has a circular shape with a hole in the middle. Imagine a ring or a donut. This shape is different from a solid sphere or cylinder. The hole in the center is what makes it unique. The outer part is called the major circle, and the inner part is the minor circle.
To visualize a torus, picture a circle spinning around an axis. This axis is outside the circle and parallel to its plane. As the circle spins, it creates a 3D shape. This shape is the torus.
Key Geometric Concepts
To draw a torus, you need to understand two main measurements:
- Major Radius (R): The distance from the center of the hole to the center of the tube.
- Minor Radius (r): The radius of the tube itself.
These two radii define the size and proportions of the torus. For example, if R is large and r is small, the torus will be thin and wide. If R is small and r is large, the torus will be thick and narrow.
| Component | Description |
|---|---|
| Major Radius (R) | Distance from center of hole to center of tube |
| Minor Radius (r) | Radius of the tube itself |
Understanding these measurements is crucial. They help you draw the torus accurately. Practice sketching the major and minor circles. With time, you will get better at visualizing and drawing a torus.
Starting With Simple Sketches
Starting with simple sketches can make the process of drawing a torus less intimidating. By breaking it down into basic shapes, you can build your confidence and improve your skills. In this section, we will guide you through the initial steps, starting with drawing basic circles.
Initial Circle Drawing
To begin, draw a large circle. This will form the outer edge of your torus. Use a compass or a round object to get a perfect shape. If you are drawing freehand, keep your lines light and smooth. This circle should be the size you want your torus to be.
| Step | Action |
|---|---|
| 1 | Draw a large circle. |
| 2 | Keep lines light and smooth. |
| 3 | Ensure the circle is the desired size. |
Creating The Inner Circle
Next, draw a smaller circle inside the first one. This smaller circle should be centered and have a consistent gap from the larger circle. This gap will define the thickness of your torus. Again, use a compass for precision or freehand it lightly.
- Draw a smaller circle inside the larger one.
- Ensure it is centered.
- Maintain a consistent gap between the two circles.
With these two circles in place, you have a basic outline of your torus. The next steps will involve refining and adding depth to your drawing. For now, focus on getting these shapes correct.
Adding Depth And Dimension
Adding depth and dimension to a torus drawing can make it look more realistic. Mastering techniques like perspective and shading can transform a flat circle into a 3D shape. Let’s dive into these techniques.
Using Perspective
Perspective helps create the illusion of depth. Start by drawing the torus as an ellipse. This will be its outer edge. Next, draw a smaller ellipse inside the first one. This will be the inner edge. Use light lines to connect these ellipses. This will give your torus its 3D shape.
Remember, the ellipses should not be perfect circles. They should be slightly elongated. The outer ellipse should be wider, while the inner one should be narrower. This gives the torus its round, doughnut shape.
Shading Techniques
Shading adds dimension by showing light and shadow. First, decide where your light source is. This will help you know where to shade.
Use the following shading techniques:
- Light shading: Use soft, light strokes. This shows the areas where light hits directly.
- Dark shading: Use harder, darker strokes. This shows the areas in shadow.
Blend the shading smoothly. This will make the torus look more realistic. Use a pencil or blending tool to soften the edges.
Tip: Check your shading from different angles. This helps ensure it looks good from all sides.
Refining The Torus Shape
Refining the torus shape involves enhancing its overall look and feel. This part is crucial to achieve a polished and realistic appearance. Follow these steps to refine your torus drawing and make it look professional.
Smoothing Lines
Start by smoothing the lines of your torus. Use a softer pencil or a blending tool to create smooth transitions.
- Erase any rough or jagged edges.
- Blend lines to create a seamless look.
- Ensure all lines are even and consistent.
Consistency in line smoothness makes the torus look more natural. Smooth lines help in achieving a refined look.
Enhancing Curves
Enhancing the curves of your torus adds depth and dimension. Focus on the inner and outer curves.
- Darken the inner curves slightly to show depth.
- Lightly shade the outer curves to create a 3D effect.
- Use a blending tool to smooth out the shading.
Shading correctly enhances the torus shape and makes it appear more realistic. Pay attention to light and shadow to achieve the best results.
| Step | Action |
|---|---|
| 1 | Smooth the lines |
| 2 | Enhance the curves |
| 3 | Blend the shading |
Refining the shape is all about attention to detail. Smooth lines and enhanced curves will make your torus stand out.
Final Touches And Details
The final touches and details can make your torus drawing stand out. These steps will add depth, texture, and realism to your artwork. Let’s dive into the finishing touches that will bring your torus to life.
Highlighting Edges
First, focus on highlighting edges. This will give your torus a three-dimensional look. Use a light source to determine where the highlights should go. Add lighter shades along the edges where the light hits the torus directly. This creates a realistic light effect.
Use a fine-tipped pencil or a white colored pencil for the highlights. Make sure the transitions are smooth. Blend the highlights with the surrounding areas using a blending stump or your fingers.
Adding Textures
Next, let’s add some textures. Textures can make your torus look more interesting and lifelike. Consider the material of your torus. Is it metal, rubber, or something else? Different materials have different textures.
To create a metallic look, use small, consistent lines to mimic the shine. For a rubber texture, use soft, circular motions. You can also use an eraser to lighten certain areas and create a worn-out effect.
Here is a simple table to help you with different textures:
| Material | Texture Technique |
|---|---|
| Metal | Small, consistent lines |
| Rubber | Soft, circular motions |
| Wood | Grainy lines |
Remember, practice makes perfect. Experiment with different textures until you find what works best for your drawing.

Common Mistakes To Avoid
Drawing a torus can be challenging. Beginners often make common mistakes. Understanding these errors can help you improve your drawing skills.
Proportional Errors
One common mistake is getting the proportions wrong. A torus should have a consistent shape. The inner circle and outer circle must be proportional.
Ensure the inner circle is not too small. If it’s too small, the torus will look odd. The outer circle should not be too large either. Keep both circles balanced.
Tip: Use a compass for more accurate circles. This helps maintain the correct proportions.
Perspective Issues
Another frequent mistake involves perspective. A torus has a three-dimensional form. Incorrect perspective can make it look flat.
To avoid this, think about the torus in 3D. Draw the inner and outer edges with a slight curve. This adds depth to your drawing.
Tip: Practice sketching simple 3D shapes. This improves your understanding of perspective.
| Common Mistakes | Solution |
|---|---|
| Proportional Errors | Use a compass for accurate circles. |
| Perspective Issues | Draw edges with a slight curve. |
By avoiding these common mistakes, you can draw a more accurate torus. Keep practicing and your skills will improve over time.
Practice Exercises
Practice exercises are essential for mastering the art of drawing a torus. Repeating these exercises will help you understand the shapes and improve your skills. Let’s explore some simple and complex torus designs to practice.
Simple Torus Variations
Start with basic torus shapes. Draw a circle and then add an inner circle. This will give you the basic doughnut shape. Practice this until you feel confident. Change the size of the inner circle to see how it affects the torus. Draw multiple toruses of different sizes on one page.
Next, practice shading. Lightly shade one side of the torus. This will help create a three-dimensional effect. Use a pencil for better control. Experiment with different shading techniques. Try cross-hatching or smooth shading. Both will give your torus a unique look.
Complex Torus Designs
Once you master the basics, move on to complex designs. Start by overlapping two toruses. This will create an interesting visual effect. Practice drawing these overlaps from different angles. Change the perspective to challenge yourself.
Another exercise is to draw a twisted torus. This looks like a torus that has been twisted in the middle. It can be tricky, so take your time. Use light pencil strokes to sketch out the basic shape. Then, darken the lines once you are satisfied.
Finally, experiment with patterns. Draw a torus with a checkerboard pattern. Or, try adding stripes or dots. Patterns can make your torus drawings more interesting. They will also help you practice consistency and precision.
These practice exercises will enhance your drawing skills. With time, you will become more confident and creative with your torus designs.
Next Steps
Drawing a torus can be both fun and challenging. You have learned the basics, but there’s always room for improvement. Let’s review your work, explore further learning resources, and identify what comes next.
Reviewing Your Work
Take a moment to step back and look at your drawing. Ask yourself these questions:
- Is the shape symmetrical?
- Does it look like a doughnut?
- Are the inner and outer circles even?
If you answered “no” to any of these questions, don’t worry. Practice makes perfect. Keep refining your skills, and soon your torus will look just right.
Further Learning Resources
Want to improve your drawing skills? Here are some resources:
You can also join online drawing communities. They provide support and feedback.
Another great way to learn is by studying other artists’ works. Observe their techniques and try to replicate them.
By following these steps, you will get better at drawing a torus. Keep practicing, and enjoy the process!

Frequently Asked Questions
What Materials Are Needed To Draw A Torus?
To draw a torus, you’ll need paper, a pencil, a ruler, and a compass. Optionally, you can use colored pencils or markers for added detail.
How Do You Start Drawing A Torus?
Start by drawing two concentric circles. The outer circle forms the torus’s outer edge, and the inner circle forms the inner edge.
How Can Shading Improve A Torus Drawing?
Shading adds depth and dimension to your torus drawing. Use light and dark tones to create a 3D effect and highlight its curvature.
Can I Use Software To Draw A Torus?
Yes, software like Blender or AutoCAD can be used to draw a torus. These tools offer precision and various rendering options.
Drawing a torus can be fun and rewarding. Practice makes perfect. Keep trying different techniques. Use simple shapes first. Gradually add details as you get comfortable. Don’t get frustrated if it’s tricky at first. Take your time. Enjoy the process.
Share your drawings with friends or online. Learning new skills can be enjoyable. Feel proud of your progress. Happy drawing!


